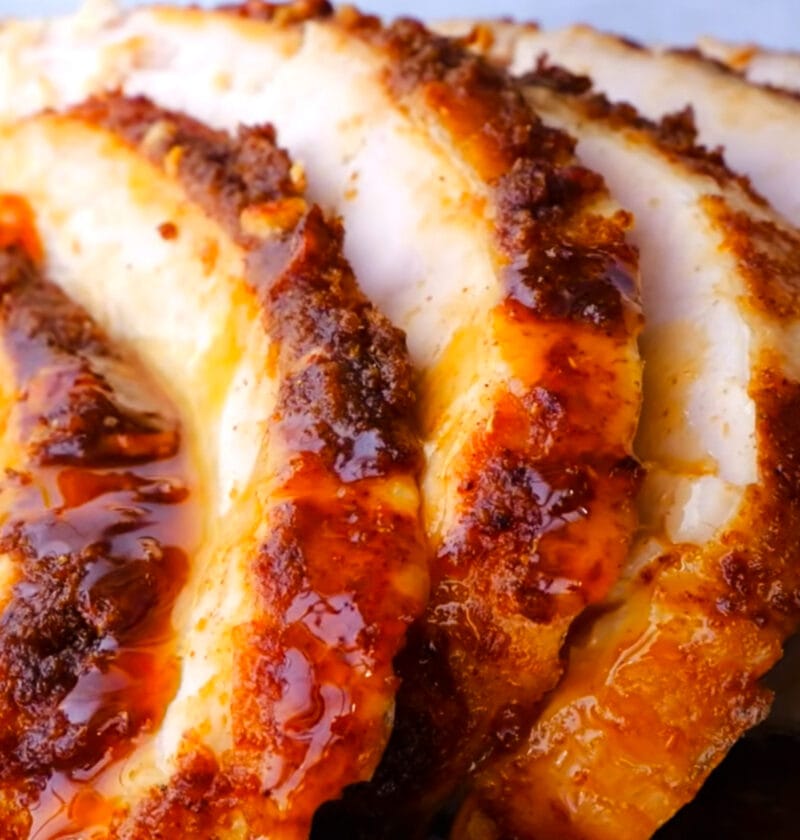
Think of the dinnertime routine during the week that you sometimes felt a little unexciting? I know I do. Sometimes it’s best to take a familiar dish and turn it into something entirely new and make it the star of the table. This garlic butter herb roasted turkey is not only a meal, it’s an explosion of flavor and juicy, tender turkey that will recreate excitement at any celebration. We’re talking skin golden crisp, herbs floral notes and a sharp counterbalance for the richness.
Many people have been intimidated by roasting a whole turkey before. But I promise you, a few simple tips and with my secret herb butter mix, you’ll feel like you’re a pro. We’re going to make a show-stopping dish that is rich and savory and has a bright and zesty lemon flavor boost that makes each bite pop with deliciousness. Be prepared to make an impression!
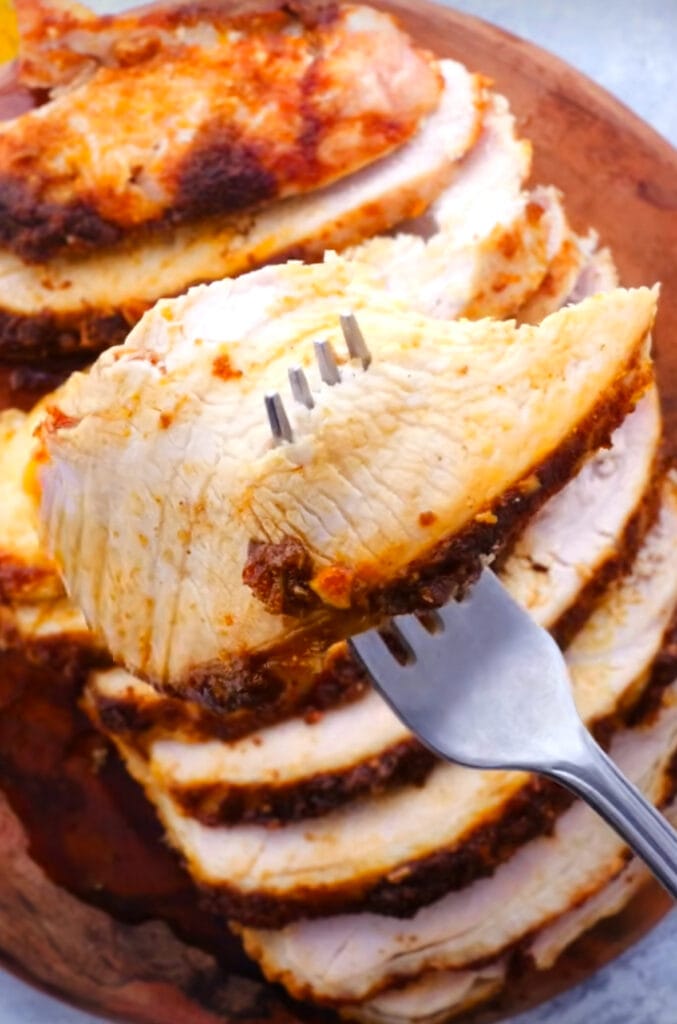
Garlic butter herb roasted turkey
A succulent, aromatic centerpiece where golden-crisp skin meets juicy, herb-infused meat.
Ingredients
-
-
- 1 (12-14 pound) whole turkey, fully thawed
-
- 1 cup (2 sticks) unsalted butter, softened
-
- 6 cloves garlic, minced
-
- 2 tablespoons fresh rosemary, finely chopped
-
- 2 tablespoons fresh thyme, finely chopped
-
- 1 tablespoon fresh sage, finely chopped
-
- 1 tablespoon onion powder
-
- 1 tablespoon kosher salt, plus more for seasoning
-
- 1 teaspoon black pepper, plus more for seasoning
-
- 1 large yellow onion, quartered
-
- 2 carrots, roughly chopped
-
- 2 celery stalks, roughly chopped
-
- 1 large lemon, halved
-
- 4 cups chicken broth, low sodium
-
- Optional: Kitchen twine
-
Necessary Utensils & Equipment
-
-
-
- Large roasting pan with a sturdy wire rack
-
- Reliable meat thermometer (instant-read is best)
-
- Large mixing bowl
-
- Small mixing bowl
-
- Basting brush
-
- Cutting board
-
- Sharp carving knife
-
- Measuring cups and spoons
-
- Aluminum foil
-
-
Instructions
-
-
-
- Prepare Your Turkey: First, ensure your turkey is completely thawed. This typically requires several days in the refrigerator for a bird of this size. Remove the turkey from its packaging, then reach into both cavities to pull out the giblets and neck. Give them a rinse if you like, and save them for gravy if desired!
-
- Dry the Bird: This step is crucial for crispy skin! Use plenty of paper towels to pat the turkey thoroughly dry, both inside and out. Don’t miss any spots – a dry surface cooks up wonderfully golden and crackly.
-
- Make the Aromatic Herb Butter: In a small mixing bowl, combine your softened unsalted butter with the minced garlic, chopped rosemary, thyme, sage, onion powder, 1 tablespoon of kosher salt, and 1 teaspoon of black pepper. Mix everything together with a spoon or spatula until it’s beautifully uniform and smells absolutely incredible.
-
- Butter Up Your Bird: Carefully, using your fingers, gently separate the skin from the breast meat. Be careful not to tear the skin. Take about half of your fragrant herb butter mixture and spread it directly onto the meat under the skin, pushing it evenly across the breast and down into the thighs.
-
- Coat the Exterior: Use the remaining herb butter to generously coat the entire exterior of the turkey, ensuring every inch is covered. This not only adds flavor but helps the skin crisp up and turn a gorgeous golden brown. Season the outside liberally with a little more salt and pepper.
-
- Stuff the Cavity: Place the quartered yellow onion, roughly chopped carrots and celery, and the lemon halves into the turkey’s main cavity. These aromatics will add moisture and flavor to the bird from the inside out, also lending a lovely tangy note.
-
- Truss (Optional but Recommended): If you wish, use kitchen twine to tie the turkey legs together. This helps the turkey cook more evenly and creates a neater presentation. Tuck the wing tips under the breast to keep them from burning.
-
- Prepare for Roasting: Place the turkey on a wire rack inside your large roasting pan. Pour the 4 cups of chicken broth into the bottom of the roasting pan. This creates a moist environment for the turkey and forms the basis for amazing drippings later.
-
- Initial High Heat Roast: Preheat your oven to 425°F (220°C). Roast the turkey for 30 minutes at this higher temperature. This quick burst of heat is key to getting that crispy skin started.
-
- Lower the Temperature & Continue Roasting: After 30 minutes, reduce the oven temperature to 325°F (160°C). Continue roasting for an additional 2 to 2.5 hours, or until a meat thermometer inserted into the thickest part of the thigh (without touching bone) registers 165°F (74°C).
-
- Baste Periodically: Every 30-45 minutes during the lower temperature cooking, baste the turkey with the pan drippings. This helps keep the skin moist and flavorful, though it’s not strictly necessary for moisture as much as it is for color and added richness.
-
- Check for Doneness: Start checking the temperature around the 2-hour mark at the lower setting. The turkey is done when the internal temperature in the thigh reaches 165°F (74°C). The juices should run clear when you pierce the thigh.
-
- The Crucial Resting Period: Once cooked, carefully remove the turkey from the oven and transfer it to a large cutting board. Tent it loosely with aluminum foil and let it rest for at least 20-30 minutes before carving. This allows the juices to redistribute, ensuring incredibly tender and moist meat.
-
- Carve and Serve: After resting, carve your garlic butter herb roasted turkey and serve it hot with all your favorite side dishes. Enjoy every savory, juicy bite!
-
-
Basic to Advanced
You’ve got the basics down, but I’ve learned a few tricks over the years that can truly make your roasted turkey stand out. Getting that perfect golden skin and juicy interior isn’t just luck; it’s about understanding a few key principles.
Achieving That Perfectly Crispy Skin
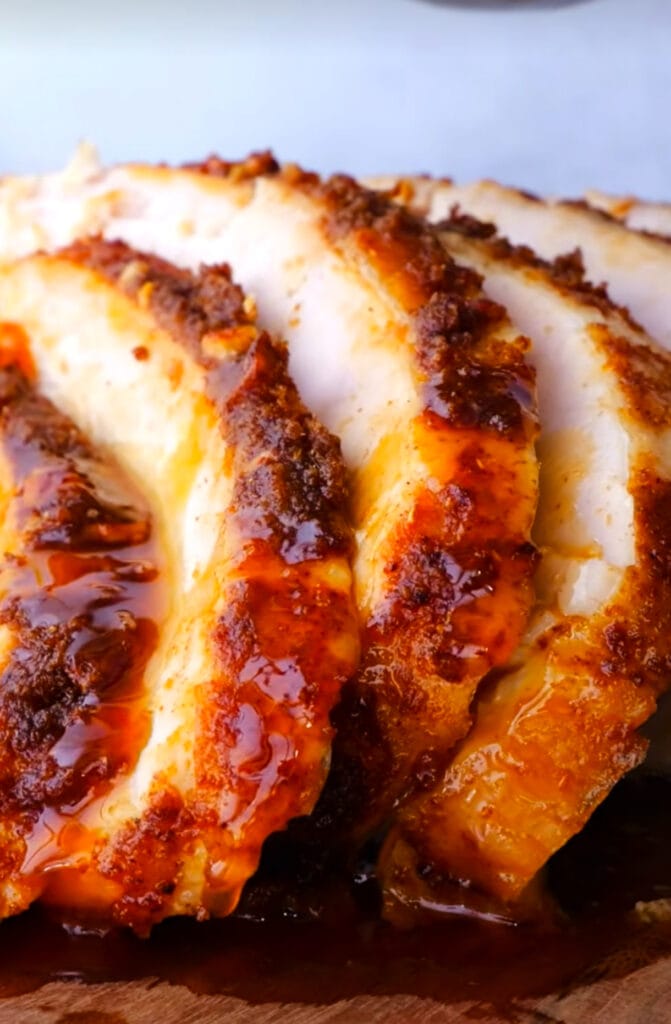
There’s nothing quite like biting into deeply flavored, shatteringly crisp turkey skin. It’s often the first thing people comment on! Here’s how to ensure yours is spot on:
- Pat it DRY: I can’t stress this enough. Moisture on the skin prevents crisping. Think about how a frying pan sizzles when water hits it; you want that steam to evaporate, not to cook your skin. My first time I roasted a turkey for Thanksgiving, I was so focused on getting it into the oven that I completely skipped the critical step of patting it dry. Big mistake! The skin never got that beautiful golden crispness I was aiming for, and it felt more steamed than roasted. Now, I always make sure that bird is as dry as a desert before the butter even touches it – it makes all the difference.
- High Initial Heat: Roasting at 425°F (220°C) for the first 30 minutes is a great way to kickstart the browning process. It gives the skin an immediate advantage in crisping up before the internal temperature rises too much.
- Don’t Overcrowd the Pan: Make sure your roasting pan isn’t too small for the turkey. Good air circulation around the bird helps the skin dry out and crisp evenly.
Keeping Your Turkey Exceptionally Moist
Dry turkey is a common fear, but it’s totally avoidable with a few smart moves. My goal is always a succulent, juicy bird.
A truly fantastic roasted turkey hinges on one often-overlooked step: letting it rest. Pulling the bird from the oven and carving it immediately will result in dry meat. Give it at least 20-30 minutes, tented loosely with foil, to allow those juices to redistribute throughout the meat. Trust me, it’s worth the wait!
- Brining (Optional but Highly Recommended): While not in this specific recipe, consider a wet or dry brine for a few days before roasting. It makes a huge difference in moisture and flavor. If you’re short on time, don’t worry, this recipe still yields a fantastic bird.
- Don’t Overcook: This is probably the single biggest culprit for dry turkey. Use a reliable meat thermometer and pull the turkey from the oven as soon as the thickest part of the thigh registers 165°F (74°C). The temperature will continue to rise a few degrees while it rests.
- Aromatics in the Cavity: The onion, carrots, celery, and lemon in the cavity not only perfume the meat but also add a touch of internal moisture as they cook down. The lemon adds a vibrant tang that balances the rich butter beautifully.
Flavor Variations and Additions
While garlic butter and herbs are a classic combination, there’s always room to play around!
- Spice it Up: Add a pinch of smoked paprika or a tiny bit of cayenne pepper to your herb butter for an extra kick.
- Citrus Burst: Beyond the lemon, consider stuffing an orange or lime half into the cavity for different tangy notes. Zest from these fruits can also be added to the butter mixture.
- Root Vegetables: Roast extra carrots, parsnips, or potatoes around the base of the turkey in the pan. They’ll soak up all those amazing drippings and cook alongside the bird.
Storing Leftovers and Making the Most of Them
A roasted turkey often means delicious leftovers, and you’ll want to store them properly to enjoy them for days.
- Refrigeration: Once carved, store any leftover turkey meat in an airtight container in the refrigerator for up to 3-4 days.
- Freezing: For longer storage, freeze carved turkey meat in freezer-safe bags or containers for up to 2-3 months. Thaw in the refrigerator before reheating.
- Repurpose Creatively: Leftover turkey is incredibly versatile! Think turkey sandwiches, hearty soups, flavorful pot pies, or even a quick turkey salad. Don’t let a single delicious shred go to waste.
Frequently Asked Questions
How do I know when my garlic butter herb roasted turkey is done?
The most accurate way to tell if your turkey is cooked through is by using a meat thermometer. Insert it into the thickest part of the thigh, making sure it doesn’t touch the bone. The turkey is done when it registers 165°F (74°C). The juices from the thigh should also run clear when pierced.
Can I make the herb butter mixture ahead of time?
Absolutely! You can prepare the garlic herb butter up to 2-3 days in advance. Store it in an airtight container in the refrigerator. Just be sure to let it soften at room temperature for about an hour before you plan to spread it on the turkey, so it’s pliable.
My turkey skin isn’t getting crispy. What might be wrong?
The most common reasons for non-crispy skin are excess moisture and not enough heat. Ensure you’ve thoroughly patted the turkey dry before applying the butter. Also, verify your oven temperature is accurate – sometimes ovens can run cooler than their setting. The initial high heat blast is crucial for that crispy start.
How do I keep the turkey moist while roasting?
Several methods help ensure a moist turkey. First, don’t overcook it; rely on a thermometer. Second, resting the turkey after it comes out of the oven is vital for juice redistribution. The broth in the pan and the aromatics in the cavity also contribute to a moist cooking environment.
Can I use dried herbs if I don’t have fresh for this recipe?
Yes, you can use dried herbs as a substitute, but you’ll need to adjust the quantities. Dried herbs are more concentrated than fresh. For this recipe, use about 1 teaspoon of dried rosemary, 1 teaspoon of dried thyme, and ½ teaspoon of dried sage. Always crush dried herbs slightly in your palm before mixing to help release their flavor.