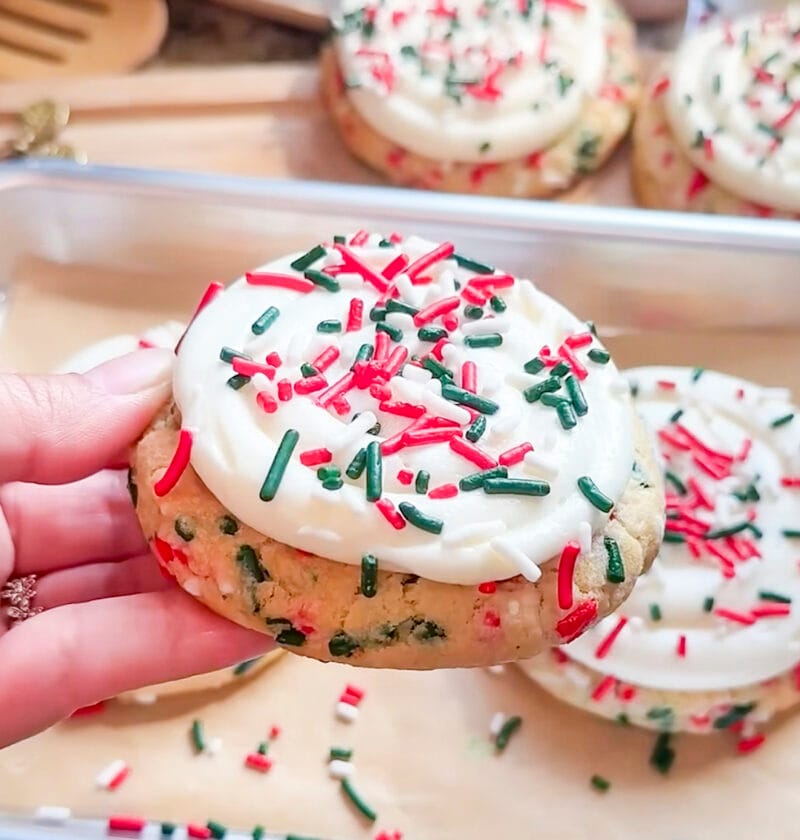
So many things can be made out of simple ingredients in the pantry and they can be so meaningful and wonderful. You don’t have to decorate cookies, you can also decorate cookies using only flour, sugar, butter, and a little vanilla… and it’s delicious! This is not only a recipe, but a method of uniting everyone and creating a warm, familiar atmosphere in your home with the aroma of freshly baked goodies. Kick off baking season with a time-tested recipe that always wows.
Christmas sugar cookies
Craft tender, perfectly cut-out sugar cookies, ideal for decorating and sharing festive cheer.
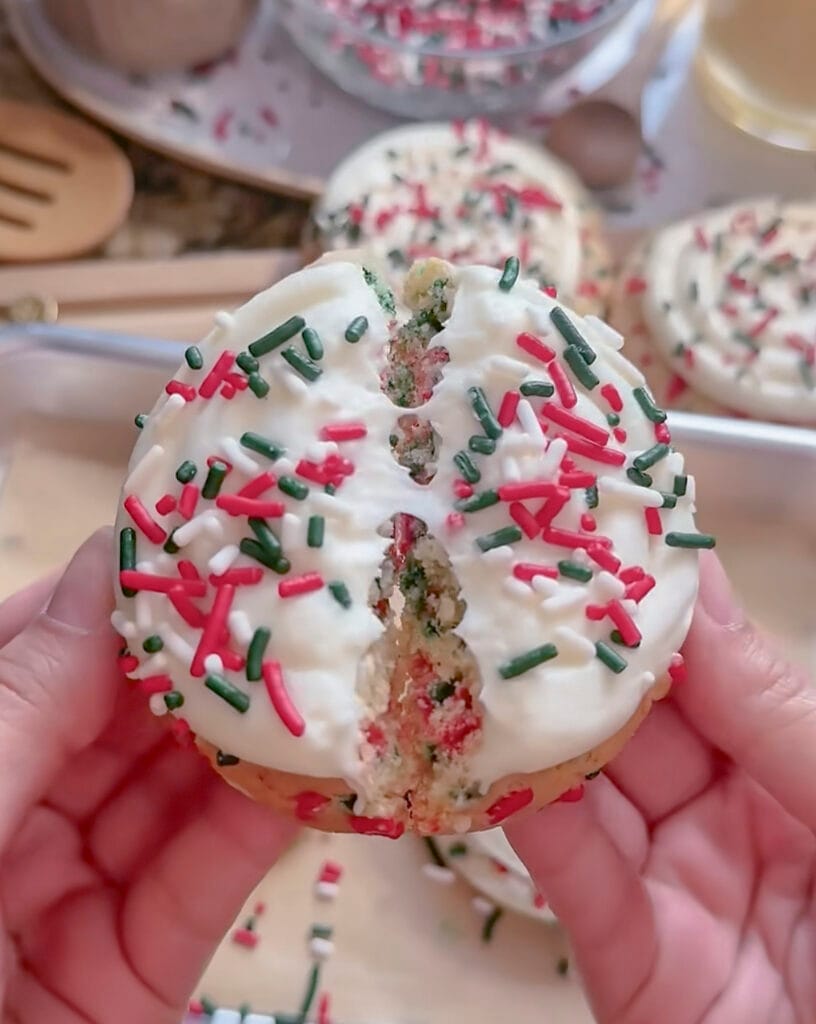
Ingredients
-
-
- 2 ½ cups all-purpose flour
-
- 1 teaspoon baking powder
-
- ¼ teaspoon salt
-
- 1 cup unsalted butter, softened
-
- 1 ½ cups granulated sugar
-
- 1 large egg
-
- 1 teaspoon vanilla extract
-
- ½ teaspoon almond extract (optional, but highly recommended!)
-
- For the Royal Icing (optional):
-
- 3 cups powdered sugar, sifted
-
- 2 tablespoons meringue powder
-
- ¼ cup warm water (or more, as needed)
-
- ½ teaspoon vanilla extract
-
- Gel food coloring (for festive colors)
-
Necessary Utensils & Equipment
-
-
-
- Large mixing bowls
-
- Electric mixer (stand or hand-held)
-
- Measuring cups and spoons
-
- Assorted Christmas cookie cutters
-
- Baking sheets
-
- Parchment paper or silicone baking mats
-
- Wire cooling rack
-
- Piping bags and tips (for icing)
-
- Sifter (for powdered sugar)
-
-
Instructions
-
-
-
- Combine Dry Ingredients: In a medium bowl, whisk together the flour, baking powder, and salt. Set this aside for a moment.
-
- Cream Butter and Sugar: In a large mixing bowl, using your electric mixer, cream together the softened butter and granulated sugar on medium speed until the mixture is light and fluffy. This usually takes about 2-3 minutes.
-
- Add Wet Ingredients: Beat in the egg, then the vanilla extract and almond extract (if using). Scrape down the sides of the bowl to ensure everything is well combined.
-
- Gradually Add Dry to Wet: With the mixer on low speed, slowly add the dry flour mixture to the wet ingredients, mixing until just combined. Be careful not to overmix; overmixing can make your cookies tough. The dough will be a little soft, which is perfect.
-
- Chill the Dough: Divide the dough in half. Shape each half into a disc, wrap it tightly in plastic wrap, and refrigerate for at least 1 hour. Chilling is super important here – it prevents your cookies from spreading too much in the oven.
-
- Preheat Oven and Prep Sheets: Once your dough is chilled, preheat your oven to 375°F (190°C). Line two baking sheets with parchment paper or silicone baking mats.
-
- Roll Out Dough: On a lightly floured surface, roll out one disc of chilled dough to about ¼ inch thickness. If the dough is too stiff, let it sit at room temperature for a few minutes.
-
- Cut Shapes: Use your favorite Christmas cookie cutters to cut out shapes. Carefully transfer the cut cookies to your prepared baking sheets, leaving about 1 inch between each cookie.
-
- Bake Cookies: Bake for 8-10 minutes, or until the edges are lightly golden. The centers should still look soft. Don’t overbake them if you want soft, tender cookies!
-
- Cool Completely: Let the cookies cool on the baking sheets for 5 minutes before transferring them to a wire rack to cool completely. They must be completely cool before you try to decorate them.
-
- Prepare Royal Icing (Optional): In a clean, large bowl, combine the sifted powdered sugar and meringue powder. Slowly add the warm water and vanilla extract, mixing on low speed with your electric mixer until combined. Then, increase the speed to high and beat for 5-7 minutes until the icing forms stiff, glossy peaks. Add more water, a teaspoon at a time, if the icing is too thick.
-
- Color and Decorate: Divide the icing into separate bowls if you’re using different colors. Add gel food coloring and mix well. Transfer the icing to piping bags fitted with small tips, and let your creativity shine! Decorate your cooled cookies as desired. Allow the icing to dry completely before stacking or storing. This can take several hours, or even overnight.
-
-
Tips To Make Good Cookies
It’s so rewarding to decorate beautiful Christmas sugar cookies, but there are little snags that can sometimes occur. I have been baking these for years, and have learned some tricks to do them. The best tips I can give you for making cookies every time!
Troubleshooting Common Cookie Issues
When you’re dealing with dough, things don’t always go as planned!
- Cookies Spreading Too Much? This is a super common issue. The main culprit is often warm dough. Make sure you chill your dough for at least 1 hour, or even longer, before rolling. If your kitchen is warm, you can even pop your cookie-cut shapes back into the fridge for 10-15 minutes before baking. Using cold butter, not melted, when you start is also vital for the right texture.
- Dough Sticking to the Counter or Roller? A little flour is your friend! Lightly dust your rolling surface, rolling pin, and even your cookie cutters with all-purpose flour. Don’t go overboard, as too much flour can make your cookies dry, but a light coating makes all the difference. You can also roll the dough between two sheets of parchment paper.
- Tough or Crumbly Cookies? This usually comes down to overworking the dough. Once you add the flour, mix it just until everything is combined. As soon as you see no dry streaks of flour, stop mixing. Also, if your cookies are tough, you might be overbaking them. Look for just a hint of golden on the edges, and pull them out!
Pro Tip: For cookies with perfectly crisp edges and soft centers that hold their shape beautifully, always make sure your butter is truly softened, not melted, and always chill your dough for at least an hour. This step is a game-changer for cutout cookies!
Delicious Variations to Try
While classic sugar cookies are wonderful, it’s fun to mix things up!
- Citrus Zest: For a brighter flavor, add 1-2 teaspoons of lemon, orange, or lime zest to your butter and sugar mixture. The citrus notes pair wonderfully with the sweetness.
- Spiced Christmas Cookies: Incorporate ½ teaspoon of ground cinnamon and ¼ teaspoon of ground nutmeg into your dry ingredients for a warm, spiced twist. You could even add a pinch of ground ginger.
- Vanilla Bean Paste: If you want an even deeper, richer vanilla flavor and those pretty little flecks, swap out the vanilla extract for an equal amount of vanilla bean paste. It makes a noticeable difference in taste and aroma.
- Chocolate Dipped: Instead of royal icing, melt some good quality chocolate chips (milk, dark, or white) and dip half of your cooled cookies. Add sprinkles before the chocolate sets for a lovely finish.
Storage and Make-Ahead Tips
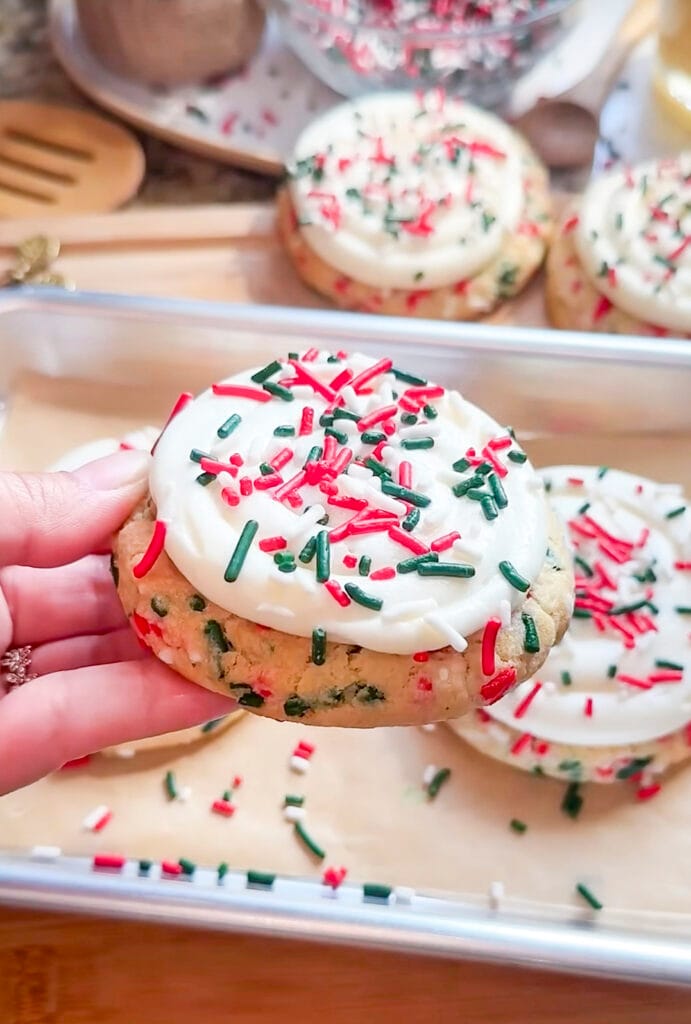
Planning ahead can save you a lot of time and stress during the busy holiday season.
- Dough Storage: You can make the cookie dough up to 3 days in advance. Just keep it tightly wrapped in plastic in the refrigerator. If it’s very firm when you’re ready to roll, let it sit on the counter for 10-15 minutes to soften slightly.
- Baked (Un-iced) Cookies: Store baked, un-iced cookies in an airtight container at room temperature for up to 5-7 days. To keep them extra fresh, place a slice of bread in the container; the cookies will absorb moisture from the bread.
- Iced Cookies: Once decorated with royal icing, ensure the icing is completely dry (this can take 6-12 hours, sometimes longer depending on humidity) before stacking them. Store them in an airtight container at room temperature for up to 2 weeks.
- Freezing Dough: You can freeze the unrolled cookie dough for up to 3 months. Wrap the discs tightly in plastic wrap, then place them in a freezer-safe bag. Thaw in the refrigerator overnight before rolling and baking.
- Freezing Baked Cookies: Baked, un-iced cookies freeze beautifully for up to 3 months. Let them cool completely, then place them in a single layer on a baking sheet to flash freeze for an hour. Once frozen, transfer them to a freezer-safe bag or container, separating layers with parchment paper. Thaw at room temperature before decorating.
Creating these cookies is all about enjoying the process, and the delightful aroma that fills your kitchen. They’re a classic for a reason, bringing smiles and festive cheer to everyone who tastes them. What’s your favorite way to decorate yours?
Frequently Asked Questions
Can I use any type of flour for Christmas sugar cookies?
We recommend using all-purpose flour for this recipe. Its protein content provides the perfect balance for a tender yet sturdy cookie that holds its shape well after cutting and baking. Other flours might drastically change the texture and could make your cookies spread more or become too tough.
How do I prevent my sugar cookies from spreading during baking?
The key to preventing spreading is well-chilled dough and using cold butter when you start. Ensure your butter is softened, not melted, and that the dough chills in the fridge for at least 1 hour. You can also try popping your cut-out cookies back into the refrigerator for 10 minutes before baking.
What’s the difference between royal icing and buttercream for decorating?
Royal icing dries hard and smooth, creating a beautiful, crisp surface perfect for detailed decorating and stacking. It has a slightly crisp bite. Buttercream, on the other hand, stays soft and creamy, offering a richer, melt-in-your-mouth texture. For cookies that need to hold intricate designs or be shipped, royal icing is the preferred choice.
My cookies are hard after baking, what did I do wrong?
Hard cookies are usually a sign of overbaking or overmixing the dough. For tender cookies, bake them just until the edges are lightly golden and the centers still look soft. Remember, they’ll continue to cook slightly on the hot baking sheet even after you take them out of the oven. Also, mix the flour into the wet ingredients only until just combined.
Can I make these Christmas sugar cookies ahead of time?
Absolutely! You can prepare the cookie dough up to 3 days in advance and store it tightly wrapped in the refrigerator. Baked, un-iced cookies can be stored in an airtight container for up to a week at room temperature, or frozen for up to 3 months. Decorate them when you’re ready to serve!