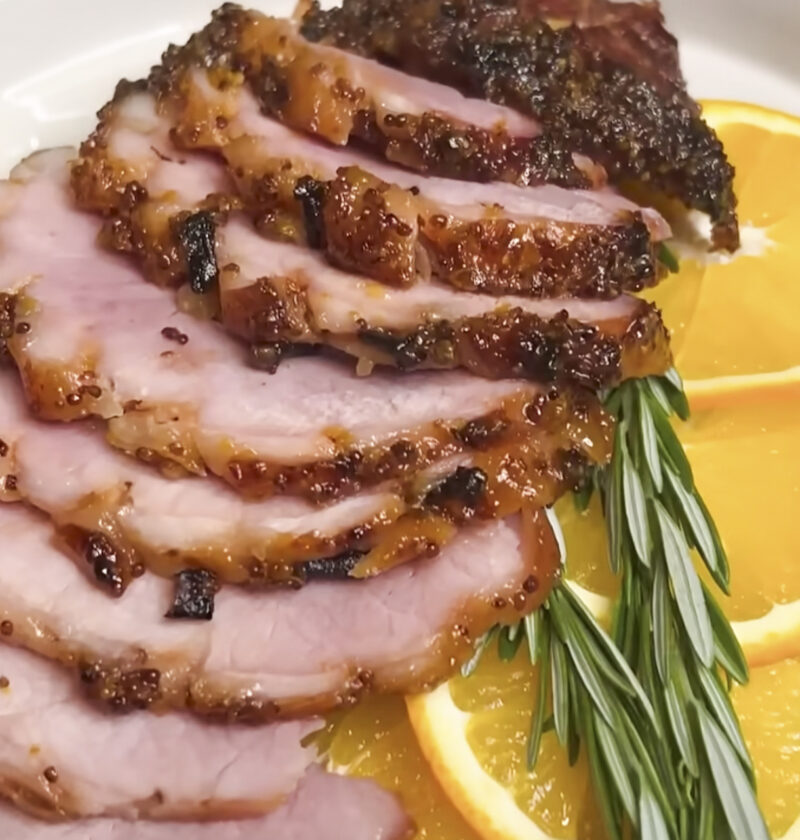
Recall a rainy evening when this dish has brought comfort. There is something about having a warm dish cooked to perfection and glazed with a sweet and salty glaze, that make any gathering complete. This is a dish that brings people together and serves as a centerpiece to any event, and it couldn’t be easier to achieve. I will share with you my personal recipe to a honey baked ham, one that has been perfected over many holidays.
Say goodbye to bland, boring, and under seasoned hams of the past. This tender, flavorful, and slightly caramelized dish will leave your guests talking. This recipe will amaze you with how easy it is to prepare a meal that will become a staple in your family for years to come.
Honey baked ham
A tender, sweet-glazed ham that promises a show-stopping centerpiece every time.
Ingredients
-
-
- 8-10 pound bone-in, fully cooked spiral-sliced ham
-
- 1 cup honey
-
- ½ cup packed light brown sugar
-
- ¼ cup Dijon mustard
-
- 2 tablespoons apple cider vinegar
-
- 1 teaspoon ground cloves
-
- ½ teaspoon onion powder
-
- ¼ teaspoon black pepper
-
- Optional: ¼ cup water or pineapple juice for the roasting pan
-
Necessary Utensils & Equipment
-
-
-
- Large roasting pan with a rack
-
- Aluminum foil
-
- Small saucepan
-
- Basting brush
-
- Meat thermometer
-
- Measuring cups and spoons
-
- Sharp carving knife
-
-
Instructions
-
-
-
- Preheat your oven to 325°F (160°C). If your ham came with a glaze packet, discard it. We’re making our own superior glaze!
-
- Place the ham, cut side down, on the rack in your roasting pan. If you’re using water or pineapple juice, pour it into the bottom of the pan to help with moisture.
-
- Cover the ham tightly with aluminum foil, ensuring it’s sealed well to keep the moisture inside. This is key for a juicy ham.
-
- Bake for 2 to 2.5 hours, or about 10-12 minutes per pound, until the internal temperature reaches 130°F (54°C).
-
- About 30 minutes before the ham is done, prepare your glaze. In a small saucepan, whisk together the honey, brown sugar, Dijon mustard, apple cider vinegar, ground cloves, onion powder, and black pepper. Bring the mixture to a gentle simmer over medium heat, stirring constantly, until the sugar completely dissolves and the glaze thickens slightly, about 3-5 minutes. You’ll know it’s ready when it coats the back of a spoon beautifully. Remove it from the heat.
-
- Once the ham reaches 130°F, remove it from the oven and increase the oven temperature to 400°F (200°C). Carefully remove the foil.
-
- Using your basting brush, generously coat the entire surface of the ham with the warm honey glaze. Don’t be shy!
-
- Return the ham to the oven, uncovered, and bake for another 15-20 minutes. Baste every 5-7 minutes with more glaze from the saucepan, or the delicious glaze dripping into the pan, until the ham reaches an internal temperature of 140°F (60°C) and the glaze is beautifully caramelized and sticky. This is where the magic happens, creating that signature sweet crust.
-
- Carefully remove the ham from the oven. This next step is crucial for a tender, juicy ham, so don’t skip it! Tent it loosely with foil and let it rest for at least 15-20 minutes before carving. This allows the juices to redistribute throughout the meat.
-
- Carve the ham against the grain, using a sharp knife. If it’s a spiral-sliced ham, you’ll simply follow the pre-cut lines and then slice around the bone. Serve with any remaining glaze from the pan.
-
-
Tips from Experts to Succeed
The basic recipe is well known to you now, but let’s see how we can spice up your cooking of the honey baked ham to make it even more special. Some hints can do wonders for you!
Getting the Best Ham
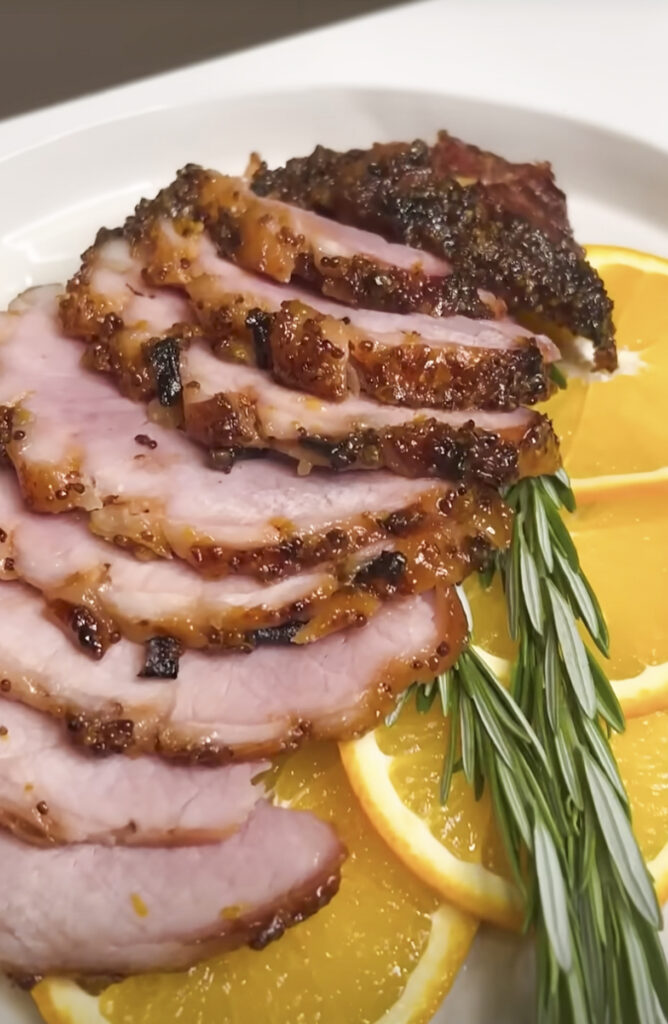
Next time you’re shopping at the supermarket, be sure to choose a pre-cooked ham that has been sliced spirally and has the bone still intact. The bone imparts amazing flavor to the meat, while the spiral slice will make it easy to carve. The slices will provide many hiding spots for your glaze.
“Pro Tip: Don’t overcook your ham before glazing! Hams are already cooked, so you’re just warming it through. The final glazing stage is where you build flavor and crust, not where you finish cooking the interior.”
Troubleshooting Common Issues
- Dry Ham? This is usually due to overcooking or not covering the ham properly during the initial baking phase. Always use a meat thermometer and stick to the recommended internal temperatures. Covering it tightly with foil prevents moisture loss.
- Glaze Not Sticking? Ensure your ham is warm when you apply the glaze; a cold ham won’t allow it to adhere as well. Also, make sure you’ve simmered your glaze long enough for the sugar to fully dissolve and thicken slightly. If it’s too thin, it’ll just run off.
- Glaze Burning? If your glaze is getting too dark too quickly, tent the ham loosely with foil while it’s in the oven during the final glazing stage. Every oven runs a little differently, so keep an eye on it.
Flavor Variations and Additions
While the classic honey glaze is divine, there are ways to introduce other flavors if you’re feeling adventurous:
- Spicy Kick: Add a pinch of cayenne pepper or red pepper flakes to your glaze for a little heat.
- Fruity Notes: A splash of orange juice, pineapple juice, or even a tablespoon of apricot preserves can brighten the glaze’s taste.
- Herbaceous Touch: Fresh rosemary or thyme sprigs tucked around the ham in the roasting pan can add an aromatic twist as it bakes.
Storing Leftovers and Reheating
Leftover ham is a gift that keeps on giving! It’s fantastic in sandwiches, soups, casseroles, or even just warmed up on its own.
- Refrigeration: Store any leftover ham in an airtight container in the refrigerator for up to 3-5 days.
- Freezing: For longer storage, you can freeze carved ham slices in a freezer-safe bag or container for up to 1-2 months. Thaw in the refrigerator overnight before reheating.
- Reheating: To warm it up, gently reheat slices in a covered dish in the oven at 275°F (135°C) with a splash of water or broth, or in a skillet over low heat until warm. Avoid high heat, which can dry it out.
I recall a time I had a ton of leftover ham after a big family meal. I shredded some of it and tossed it into a quick frittata the next morning, and it was a revelation! It just goes to show you how versatile this dish can be, beyond the main event. This recipe not only delivers a phenomenal main course, but it also gives you a head start on delicious meals for the week. What a wonderful feeling to have deliciousness ready!
Frequently Asked Questions
Can I use a boneless ham for this recipe?
Absolutely! This recipe works beautifully with boneless hams as well. Just be aware that boneless hams often cook a bit faster than bone-in versions, so adjust your cooking time accordingly and rely on your meat thermometer for accuracy. You’re still aiming for that 130°F internal temperature before glazing and 140°F final temperature.
How do I get the glaze to be extra thick and shiny?
For a thicker, shinier glaze, you can reduce it slightly longer on the stovetop. Be careful not to let it burn. Also, during the final glazing period in the oven, really pay attention to basting frequently. Each layer builds on the last, creating that deep, caramelized sheen. Some folks like to add a tiny bit of cornstarch slurry (1 tsp cornstarch mixed with 1 tsp cold water) to the simmering glaze, but I typically find it’s not needed if you reduce it enough.
What are the best side dishes to serve with honey baked ham?
Honey baked ham pairs wonderfully with a variety of classic side dishes. Think creamy mashed potatoes, roasted asparagus, green bean casserole, sweet potato casserole, or a fresh garden salad. Don’t forget some warm dinner rolls for soaking up any extra glaze or juices!
Do I need to score a spiral-sliced ham?
No, you don’t need to score a spiral-sliced ham because it’s already pre-cut. The spiral cuts already provide plenty of surface area for the glaze to seep into and coat. If you’re using a traditional bone-in ham that isn’t pre-sliced, then scoring the fat layer in a diamond pattern before applying the glaze would be a really nice touch.
Can I prepare the honey glaze ahead of time?
Yes, you certainly can! You can make the honey glaze up to 2-3 days in advance. Simply prepare it as directed, let it cool completely, and then store it in an airtight container in the refrigerator. When you’re ready to use it, gently warm it in a saucepan over low heat until it’s pourable and ready to baste.
What’s your favorite part about making a big ham for a family dinner?