There are some snacks that just taste different, you know. The perfect crispy exterior and juicy, savory interior? Yeah, we’re talking about it. So if you’re fed up with the guilt of eating fried chicken, but still want that satisfying crunch, then prepare to fall in love with your new favorite recipe: Air Fried Chicken Bread Rolls. It’s not just a snack: It’s a tasty and ingenious method for a traditional comfort food that packs a lot less fat. We’re eliminating the clutter and adding the flavor, which is a sure winner for weeknights, parties or just because you deserve something really good. Believe me, you will never make them any other way after you try these.
Key Takeaways
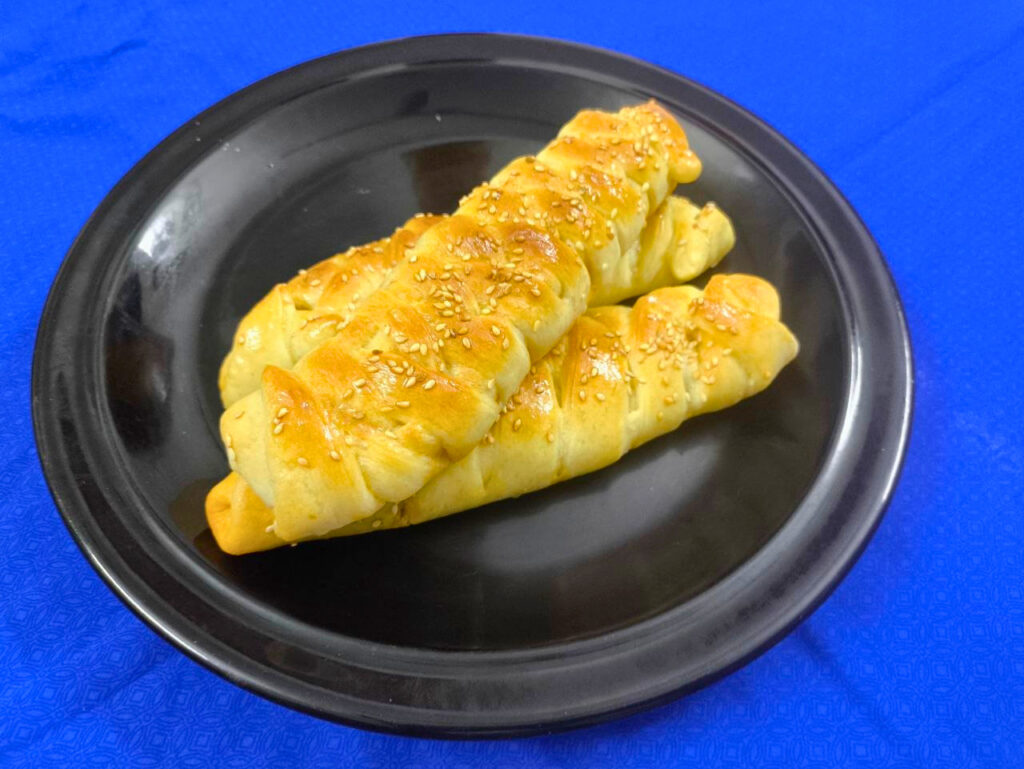
Air Fried Chicken Bread Roll
Ingredients
-
-
- 250 grams boneless, skinless chicken breast or thighs, finely diced
-
- 1 tablespoon oil (vegetable or olive)
-
- 1 medium onion, finely chopped
-
- 1 teaspoon ginger-garlic paste
-
- ½ teaspoon turmeric powder
-
- 1 teaspoon red chili powder (adjust to taste)
-
- 1 teaspoon ground cumin
-
- 1 teaspoon ground coriander
-
- ½ teaspoon garam masala
-
- ¼ cup water or chicken broth
-
- Salt to taste
-
- Fresh cilantro, chopped (for garnish, optional)
-
- 8 slices white or whole wheat bread, crusts removed
-
- 2 tablespoons all-purpose flour
-
- 4 tablespoons water
-
- Oil spray for air frying
-
Instructions
-
-
- Prepare the Chicken Filling: Heat 1 tablespoon oil in a pan over medium heat. Add the chopped onion and cook until softened and translucent, about 3-5 minutes.
-
- Add the ginger-garlic paste and sauté for 1 minute until fragrant.
-
- Stir in the finely diced chicken. Cook for 5-7 minutes, breaking it apart with a spoon, until it’s no longer pink.
-
- Add turmeric powder, red chili powder, ground cumin, ground coriander, garam masala, and salt. Mix well and cook for 2 minutes, allowing the spices to toast slightly.
-
- Pour in the water or chicken broth, cover the pan, and let it simmer for 5-7 minutes, or until the chicken is cooked through and the liquid has mostly absorbed. The filling should be moist but not watery.
-
- Remove from heat, stir in fresh cilantro if using, and let the filling cool completely. This cooling step is very important; hot filling can make your bread soggy.
-
- Prepare the Bread: While the filling cools, prepare your bread. Gently flatten each slice of bread with a rolling pin. This makes the bread more pliable and easier to roll.
-
- In a small bowl, mix the all-purpose flour with water to create a thick paste. This will be your sealing “glue.”
-
- Assemble the Rolls: Take a flattened bread slice and place a spoonful of the cooled chicken filling (about 1.5-2 tablespoons) near one end.
-
- Roll the bread tightly, starting from the end with the filling. Once rolled, use the flour paste to seal the edges completely, pressing firmly. Ensure there are no gaps for the filling to escape.
-
- Repeat with the remaining bread and filling.
-
- Air Fry the Rolls: Preheat your air fryer to 375°F (190°C) for 5 minutes.
-
- Lightly spray the chicken bread rolls with oil. This helps achieve that beautiful golden crisp.
-
- Place the rolls in a single layer in the air fryer basket, making sure not to overcrowd it. You’ll likely need to work in batches.
-
- Air fry for 12-15 minutes, flipping them halfway through, until they are golden brown and crispy all over. The exact time might vary based on your air fryer model.
-
- Serve hot with your favorite dipping sauce, like ketchup, mint chutney, or sweet chili sauce.
-
The secret to Air Fried Chicken Bread Rolls is simple: they are a game changer
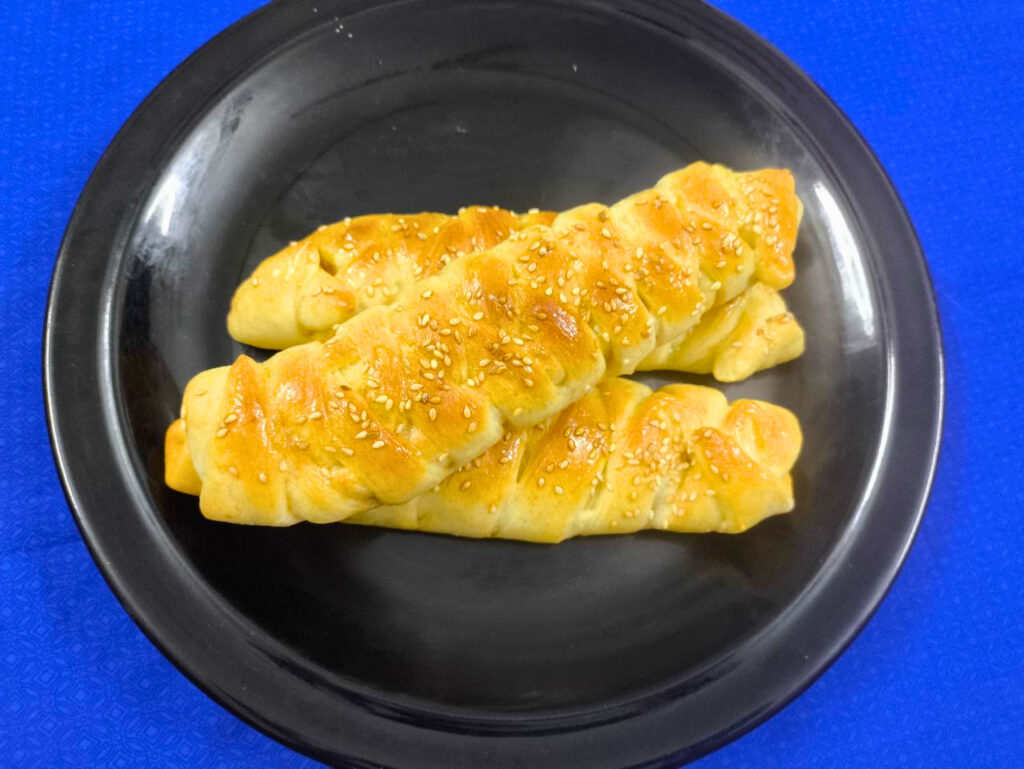
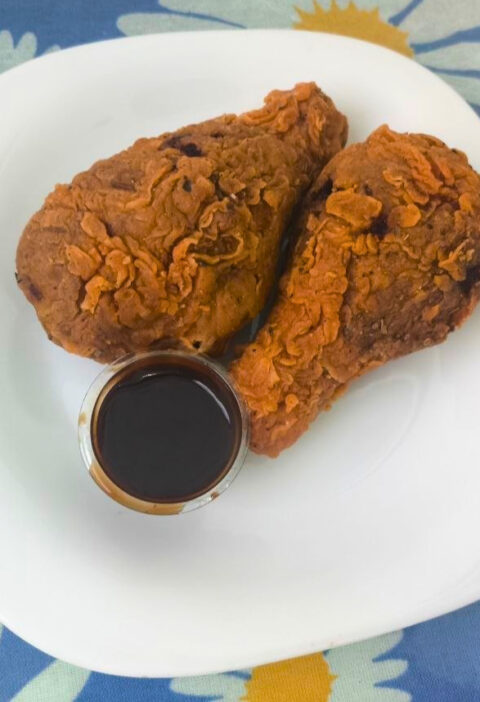
It’s a fact: deep fried food is tasty, but it tends to be high in fat and a bit greasy. The air fryer is like a superhero in this scenario. When you air fry these chicken bread rolls, you’re getting all the delightful crunch and savory flavor without the excessive oil. After all, a crispy exterior and a soft, spicy chicken interior – what could be better?
We’re talking about a fast cook time as well. These golden beauties can be ready to go in just about 15 minutes. It’s ideal for when you’re busy and don’t have much time, but you want something satisfying. Not to mention, it’s much easier to clean up than a pot of hot oil! I’m being honest here, after making these, you’ll understand why the air fryer is a kitchen must have.
Making of the Perfect Chicken Filling: A Chef’s Secret
The heart of any good bread roll is its filling, right? The secret to these air fried goodies is ensuring that the chicken filling is just right. It should be seasoned, moist and flavoursome, but not too wet. A soggy filling can make a soggy bread roll; a soggy bread roll will break easily. The key to this is using finely diced chicken, as it will cook evenly and rapidly, giving a uniform texture.
These are a recipe I tried making the first time with shredded chicken, and I didn’t cook down the spices enough. The result? A slightly chewy filling, raw spice flavor and some of my rolls even exploded because the filling was too chunky and wet. It was an educational experience! I always cut the chicken into small pieces and allow those spices to really cook and toast in the pan now. That little pot of water or broth that simmers? Don’t skip it. It guarantees the chicken is cooked to perfection and absorbs all of those delicious flavors. Then, allowing it to cool completely is the unsung hero, trust me on that. It keeps your bread from getting wet when you bake it in the steamer.
Shaping and Sealing for Success: Your Rolls Won’t Burst!
You’ve got your amazing filling for your chicken, now let’s discuss the bread. Not just any bread will do, and how it’s handled will make a difference. Always use fresh soft white or whole wheat bread. When it comes to flattening the bread, stale bread will crack. No one wants that.
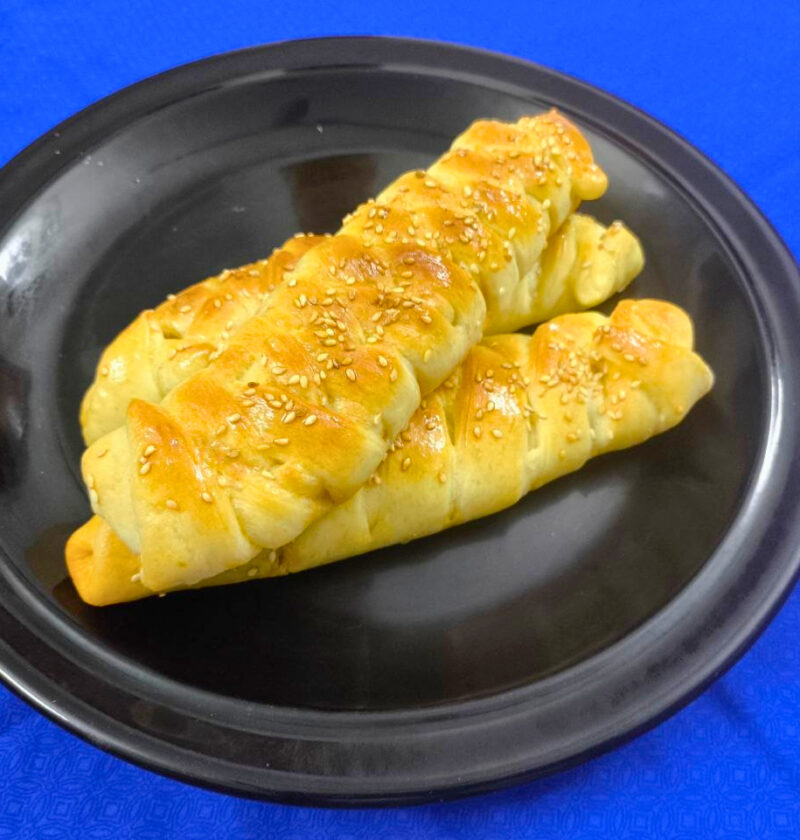
The rolling pin is a game-changer when it comes to gently flattening each slice. It presses the bread down, allowing it to be rolled without tearing. Consider it to be like dough, you are stretching it. As far as sealing is concerned, that flour paste is a friend indeed. It works like a natural glue to keep the roll together during air frying. A tightly sealed roll is a happy roll – it will not ooze its deliciousness. Take a bit more time on this step; it will be worth your while with perfectly intact golden-brown rolls. You want to press those edges together tightly – almost into pinching – to form a strong seam.
Air Frying for Golden Perfection
This is where the magic really takes place! All about air frying is hot air circulation, which is similar to deep frying, but uses a little less oil. There are some things that are a must do to achieve that beautiful golden-brown color and amazing crisp. The first is that you should preheat your air fryer. It must be at temperature like a regular oven to cook evenly the moment your food is placed in it.
Second, be sure to use light oil spray. This isn’t a matter of putting them in oil, but rather the right amount of fat to make them beautifully crisp and golden. It also helps to prevent them from drying out excessively. The bread will change from a pale color to a rich, yummy color, and you’ll hear that yummy sizzle.
Pro Tip: Don’t Overcrowd the Basket!
This is probably the single most important rule of air frying. Placing too many rolls in the basket at once prevents the hot air from circulating properly, leading to uneven cooking and soggy spots instead of crispness. Cook in batches for the best results, giving each roll enough space to “breathe” and get that all-around crisp texture.
Third, flipping halfway through is key for even browning. You want every side of your roll to get exposed to that circulating hot air. When they come out, they’ll have that lovely crunch and a rich, savory aroma that will make your mouth water instantly.
Expert Tips for Air Fried Chicken Bread Rolls
Making these rolls is straightforward, but a few pointers can take them from good to absolutely fantastic. I’ve picked up some useful tidbits over time that I’m excited to share with you.
Troubleshooting Common Issues
- Soggy Rolls: If your rolls aren’t crisp, it’s usually one of two reasons. Either your chicken filling was too wet (make sure it’s cooled and not watery!) or your air fryer basket was overcrowded. Remember that pro tip!
- Rolls Bursting: This often happens if the bread wasn’t flattened enough, the filling was overstuffed, or the edges weren’t sealed properly with the flour paste. Be generous with the paste and press firmly.
- Dry Chicken Filling: Ensure you don’t overcook the chicken during the initial sautéing. The simmering step helps keep it moist. A touch of cream or yogurt could also be stirred in at the end if you prefer an even richer filling.
Flavor Variations to Try
Once you’ve mastered the basic recipe, feel free to get creative! Here are some ideas:
- Cheesy Chicken Rolls: Add a tablespoon of grated cheddar or mozzarella cheese to the chicken filling once it’s cooled.
- Spicier Kick: Increase the red chili powder, or add some finely chopped green chilies to the onion mixture.
- Herbaceous Goodness: Beyond cilantro, try adding fresh mint or a pinch of dried oregano to the filling.
- Veggie Boost: Mix in finely chopped bell peppers, carrots, or peas to the chicken filling for added texture and nutrients. Just make sure to sauté them until tender first.
- Dipping Sauce: While ketchup is classic, consider serving with a spicy mayo, a tangy tamarind chutney, or even a creamy yogurt-based dip.
Storage and Reheating
Got leftovers? No problem! These rolls are surprisingly good for making ahead or enjoying later.
- Refrigeration: Store cooked and cooled chicken bread rolls in an airtight container in the fridge for up to 2-3 days.
- Freezing (Uncooked): You can prepare the rolls up to the air frying step, then freeze them on a baking sheet until solid. Once frozen, transfer them to a freezer-safe bag or container. They’ll keep for up to 1 month. When ready to cook, air fry directly from frozen, adding about 5-8 minutes to the cooking time.
- Reheating Cooked Rolls: The best way to reheat them is in the air fryer! Pop them back in at 350°F (175°C) for 5-7 minutes, or until warmed through and crispy again. A microwave will make them soggy, so avoid it if you want that crunch back.
These rolls are fantastic for meal prepping, too. Imagine pulling them out of the freezer, air frying them, and having a delicious snack or light meal ready in minutes. It’s a real time-saver!
Frequently Asked Questions
Q: Can I use brown bread instead of white bread?
A: Absolutely! Whole wheat or brown bread works perfectly. Just make sure it’s fresh and soft enough to flatten without tearing. The flavor might be slightly different, but the crispness will still be there.
Q: What if I don’t have an air fryer? Can I bake them?
A: Yes, you can bake them! Preheat your oven to 400°F (200°C). Lightly spray the rolls with oil and bake on a baking sheet for 15-20 minutes, flipping halfway, until golden brown and crispy. Keep a close eye on them to prevent burning.
Q: Can I use different meats for the filling?
A: Definitely! Ground turkey, finely minced lamb, or even a mix of veggies (like potatoes and peas) seasoned with similar spices would work wonderfully. Just adjust the cooking time for the filling as needed.
Q: How do I prevent the bread from becoming too dry?
A: The light oil spray is crucial for preventing dryness and achieving a good crisp. Also, make sure you don’t overcook them in the air fryer; 12-15 minutes is typically enough. If your air fryer runs hot, you might need to reduce the time slightly.
Q: Can I prepare the filling in advance?
A: Yes, the chicken filling can be made a day in advance and stored in an airtight container in the refrigerator. Just make sure it’s completely cooled before you use it to assemble the rolls.
Ready to give these Air Fried Chicken Bread Rolls a try? What kind of dipping sauce are you going to serve with them? Let me know in the comments!