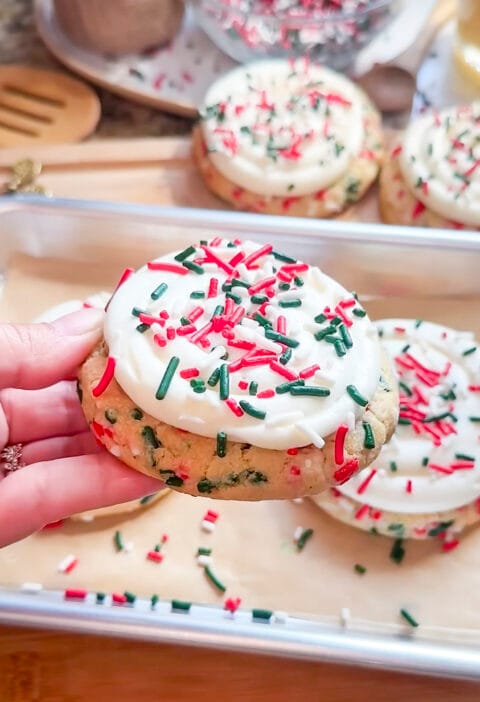
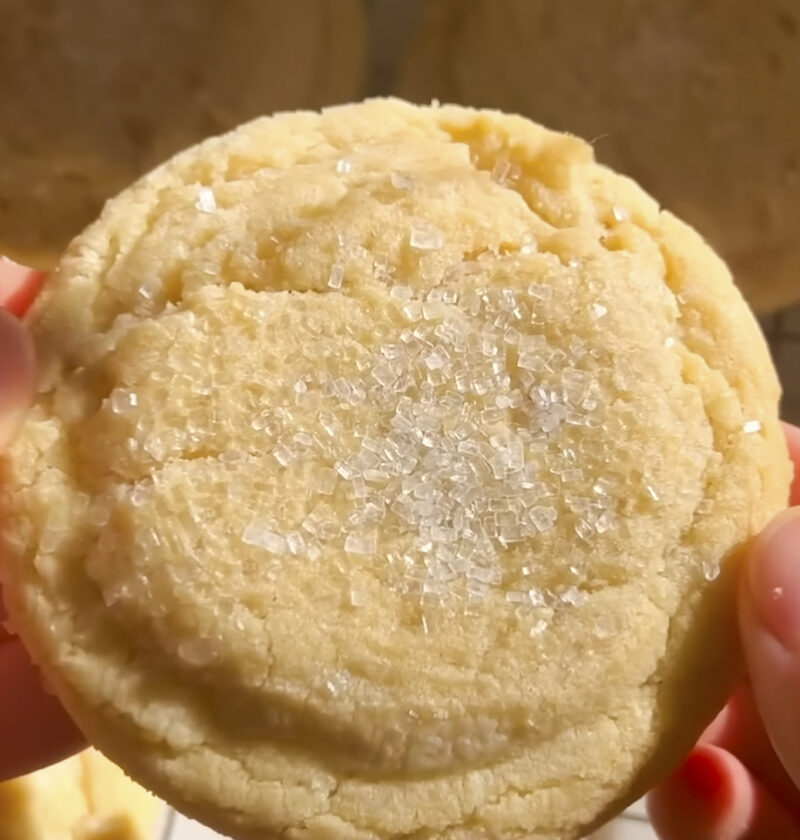
Can you really resist the smell of buttery homemade sugar cookies covered in pretty crisp royal icing? Well I certainly can’t! There is something so magical about taking a bite out of the perfect sugary soft cookie, it takes me straight back to my childhood when I used to decorate cookies with my Grandma. If you are looking for the perfect classic sugar cookie that is perfectly shaped and delicious then you’ve come to the right place. I’ll be sharing my go-to recipe and how I make them stand out from the rest using an easy tip. Using a little patience and this clever trick means you’ll always have perfect bakery-style cookies. Let’s get baking!
Classic sugar cookies
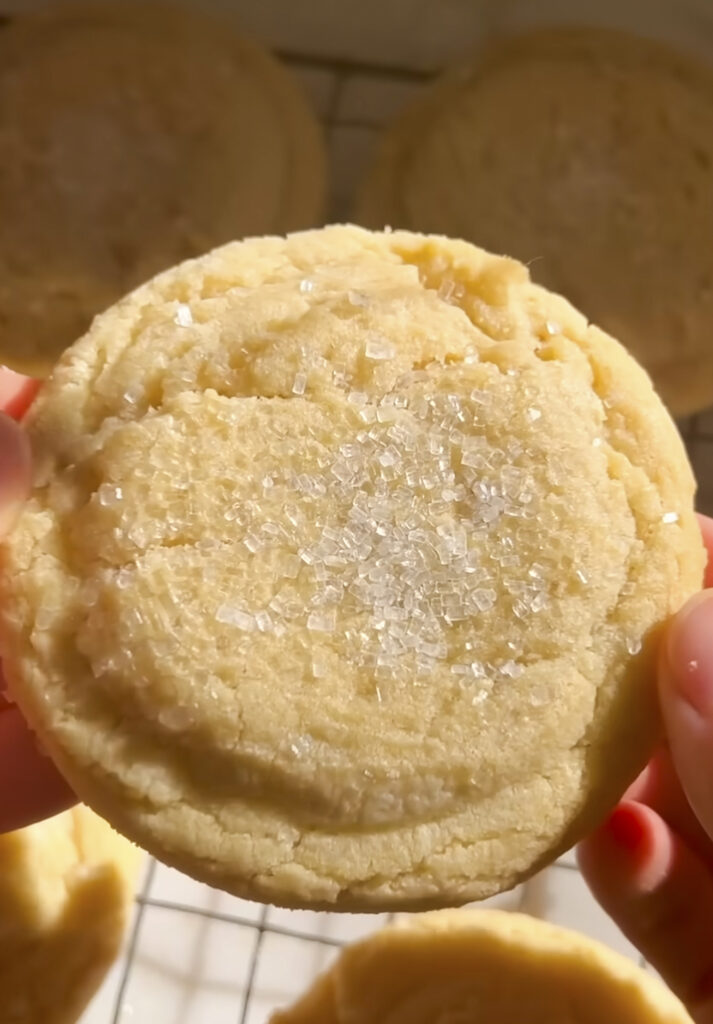
These perfectly crisp-on-the-edge, tender-in-the-middle sugar cookies are made even more charming with a smooth, sweet royal icing finish.
Ingredients
-
-
- 2 ¾ cups all-purpose flour
-
- 1 teaspoon baking powder
-
- ½ teaspoon salt
-
- 1 cup unsalted butter, softened
-
- 1 ½ cups granulated sugar
-
- 1 large egg
-
- 2 teaspoons vanilla extract
-
- ½ teaspoon almond extract (optional, but highly recommended!)
-
- 4 cups powdered sugar, sifted (optional)
-
- 3 tablespoons meringue powder (optional)
-
- 6-8 tablespoons warm water for royal icing (Optional)
-
- Food coloring, as desired
-
Necessary Utensils & Equipment
-
-
-
- Stand mixer with paddle attachment (or large mixing bowl and hand mixer)
-
- Large mixing bowls
-
- Measuring cups and spoons
-
- Sifter or fine-mesh sieve
-
- Rubber spatula
-
- Rolling pin
-
- Cookie cutters (various shapes)
-
- Parchment paper
-
- Baking sheets
-
- Wire cooling racks
-
- Piping bags or squeeze bottles (for royal icing)
-
- Small bowls for mixing icing colors
-
-
Instructions
-
-
-
- For the Sugar Cookies: In a medium bowl, whisk together the flour, baking powder, and salt. Set aside.
-
- In the bowl of a stand mixer fitted with the paddle attachment, cream together the softened butter and granulated sugar on medium speed until light and fluffy, about 2-3 minutes.
-
- Beat in the egg, then the vanilla extract and almond extract (if using), scraping down the sides of the bowl as needed.
-
- Gradually add the dry ingredients to the wet ingredients, mixing on low speed until just combined. Be careful not to overmix! The dough will be a bit sticky.
-
- Divide the dough in half and flatten each half into a disc. Wrap each disc tightly in plastic wrap. Refrigerate for at least 1 hour, or up to 2 days. This is the game-changing tweak: a good chill prevents spreading and helps those cookie edges stay sharp.
-
- Once chilled, preheat your oven to 375°F (190°C). Line baking sheets with parchment paper.
-
- On a lightly floured surface, roll out one disc of dough to about ¼-inch thickness. Use your favorite cookie cutters to cut out shapes.
-
- Carefully transfer the cut-out cookies to the prepared baking sheets, leaving about 1 inch between them. Gather any scraps, gently re-roll, and cut more cookies.
-
- Bake for 8-10 minutes, or until the edges are lightly golden. The centers should still look soft.
-
- Let the cookies cool on the baking sheets for 5 minutes before transferring them to a wire rack to cool completely. Repeat with the remaining dough.
-
- For the Royal Icing: In a large bowl, whisk together the sifted powdered sugar and meringue powder.
-
- Gradually add the warm water, starting with 6 tablespoons, and beat on low speed with a hand mixer or stand mixer until combined. Increase speed to medium-high and beat for 5-7 minutes, until the icing is glossy and holds stiff peaks. Add more water, a teaspoon at a time, if the icing is too thick.
-
- Divide the royal icing into separate bowls for different colors. Add food coloring gel (not liquid) a little at a time, mixing until you achieve your desired shades.
-
- For outlining, you want a thicker consistency (like toothpaste). For flooding (filling in the outline), thin a portion of your icing with a few drops of water until it has a “10-second count” – meaning a line drawn through it disappears in about 10 seconds.
-
- Transfer the icing to piping bags fitted with small round tips, or squeeze bottles.
-
- To Decorate: Once cookies are completely cool, outline each cookie with the thicker icing. Let the outline dry for 10-15 minutes.
-
- Then, flood the inside of the outline with the thinner icing. Use a toothpick to spread the icing to the edges and pop any air bubbles.
-
- Allow the flooded cookies to dry completely (several hours, or overnight) before adding additional details or stacking. This step is crucial for preventing smudges.
-
-
Tips To Make In Perfect
Whilst creating some beautiful sugar cookies using royal icing can be intimidating you will be an expert in no time! The main problem people face is with getting the royal icing to the right consistency.
When I made these for the first time I was so excited to get decorating that I did not fully chill the dough after cutting out. This meant that my cookies spread while baking and I lost all the lovely Christmas shapes. A frustrating lesson to learn, but a very important one. Don’t let me down! Chilling your cut outs prior to baking will make such a difference to keep the edges nice and sharp.
Dough & Baking Hacks
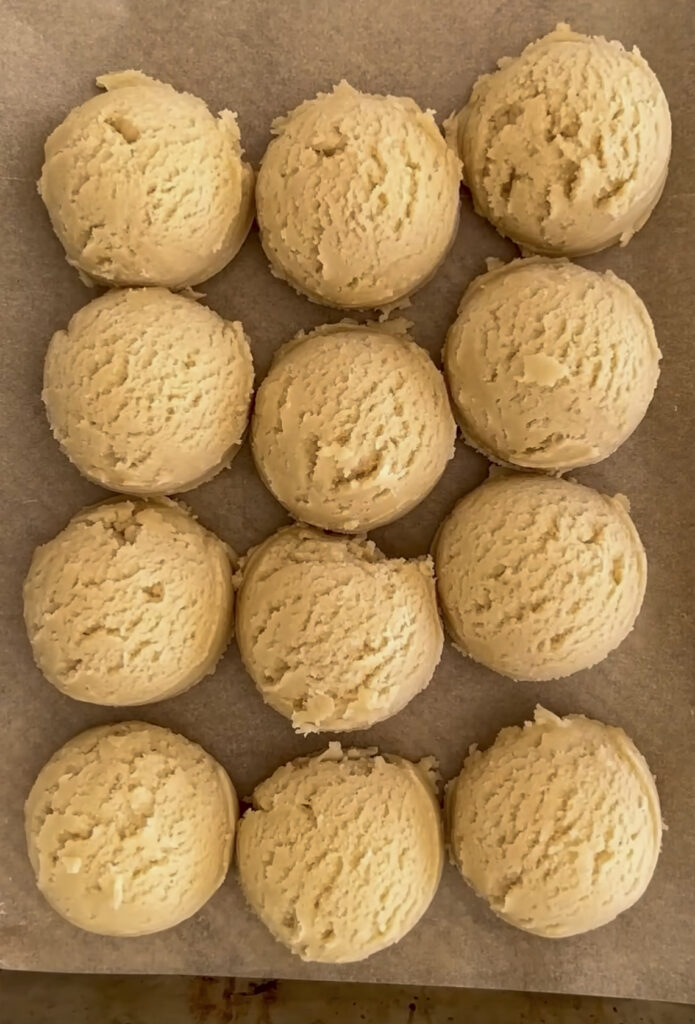
- Don’t Overwork the Dough: Once you add the flour, mix until *just* combined. Overmixing develops the gluten too much, which can result in tough, chewy cookies instead of tender ones.
- Chill the Cut-Outs: This is the big secret! After you roll out your dough and cut your shapes, place the cookie-cutter shapes directly onto your parchment-lined baking sheets and pop them back into the fridge for 10-15 minutes (or even the freezer for 5-10 minutes) before baking. This extra chill time is key for preventing spread and keeping your cookie edges beautifully crisp and defined.
- Uniform Thickness: When rolling out your dough, try to keep it an even ¼-inch thickness. This ensures your cookies bake uniformly and don’t have some burnt edges and undercooked centers.
Royal Icing Wisdom
Pro Tip: Mastering royal icing consistency is about observation, not just measurement. Always add water gradually, a teaspoon at a time, until it flows smoothly but holds its shape for outlining, and for flooding, aim for that “10-second count” consistency.
- Sift Your Powdered Sugar: This is non-negotiable for smooth royal icing. Lumps in your powdered sugar will clog your piping tips and make decorating incredibly frustrating.
- Meringue Powder vs. Egg Whites: I always recommend meringue powder over raw egg whites for royal icing. It’s safer (no salmonella risk), easier to store, and gives you incredibly consistent results without the worry of separating eggs.
- Coloring Advice: Always use gel food coloring. Liquid food coloring can add too much moisture to your icing, altering the consistency, and the colors won’t be as vibrant. Mix your colors fully before thinning for flooding.
- Dealing with Craters: If your flooded icing develops small craters, it usually means your flooding consistency was a little too thin, or you didn’t let your base layer dry enough before adding details. You can sometimes fix small ones by gently swirling a toothpick, but for larger issues, adjust your icing thickness next time.
- Preventing Color Bleed: Ensure each layer of icing is completely dry before adding another color on top, especially if the colors are contrasting. Humidity can also play a factor in colors bleeding.
Storage & Make-Ahead
- Cookie Dough: You can prepare the cookie dough discs and store them wrapped tightly in the refrigerator for up to 2 days, or in the freezer for up to 3 months. Thaw frozen dough in the fridge overnight before rolling.
- Baked (Un-iced) Cookies: Store plain baked sugar cookies in an airtight container at room temperature for up to 1 week, or freeze for up to 3 months.
- Iced Cookies: Once the royal icing has fully dried and hardened (this can take 12-24 hours depending on humidity), store the decorated cookies in an airtight container at room temperature for up to 2 weeks. Layer them with parchment paper to avoid scuffing the icing. You can also freeze decorated cookies; just be sure the icing is completely set and place them in a single layer in an airtight container.
There you have it – everything you need to bake and decorate classic sugar cookies that everyone will adore. Trust me, these aren’t just cookies; they’re little canvases of joy. What’s your favorite design to decorate your sugar cookies with?