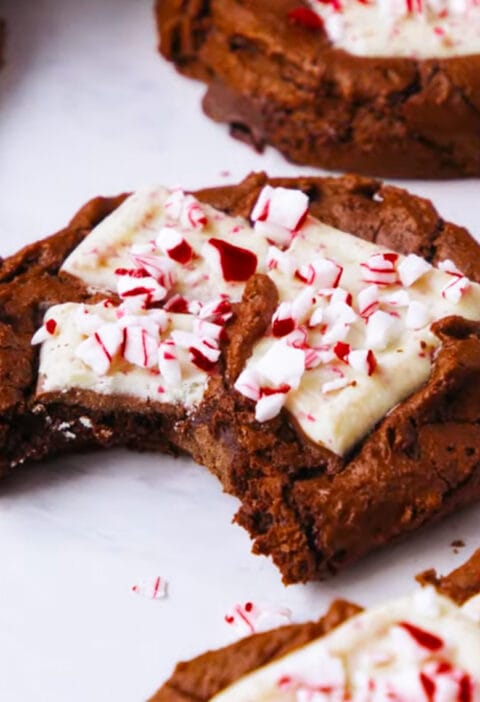
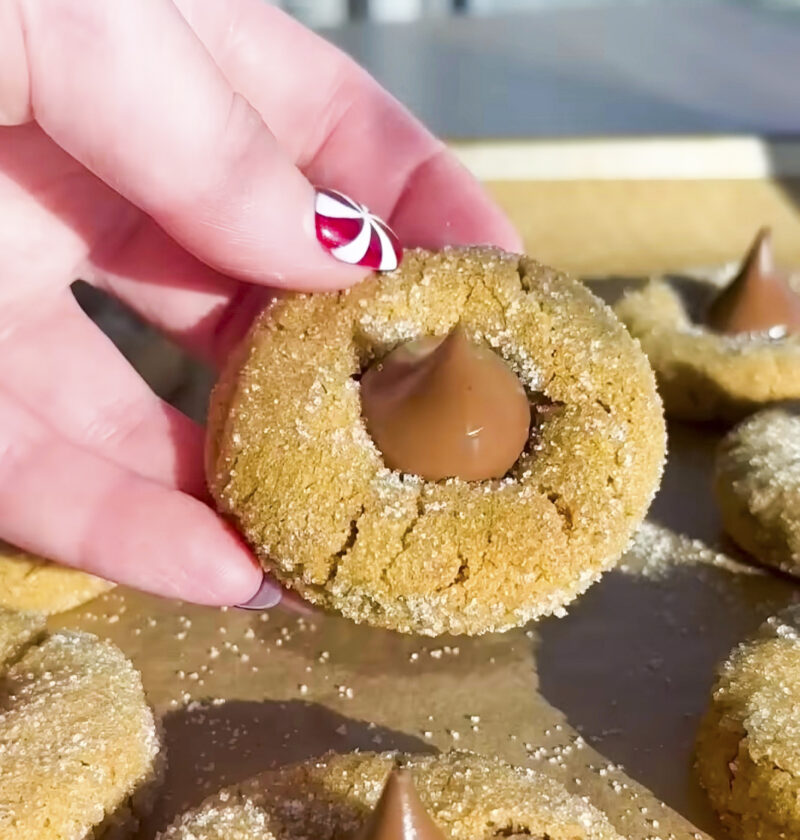
Nothing can beat the excitement of cooking. The ingredients are pulled out, the oven is heating up and some beautiful cookie dough is made. These Peanut Butter Blossoms have quick steps which makes them fun and exciting to bake. You will be having lots of fun rolling out your dough and adding in the iconic chocolate kisses. This is a recipe for everyone to get involved in. Everyone will enjoy the tasty treat that will make you feel cosy and bring back some lovely memories. Let’s get baking!
Peanut butter blossoms
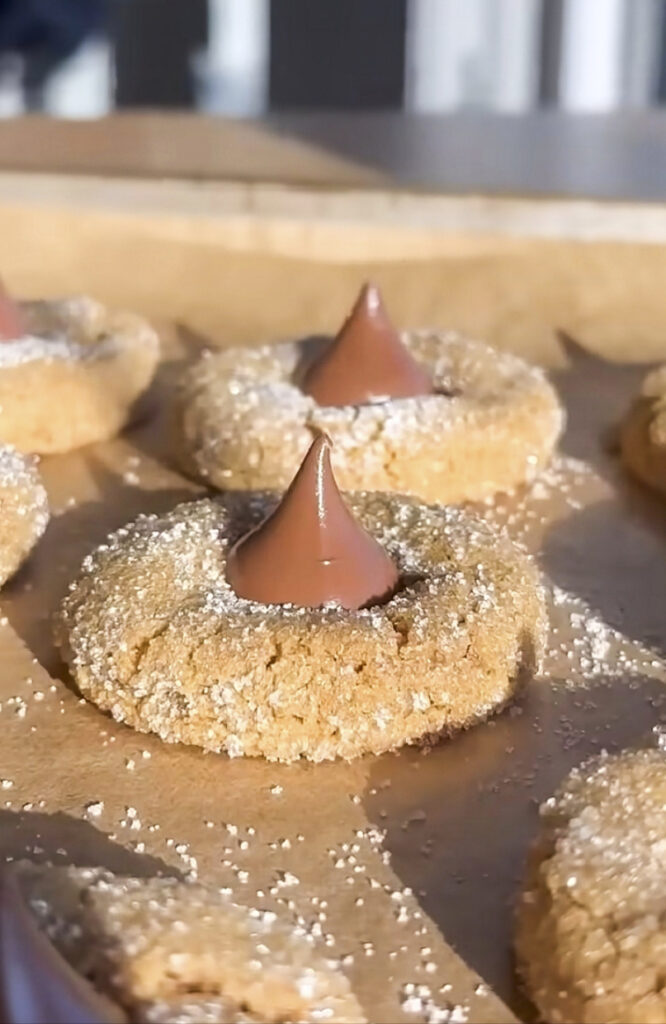
Soft, tender peanut butter cookies crowned with a melt-in-your-mouth chocolate kiss.
Ingredients
-
-
- 1/2 cup (1 stick) unsalted butter, softened
-
- 1/2 cup creamy peanut butter
-
- 1/2 cup granulated sugar, plus extra for rolling
-
- 1/2 cup packed light brown sugar
-
- 1 large egg
-
- 1 teaspoon vanilla extract
-
- 1 3/4 cups all-purpose flour
-
- 1 teaspoon baking soda
-
- 1/2 teaspoon salt
-
- Approximately 36 Hershey’s Kisses, unwrapped
-
Necessary Utensils & Equipment
-
-
-
- Large mixing bowl
-
- Electric mixer (stand or hand-held)
-
- Measuring cups and spoons
-
- Baking sheets
-
- Parchment paper or silicone baking mats
-
- Small bowl for rolling sugar
-
- Wire cooling rack
-
-
Instructions
-
-
-
- Preheat your oven to 375°F (190°C). Line a couple of baking sheets with parchment paper or silicone baking mats. This really helps with cleanup and prevents sticking.
-
- In a large mixing bowl, use your electric mixer to cream together the softened butter, peanut butter, granulated sugar, and brown sugar until the mixture is light and fluffy. This usually takes about 2-3 minutes.
-
- Beat in the egg and vanilla extract until they are fully combined. Scrape down the sides of the bowl to ensure everything is mixed evenly.
-
- In a separate medium bowl, whisk together the flour, baking soda, and salt. Make sure there aren’t any lumps.
-
- Gradually add the dry ingredients to the wet ingredients, mixing on low speed until just combined. Be careful not to overmix the dough.
-
- Pour some granulated sugar into a small, shallow bowl. Roll the cookie dough into 1-inch balls, then roll each ball in the sugar to coat it completely.
-
- Place the sugar-coated dough balls about 2 inches apart on your prepared baking sheets. They’ll spread a bit.
-
- Bake for 10-12 minutes, or until the edges are lightly golden and the centers are just set. The cookies will still look a little soft in the middle, and that’s exactly what you want!
-
- Immediately upon removing the cookies from the oven, gently press an unwrapped Hershey’s Kiss into the center of each warm cookie. The chocolate will soften and melt slightly, creating that beautiful “blossom” effect.
-
- Let the cookies cool on the baking sheets for about 5 minutes before transferring them to a wire rack to cool completely. This helps them hold their shape.
-
-
I have many memories of these cookies. I once tried making them, and I pressed the chocolate kisses into them before baking, but they ended up being misshapen. Rather, they were simply little puddles of chocolate on top of the cookie and with zero shape! It tasted delicious, but not exactly the kohi-kohi style I had in mind.
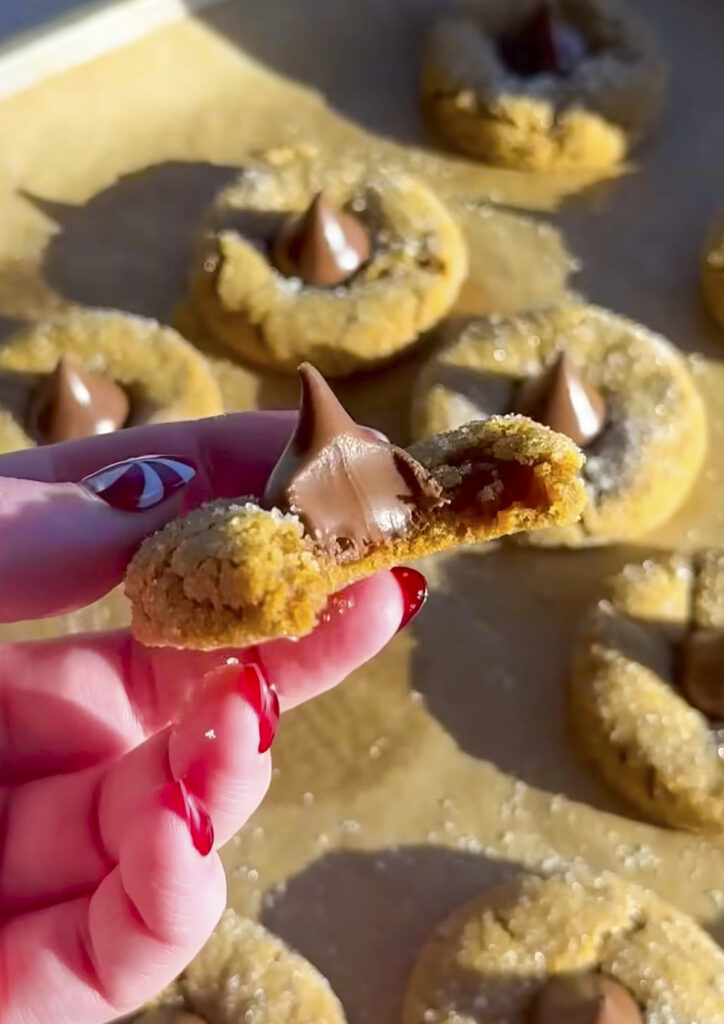
After all, life goes on right? I guess now I know the secret to making those top-notch, gooey melty chocolate tops! The scent of peanut butter baking and chocolate melting in the kitchen is definitely a simple pleasure of life.
Exquisite Tips
However, there are some basic tips that will enable you to get the most delicious peanut butter blossoms possible. This is a fairly tolerant recipe, meaning that everyone, regardless of their baking skills, will succeed in making some really good cookies.
Getting the Perfect Kiss
The timing of adding the chocolate kiss is what makes these cookies iconic. As I mentioned with my own learning curve, adding them too soon is a no-go. But you also don’t want to wait too long.
Pro Tip: Press the Hershey’s Kisses into the cookies within 1-2 minutes of pulling them from the oven. This ensures the chocolate softens just enough to adhere and create a lovely “blossom” shape without completely melting into a flat pool.
If your Kisses crack when you press them, your cookies might be a touch too cool. If they sink completely or become runny, your cookies might be a little too hot, or you’re pressing too hard. A gentle, firm press is what you’re looking for.
Troubleshooting Common Issues
Sometimes, things don’t go exactly as planned in the kitchen. Here are a couple of things you might encounter:
- Cookies Spreading Too Much: This can happen if your butter is too soft or if you’ve added too much flour. Try chilling your dough for 15-20 minutes before rolling and baking. Also, make sure you’re measuring your flour correctly – spooning it into the measuring cup and then leveling it off.
- Cookies Too Dry/Crumbly: Overmixing the dough can activate too much gluten, making the cookies tough. Only mix until the ingredients are just combined. Using fresh ingredients, especially the baking soda, also matters.
Variations and Storage
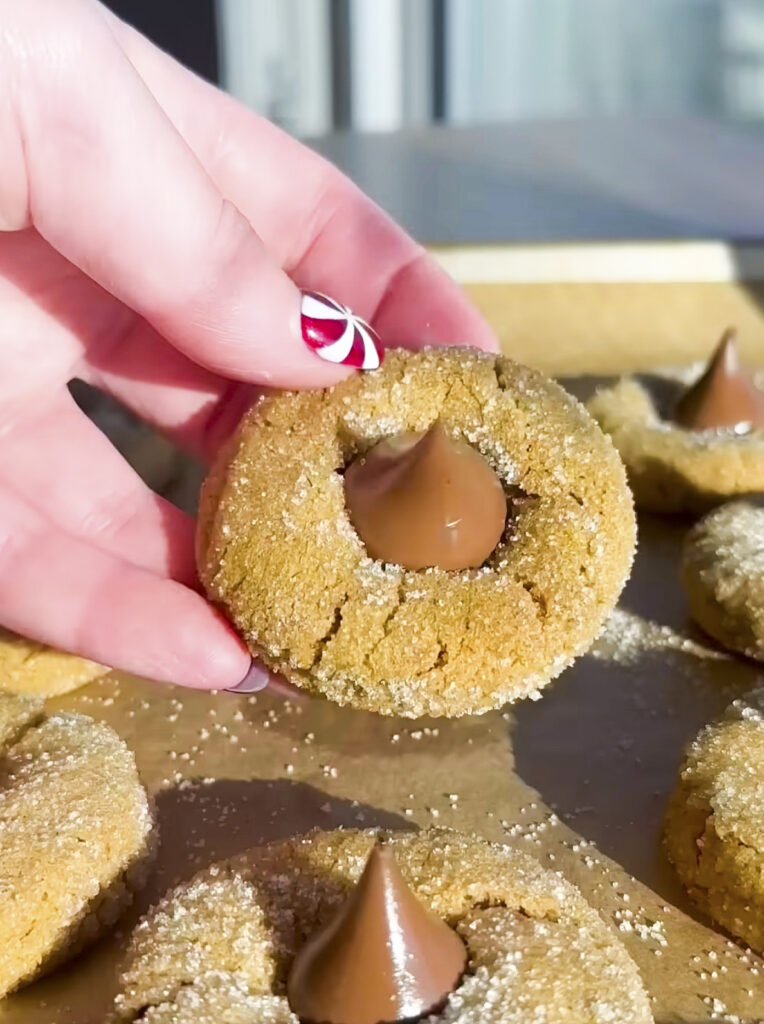
While the classic is wonderful, you can always play around a bit!
- Chocolate Choice: Not a fan of Hershey’s Kisses? You could use mini Reese’s peanut butter cups, small chocolate truffles, or even a square of a good quality chocolate bar. Just make sure to press them in while the cookies are warm.
- Nut Butter Swap: While these are “peanut butter” blossoms, you could experiment with almond butter or cashew butter for a different flavor profile. The texture might change slightly, but it’s worth trying!
- Additions: A pinch of cinnamon in the dough can add a warm spice note. You could also sprinkle a tiny bit of flaky sea salt on top of the chocolate kiss for a sweet-salty finish.
When it comes to keeping these beauties fresh, they’ll store well in an airtight container at room temperature for up to 5 days. If you want to keep them longer, you can freeze them for up to 3 months. Just thaw them on the counter before enjoying.
Peanut butter blossoms are a heartwarming treat that truly stands the test of time, bringing joy with every bite. They’re a staple for a reason, and I hope you love making them as much as I do. What’s your favorite family cookie tradition?