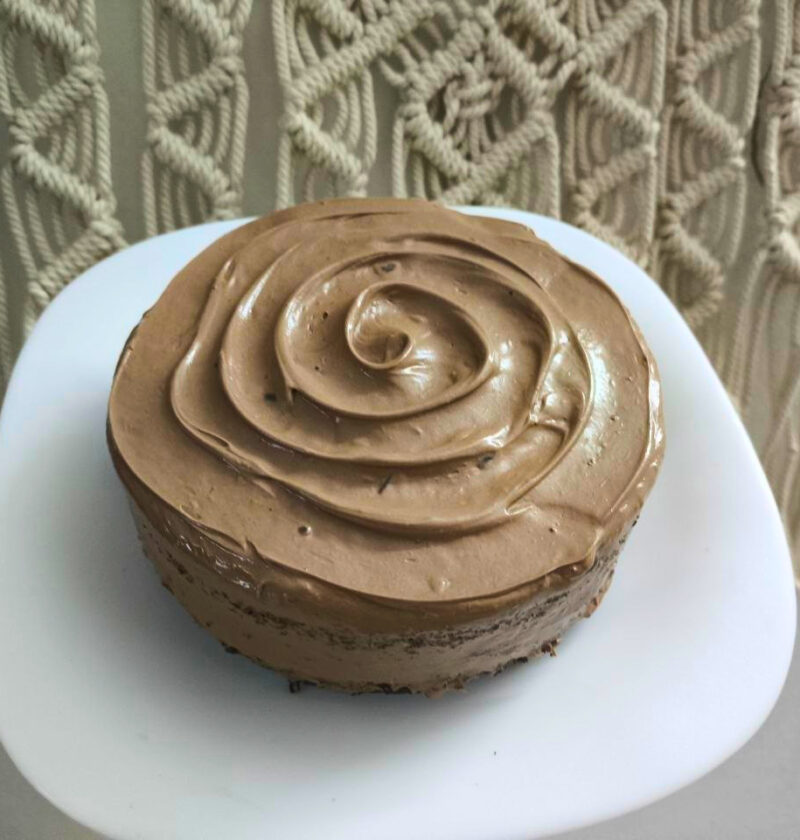
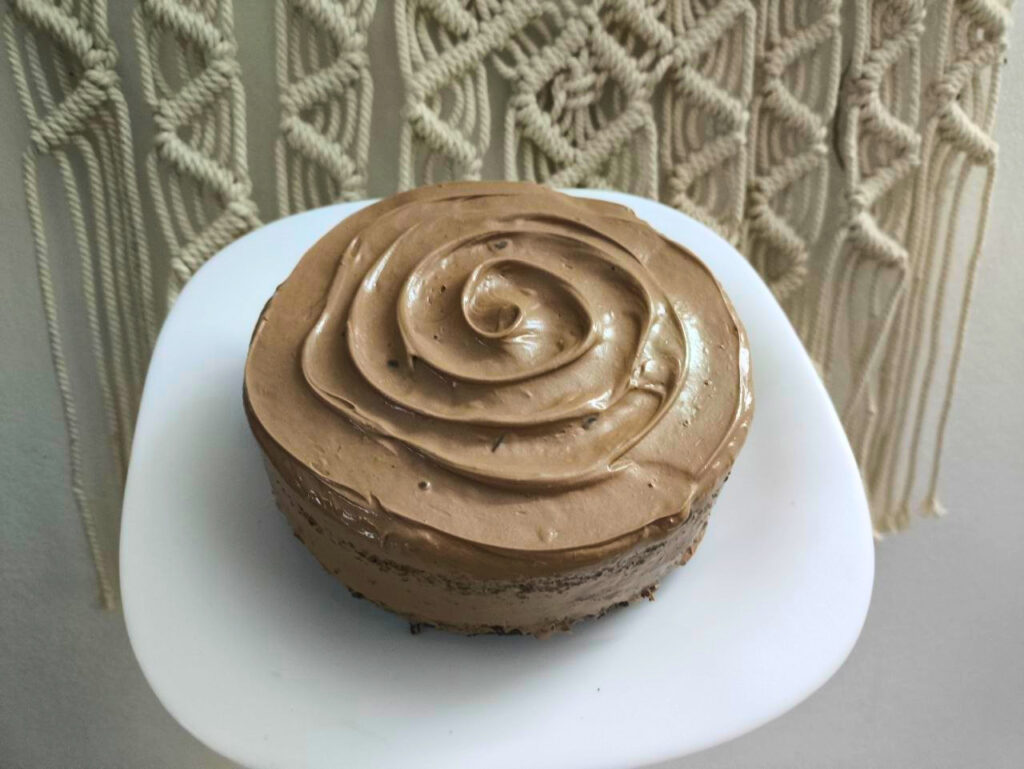
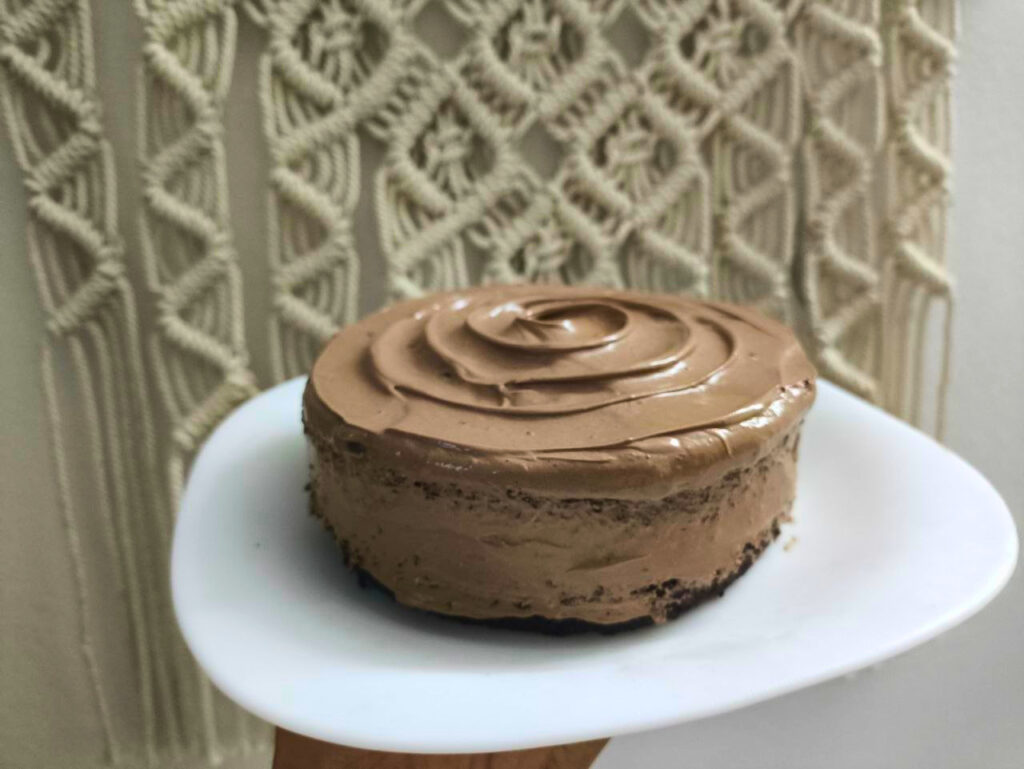
Be honest, who doesn’t like a piece of superb chocolate cake? The dark, crumbly, moist dough, covered with a rich, smooth chocolate frosting that oozes in your mouth? It’s pure comfort. I have to tell you, this is not just one of the best chocolate cake recipes, it is THE best chocolate cake recipe. Let go of all your baking misconceptions about the best chocolate cake! This recipe will yield a very moist cake with deep chocolate flavor and is surprisingly easy to prepare. Well, prepare for your new favourite chocolate dessert. We are going to get to the point about this deliciousness because you are in a hurry to bake it!
Best Chocolate Cake
Ingredients
For the Cake:
-
-
- 1 ¾ cups all-purpose flour
-
- 1 ¾ cups granulated sugar
-
- ¾ cup unsweetened cocoa powder (natural, not Dutch-processed)
-
- 2 teaspoons baking soda
-
- 1 teaspoon baking powder
-
- 1 teaspoon salt
-
- 2 large eggs
-
- 1 cup buttermilk (or 1 cup milk + 1 tbsp white vinegar, let sit 5 min)
-
- ½ cup vegetable oil
-
- 2 teaspoons vanilla extract
-
- 1 cup hot water or hot coffee
-
For the Chocolate Buttercream Frosting:
-
-
- 1 cup (2 sticks) unsalted butter, softened
-
- 3 cups powdered sugar, sifted
-
- ¾ cup unsweetened cocoa powder, sifted
-
- ¼ cup milk or heavy cream (add more if needed)
-
- 1 teaspoon vanilla extract
-
- ¼ teaspoon salt
-
Instructions
For the Cake:
-
-
-
- Preheat your oven to 350°F (175°C). Grease and flour two 9-inch round cake pans. You can also line the bottoms with parchment paper for easy removal.
-
- In a large bowl, whisk together the flour, granulated sugar, cocoa powder, baking soda, baking powder, and salt. Make sure everything is well combined to avoid lumps later.
-
- In a separate medium bowl, beat the eggs, buttermilk, vegetable oil, and vanilla extract until they’re smooth and blended.
-
- Pour the wet ingredients into the dry ingredients. Mix on low speed (or by hand) until just combined. Don’t overmix! A few lumps are okay.
-
- Carefully stir in the hot water or coffee. The batter will be thin, and that’s perfectly normal. This hot liquid helps “bloom” the cocoa and makes the cake extra moist.
-
- Divide the batter evenly between your two prepared cake pans.
-
- Bake for 30-35 minutes, or until a wooden skewer inserted into the center comes out clean. Keep an eye on them, as oven times can vary.
-
- Let the cakes cool in their pans for about 10-15 minutes before inverting them onto a wire rack to cool completely. Cooling completely is a non-negotiable step before frosting! If they’re even a little warm, your frosting will melt.
-
-
For the Chocolate Buttercream Frosting:
-
-
-
- In a large bowl, using an electric mixer, beat the softened butter on medium speed until creamy and light in color, about 2-3 minutes.
-
- Gradually add the sifted powdered sugar and cocoa powder to the butter, mixing on low speed until combined. Then increase to medium-high and beat until fluffy.
-
- Pour in the milk or cream, vanilla extract, and salt. Beat on high speed for another 2-3 minutes until the frosting is light, fluffy, and spreadable. If it’s too thick, add more milk, one teaspoon at a time. If it’s too thin, add more powdered sugar.
-
-
Assembly:
-
-
- Once the cake layers are completely cool, place one layer on your serving plate. Spread about a third of the frosting evenly over the top.
-
- Carefully place the second cake layer on top.
-
- Slice and serve!
-
Well, my first attempt at a “fancy” chocolate cake was a bit of a fiasco years ago, and I’m not sure I’d ever make it again. I was really excited but rushed and ended up with frosting that was sliding and melting. The cake was also dry, since I believed that I needed to mix more for smoother batter. Live and learn, right? So I’m here to tell you what I’ve learned that makes a difference.
Expert Tips for Success
Baking isn’t just about following instructions; it’s about understanding the little things that elevate your results. Here are some pointers to help you make this chocolate cake truly shine.
For a Super Moist Cake, Every Time
Achieving that perfect, tender, moist chocolate cake crumb is the dream, isn’t it? It’s not as tricky as you might think, but it does require a little attention.
- Don’t Over mix the Batter: When you combine the wet and dry ingredients, mix only until they are just incorporated. Over mixing causes the gluten in the flour to strengthen, resulting in a tough, dry cake. A few small lumps in the batter are actually a good sign!
- The Power of Hot Liquid: Adding hot water or coffee at the end isn’t just a quirky step. The hot liquid helps to “bloom” the cocoa powder, bringing out a deeper, more pronounced chocolate taste. It also helps to fully dissolve the sugar, leading to a more tender crumb.
- Watch Your Baking Time Closely: Every oven is a little different, and overbaking is the number one culprit for dry cakes. Start checking for doneness a few minutes before the recipe suggests. When a wooden skewer or toothpick comes out clean from the center, your cake is done.
- Measure Ingredients Correctly: Baking is a science! Use proper measuring cups for dry ingredients (leveling with a straight edge) and liquid measuring cups for wet ingredients. Accuracy counts, especially with flour and cocoa.
Frosting Finesse: Getting That Velvety Smooth Buttercream
The frosting is half the experience, if you ask me. A rich, chocolatey buttercream that’s easy to spread is a game-changer.
Pro Tip: For the absolute smoothest buttercream, make sure your butter is truly at room temperature. It should be soft enough to indent with your finger but not melted or greasy. This helps it cream beautifully and incorporate the other ingredients without lumps.
It is best to sift the powdered sugar and cocoa powder. This small move can go a long way in preventing frosting that is likely to be gritty. If you are using milk or cream, use the least amount and add more by the teaspoon until the desired consistency is reached. It’s much easier to add more liquid than to fix a runny frosting!
Variations & Add-ons to Try
While this chocolate cake is wonderful as is, you can definitely play around with it to suit your taste or occasion.
- Coffee Kick: For an even deeper chocolate taste (without tasting like coffee!), add 1 teaspoon of instant espresso powder to the dry ingredients. It really makes the chocolate sing.
- Chocolate Chip Surprise: Fold in ½ cup of mini chocolate chips into the batter before baking for an extra burst of chocolate in every bite.
- Different Frostings: Not a buttercream fan? This cake pairs beautifully with a rich chocolate ganache, a tangy cream cheese frosting, or even a simple dusting of powdered sugar if you prefer something less sweet.
- Boozy Twist: For an adult version, you could swap out a few tablespoons of the hot water for a dark rum, Kahlua, or bourbon. Just a subtle hint can add a lovely depth.
- Orange Zest: A little grated orange zest (about 1 teaspoon) in the batter can add a bright, citrusy counterpoint to the rich chocolate.
Storage Secrets for Freshness
You’ll want to keep this cake tasting amazing for as long as possible. Here’s how:
- Room Temperature is Best: If your cake is covered in buttercream frosting, it’s generally fine to keep it at room temperature in an airtight container for up to 3 days. The sugar in the frosting helps preserve it.
- Refrigeration for Longer Keeps: For longer storage (up to a week), place the cake in an airtight container in the fridge. Let it come to room temperature for at least 30 minutes before serving for the best texture and flavor.
- Freezing for Future Cravings: Unfrosted cake layers can be wrapped tightly in plastic wrap and then foil and frozen for up to 2-3 months. Thaw in the refrigerator overnight before frosting. A cake with frosted top can be stored in the freezer, but should be frozen uncovered until the frosting is set, then wrapped tightly.
Common Mistakes to Avoid
We’ve all been there – things don’t go quite as planned. Here are some pitfalls to steer clear of:
- Not Greasing and Flourishing Pans: This sounds obvious, but skipping this means your beautiful cake could stick. Parchment paper circles on the bottom are also a lifesaver.
- Opening the Oven Door Too Early: Resist the urge! Opening the door too often, especially in the first 20 minutes, can cause the cake to sink in the middle.
- Substituting Key Ingredients Wily-Nily: Some substitutions are effective, others may upset the chemical balance of the cake. For instance, the Dutch processed cocoa powder may not work as it should with the baking soda and baking powder, resulting in a flat cake.
Adjusting for High Altitude
Baking may be a little different at higher elevations. The cakes will rise and dry differently depending on the air pressure and humidity. In general, if you’re baking at a high elevation (above 3,500 feet), you may need to make some adjustments:
- Slightly increase liquid (by 1-2 tablespoons).
- Slightly increase oven temperature (by 15-25°F).
- Slightly decrease baking powder/soda and sugar.
It often takes a bit of experimentation to find what works for your specific location.
Frequently Asked Questions
Can I use regular milk instead of buttermilk?
You can certainly do it! Buttermilk is not always available, but it’s simple to create a substitute. Simply fill a cup with 1 cup of regular milk (any type will do) and add 1 tablespoon of white vinegar or lemon juice. Allow to stand for approximately 5 minutes until slight curdling occurs. This will give a similar acidity, which will react with the baking soda to make the cake rise and stay moist.
Why does my cake sometimes turn out dry?
The most common causes of a dry cake are overbaking and over mixing the cake batter. Too much moisture will be cooked out by overbaking, and too much gluten will be developed by over mixing, causing the cake to be tough. Be sure to use a skewer to see if it’s done and mix until it is just combined. The hot water in this recipe also helps to keep it extremely moist.
How far in advance can I make this chocolate cake?
You can bake the cake layers up to 2 days in advance. Let them cool completely, then wrap them tightly in plastic wrap and store them at room temperature. The frosting can also be made a day or two ahead and stored in an airtight container in the refrigerator. Just bring it to room temperature and re-whip it for a minute or two before frosting the cake. The assembled and frosted cake is best enjoyed within 3-4 days when stored properly.
Can I make this into cupcakes?
Absolutely! This recipe works beautifully for cupcakes. Line your muffin tins with paper liners and fill them about two-thirds full. The baking time will be shorter, typically around 20-25 minutes. Keep an eye on them, and test for doneness with a toothpick.
What’s the trick to perfectly level cake layers?
Getting level cake layers can be a bit challenging. Here are a few tips: Ensure that your oven rack is level. “Baking strips” are also a good idea around your pans (wet towel wrapped around the outside), to make your cakes bake more evenly. Slightly domed cakes may be leveled with a serrated knife after the cakes have completely cooled. When it’s a true level cake, frosting is an easy task!
Looking to transform your house into a delicious aroma of freshly baked chocolate cake? What is your favorite time to make a delicious rich chocolate dessert?