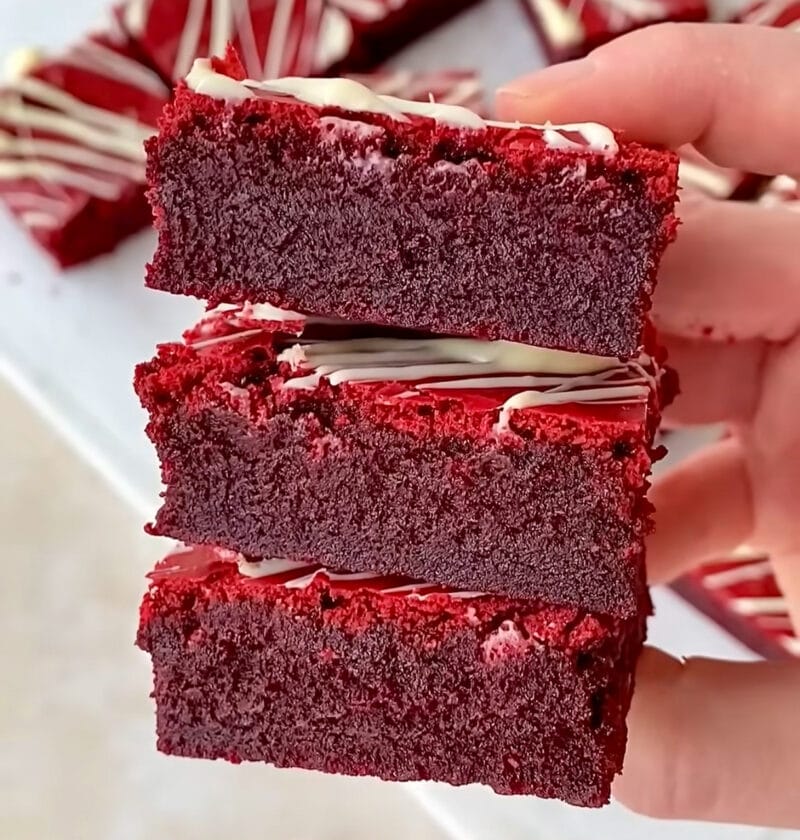
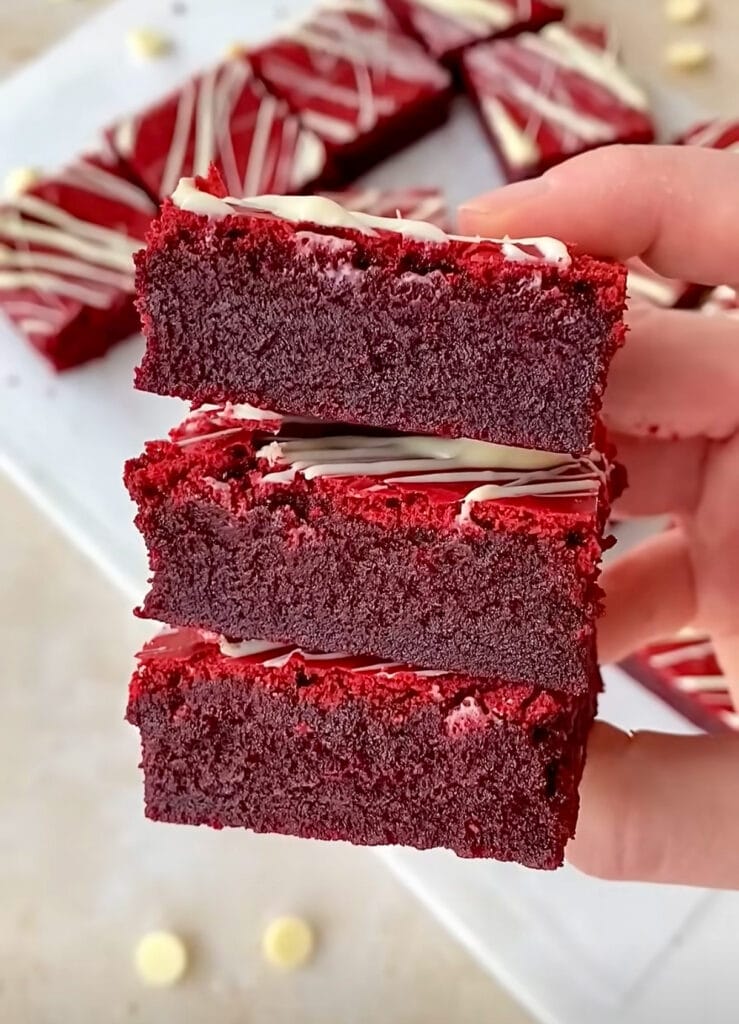
Today I want to tell you about one of my all-time favorite recipes: These amazing red velvet brownies! Seriously, if you want a cocoa heavy, tangy, and super-fudgy cup of coffee, then look no further. It’s not a crumbly-brown, dry brownie, it’s a colorful, gooey patch of heaven that’ll melt off your plate in no time.
Who doesn’t like red velvet, right? When you make that old cake into a rich, gooey brownie, magic is accomplished. This recipe is super easy and even if you’re not that familiar with baking you will feel like a pro. Prep up for a batch that will be sure to get everyone reaching for more. Believe me, these are going to be a new essential in your kitchen!
Red velvet brownies
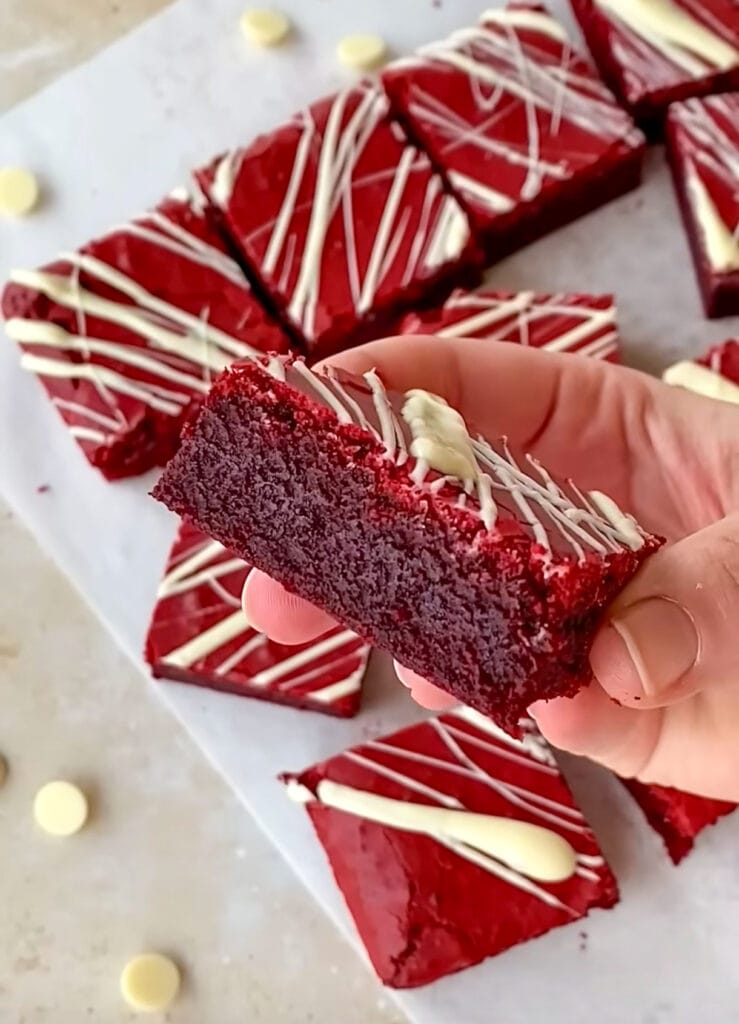
Ingredients
-
-
- 1½ cups (190g) all-purpose flour
-
- ¼ cup (22g) unsweetened cocoa powder (Dutch-processed is great!)
-
- ½ teaspoon baking soda
-
- ½ teaspoon salt
-
- 1 cup (226g) unsalted butter, melted
-
- 2 cups (400g) granulated sugar
-
- 4 large eggs
-
- 2 teaspoons vanilla extract
-
- 1 tablespoon white vinegar
-
- 1 teaspoon (or more) red liquid food coloring
-
- ½ cup (85g) chocolate chips (optional, but highly recommended!)
-
Necessary Utensils & Equipment
-
-
-
- 9×13 inch baking pan
-
- Parchment paper
-
- Medium mixing bowl
-
- Rubber spatula
-
- Measuring cups and spoons
-
- Wire rack for cooling
-
-
Instructions
-
-
-
- Prep Your Pan: Preheat your oven to 350°F (175°C). Line a 9×13 inch baking pan with parchment paper, leaving an overhang on the sides so you can easily lift the brownies out later. Lightly grease the parchment paper with a bit of butter or cooking spray.
-
- Whisk Dry Ingredients: In a medium bowl, whisk together the all-purpose flour, cocoa powder, baking soda, and salt. Set this aside.
-
- Combine Wet Ingredients (Part 1): In a large mixing bowl, whisk together the melted butter and granulated sugar until well combined.
-
- Add Eggs & Flavor: Crack in the eggs, one at a time, whisking well after each addition until the mixture is smooth and slightly thickened. Stir in the vanilla extract and white vinegar.
-
- Add the Color: Now for the fun part! Add the red liquid food coloring to the wet ingredients. Start with 1 teaspoon and add more until you reach your desired vibrant red hue. Remember, the color will deepen slightly when baked.
-
- Combine Wet & Dry: Gradually add the dry ingredient mixture to the wet ingredients, mixing with a rubber spatula until just combined. Be careful not to overmix; overmixing can make your brownies tough.
-
- Fold in Chocolate Chips (Optional): If you’re using chocolate chips, gently fold them into the batter.
-
- Bake: Pour the brownie batter into your prepared baking pan and spread it evenly. Bake for 28-32 minutes, or until a toothpick inserted into the center comes out with moist crumbs attached, but not wet batter. You want moist crumbs for a fudgy brownie, not a completely clean toothpick.
-
- Cool Completely: Let the brownies cool completely in the pan on a wire rack before lifting them out using the parchment paper overhang. This is super important for that perfect fudgy texture and clean cuts.
-
- Cut and Serve: Once completely cooled, cut into 16 squares and enjoy your glorious red velvet brownies!
-
-
Expert Tips for Red Velvet Brownie Success
Okay, so you’ve got the basics down, but I’ve got a few secrets up my sleeve to truly take your red velvet brownies from great to absolutely unforgettable. Let’s make sure every batch you bake is the best it can be!
Getting That Perfect Red Hue
Honestly, the “red” in red velvet is a pretty iconic part of the experience. But sometimes, people struggle to get that vibrant color. Here’s what I’ve learned:
- Liquid vs. Gel Food Coloring: While the recipe specifies liquid, gel food coloring often gives a more intense color with less product. If you’re using gel, you might only need ½ to 1 teaspoon. Start small and add until you like the shade.
- Cocoa Powder Type: Natural cocoa powder is slightly acidic and reacts with baking soda to create a brownish-red color. Dutch-processed cocoa powder, which is what I typically recommend, is less acidic and gives a darker, richer chocolate flavor, but it can make the red less vibrant. You might need a little extra food coloring to counteract this.
- Don’t Skimp: Don’t be afraid to add enough food coloring. The batter might look super bright, but it will dull a bit during baking.
The Secret to Fudgy Brownies
The texture of these brownies is what truly sets them apart. We’re going for chewy edges and a super soft, fudgy center. The biggest mistake people make with brownies is overbaking them. This turns them into a cakey mess, and nobody wants that.
Pro Tip: Always err on the side of underbaking. When you check with a toothpick, you want it to come out with moist, gooey crumbs attached, not completely clean. A clean toothpick means they’re already overdone!
Another thing is the ratio of fat to flour. This recipe uses a good amount of butter, which helps create that dense, rich texture. Also, letting them cool completely in the pan helps them set up beautifully and intensifies the fudginess. I know, it’s hard to wait, but it’s so worth it.
Flavor Variations and Add-Ins
These brownies are fantastic on their own, but if you’re feeling adventurous, here are a few ways to mix things up:
- Cream Cheese Swirl: To make these truly decadent, prepare a simple cream cheese mixture (4 oz softened cream cheese, ¼ cup powdered sugar, 1 tbsp butter, ½ tsp vanilla). Drop dollops over the brownie batter in the pan and swirl gently with a knife before baking.
- White Chocolate Chips: Instead of regular chocolate chips, try folding in white chocolate chips. Their sweetness and contrast are a match made in heaven with the red velvet flavor.
- Espresso Powder: A tiny pinch (½ teaspoon) of instant espresso powder added to the dry ingredients will deepen the chocolate flavor without making the brownies taste like coffee. It’s a little trick that really makes the cocoa sing.
- Nuts: If you’re a nut person, chopped pecans or walnuts would be a welcome addition for some texture.
Storage and Serving Suggestions
Once your brownies are baked and cooled, you’ll want to make sure they stay fresh. Store them in an airtight container at room temperature for up to 3-4 days. If you live in a warm climate or prefer them chilled, they’ll be great in the fridge for up to a week.
Serving suggestions? Oh, the possibilities! These red velvet brownies are truly amazing on their own, but a scoop of vanilla bean ice cream or a drizzle of cream cheese frosting takes them to another level. You could even crumble them over ice cream for a dessert sundae. They’re also perfect for potlucks, parties, or just a quiet evening with a cup of tea or coffee.
Frequently Asked Questions
Why do red velvet brownies have vinegar?
Well, that’s a classic red velvet component! The vinegar (or sometimes buttermilk) reacts with the baking soda to help the brownies rise slightly and achieve that wonderfully moist, tender crumb. It also brings a subtle tang that balances the sweetness and deepens the cocoa flavor, which is a signature characteristic of traditional red velvet recipes. It’s not just for texture; it plays a big role in the taste!
Can I make these red velvet brownies without food coloring?
Absolutely, you can! If you’re not keen on using food coloring, you can simply omit it. Your brownies will still taste like delicious red velvet, but they’ll have a more natural chocolate-brown color with perhaps a hint of reddish-brown, especially if you’re using natural cocoa powder. They’ll still be incredibly fudgy and flavorful, just without the dramatic red appearance. The “red” is mostly for visual appeal anyway!
How can I tell when my red velvet brownies are done baking?
The best way to check for doneness is to insert a toothpick into the center of the pan around the 28-minute mark. You’re looking for moist crumbs to cling to the toothpick, but not wet batter. If the toothpick comes out completely clean, your brownies are probably overbaked and will be more cake-like. If it comes out with wet batter, they need a few more minutes. Remember, they’ll continue to cook slightly from residual heat as they cool.
What’s the best way to cut fudgy brownies cleanly?
Cutting fudgy brownies can be tricky, but here’s a trick that works every time. First, ensure your brownies are completely cooled – this is key! Then, use a large, sharp knife. For really clean cuts, run the knife under hot water, wipe it dry, and then make your cut. Clean the knife between each cut for the neatest squares. This prevents the brownies from sticking and tearing. Sometimes, chilling the brownies in the fridge for 30 minutes before cutting can also help them firm up just enough for cleaner slices.
Can I freeze red velvet brownies?
Yes, you can totally freeze these brownies! To do it right, make sure they’ve cooled completely. Then, cut them into individual squares. Wrap each brownie tightly in plastic wrap, then place them in an airtight freezer-safe container or a heavy-duty freezer bag. They’ll keep well in the freezer for up to 3 months. When you’re ready to enjoy one, just pull it out and let it thaw at room temperature for an hour or so. It’s a great way to have a sweet treat ready whenever a craving hits!