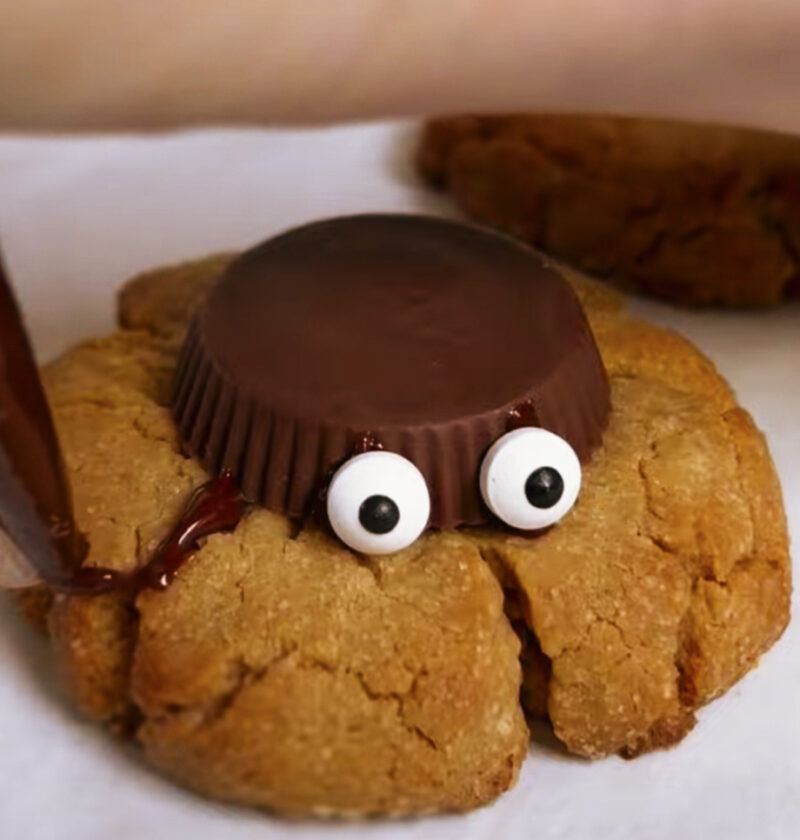
Weeknight dinners will never be dull again after you try out this recipe, but what I’m proposing here is something sweet that will make any night special.There’s something so comforting about a warm, gooey peanut butter cookie, isn’t there?
Let’s bring it to life with a delightful, whimsical twist, shall we? We’re going to make peanut butter spider cookies to put a happy smile on everyone’s face.These cookies are perfect for Halloween,but also for birthday parties, potlucks, and more! They are super easy to make, too, even if you’re new to baking, and they are sure to impress whoever you decide to share them with. Are you ready to make these peanut butter spider cookies? Let’s get started!
Peanut butter spider cookies
These delightful peanut butter cookies topped with miniature peanut butter cups and chocolate legs are a spooky-sweet sensation.
Ingredients
-
-
- 1 cup (2 sticks) unsalted butter, softened
-
- 1 cup granulated sugar
-
- 1 cup packed light brown sugar
-
- 1 cup creamy peanut butter
-
- 2 large eggs
-
- 1 teaspoon vanilla extract
-
- 2 ½ cups all-purpose flour
-
- 1 teaspoon baking soda
-
- ½ teaspoon salt
-
- 1 (12 oz) bag chocolate chips or candy melts
-
- 1 (12 oz) bag Reese’s Peanut Butter Cups (miniature, unwrapped)
-
- Candy eyes or pretzel sticks (for decoration, optional)
-
Necessary Utensils & Equipment
-
-
-
- Large mixing bowls
-
- Electric mixer (stand or hand-held)
-
- Measuring cups and spoons
-
- Baking sheets
-
- Parchment paper
-
- Cooling rack
-
- Small microwave-safe bowl
-
- Piping bag or Ziploc bag with a corner snipped
-
-
Instructions
-
-
-
- Preheat your oven to 375°F (190°C). Line baking sheets with parchment paper.
-
- In a large mixing bowl, cream together the softened butter, granulated sugar, and brown sugar until light and fluffy. This usually takes about 2-3 minutes with an electric mixer.
-
- Add the creamy peanut butter and mix until well combined and smooth.
-
- Beat in the eggs one at a time, making sure each is fully incorporated before adding the next. Stir in the vanilla extract.
-
- In a separate medium bowl, whisk together the all-purpose flour, baking soda, and salt.
-
- Gradually add the dry ingredients to the wet ingredients, mixing on low speed until just combined. Be careful not to overmix the dough.
-
- Roll the cookie dough into 1-inch balls. Place them about 2 inches apart on your prepared baking sheets.
-
- Using the back of a fork, gently press down on each cookie ball twice, creating a crisscross pattern. This classic peanut butter cookie look also makes a good spot for our spider bodies!
-
- Bake for 9-11 minutes, or until the edges are lightly golden and the centers are just set. The cookies might still seem a little soft, but they’ll firm up as they cool.
-
- As soon as you remove the cookies from the oven, immediately press one unwrapped miniature Reese’s Peanut Butter Cup into the center of each warm cookie. The warmth of the cookie will slightly melt the chocolate, helping it stick.
-
- Let the cookies cool on the baking sheet for 5-10 minutes before transferring them to a wire rack to cool completely.
-
- Once cooled, melt your chocolate chips or candy melts in a small microwave-safe bowl. Heat in 30-second intervals, stirring in between, until smooth.
-
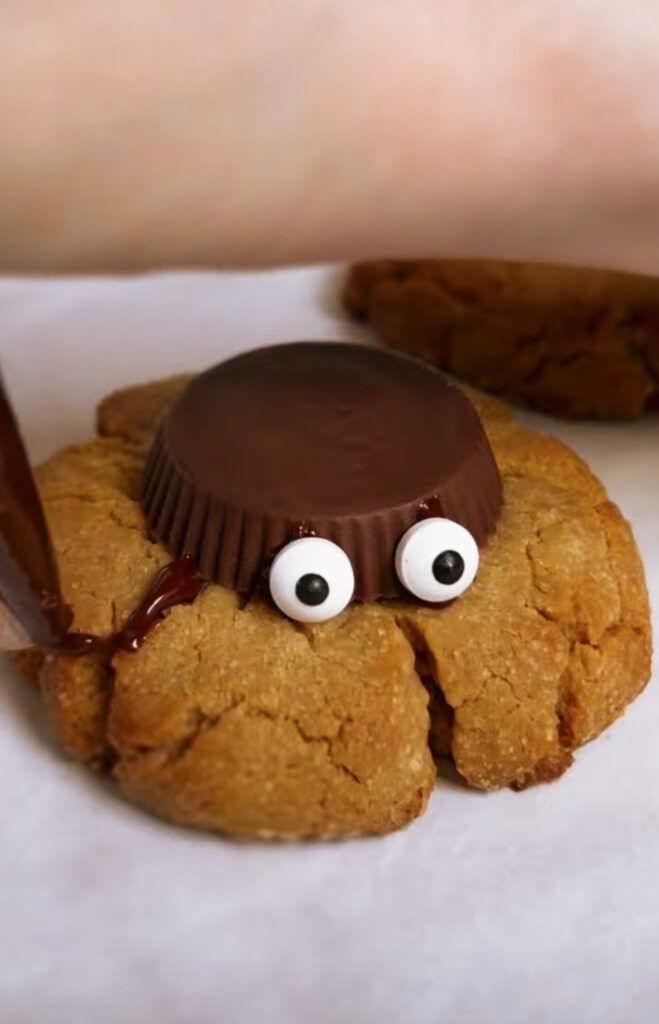
- Transfer the melted chocolate to a piping bag or a small Ziploc bag with the corner snipped off. Carefully pipe eight “legs” onto each peanut butter cup “body.”
-
- If you’re using candy eyes, dab a tiny bit of melted chocolate on the back of each eye and place them on the peanut butter cup for extra charm. You can also use small pieces of pretzel sticks for even more textured legs.
-
- Let the chocolate set completely before serving or storing. Enjoy your adorable (and delicious) peanut butter spider cookies!
-
-
You have just made beautiful cookies, but most of us know that there are always a couple of little tricks to making the cookies perfect or getting us out of a jam. I have learned that a lot can be done to make the cookies turn out a certain way. Here are a few things I have discovered…
My Little Cookie Confession
The first time I tried making these, I made the mistake of pressing the peanut butter cups into the cookies *before* they went into the oven. Rookie error, right? The Reese’s cups just melted into a puddle, and I ended up with very flat, chocolate-smudged cookies instead of cute spiders. That’s why it’s so important to add them right when the cookies come out – the residual heat is just enough to soften the chocolate and make it stick, but not melt it completely. Live and learn!
Pro Tip: For perfectly soft and chewy cookies, don’t overbake them! They should look just barely set in the center and slightly golden on the edges. They’ll continue to cook a bit on the hot baking sheet even after you pull them out.
Variations & Customization
These cookies are a blast to make and even more fun to personalize. Here’s how you can make them your own:
- Chocolate Choice: Not a fan of dark chocolate? Use milk chocolate chips for the legs, or even white chocolate for a different look.
- Nut Butter Options: While peanut butter is classic, you could experiment with almond butter or cashew butter for a different flavor. Just make sure it’s a creamy, not gritty, variety.
- Extra Spooky Details:
- Use red gel icing for “bloody” eyes or a web pattern.
- Dye some white chocolate green or purple for vibrant, themed legs.
- Instead of candy eyes, use two mini chocolate chips or sprinkles.
Storage Suggestions
These cookies are very good stored so that you can prepare a large batch and eat them over several days. Store the cooled cookies in an airtight container at room temperature for up to 5 days. If you are in a warm climate, or if you suspect that your chocolate may melt, you may want to refrigerate the cookies instead. They can also be frozen for up to 3 months, after baking but before adding the peanut butter cups and decorations.
Thaw them at room temperature and then add the decorations and peanut butter cups. Finally, you can also freeze the balls of dough before baking. Place them on a baking sheet and freeze until firm, then put them in a bag. When you are ready to bake the cookies, you will need to add a couple of minutes to the baking time. This is a great way to have fresh cookies on hand for when you have a sudden craving..
Frequently Asked Questions
Can I use natural peanut butter for these cookies?
I wouldn’t recommend it. Natural peanut butter (the kind that separates) often has a different oil content and texture that can make the cookies greasy and spread too much. Stick with a processed, creamy peanut butter for the best results.
What if my peanut butter cups won’t stick to the cookies?
The key is to press them in while the cookies are still very warm, straight out of the oven. If your cookies have cooled too much, you can try gently warming them in the microwave for 5-10 seconds before pressing the Reese’s in. The slight melt helps them adhere.
How can I make the spider legs look neat?
Practice makes perfect! A piping bag with a very small round tip, or a Ziploc bag with a tiny corner snipped off, gives you the most control. Don’t worry if they’re not perfect; a little “messiness” adds to the homemade charm. You can also let the chocolate cool slightly in the bag before piping; it’ll be thicker and easier to control.
Can I make these cookies ahead of time?
Absolutely! The cookie dough can be made a day or two in advance and stored in the refrigerator. Just let it come closer to room temperature before rolling and baking. The baked and decorated cookies also keep well, as mentioned in the storage tips above.
Are these cookies only for special occasions?
While they’re popular for Halloween or themed parties, the core is a delicious peanut butter cookie. You can omit the “spider” decorations entirely and just enjoy them as classic peanut butter blossom cookies. They’re a sweet treat for any day of the week!