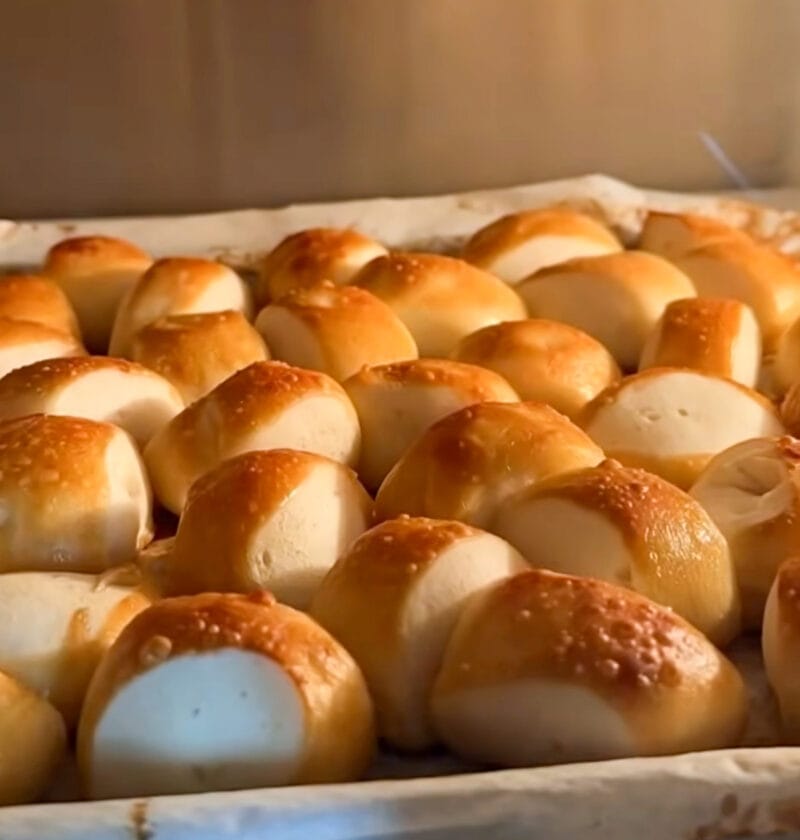
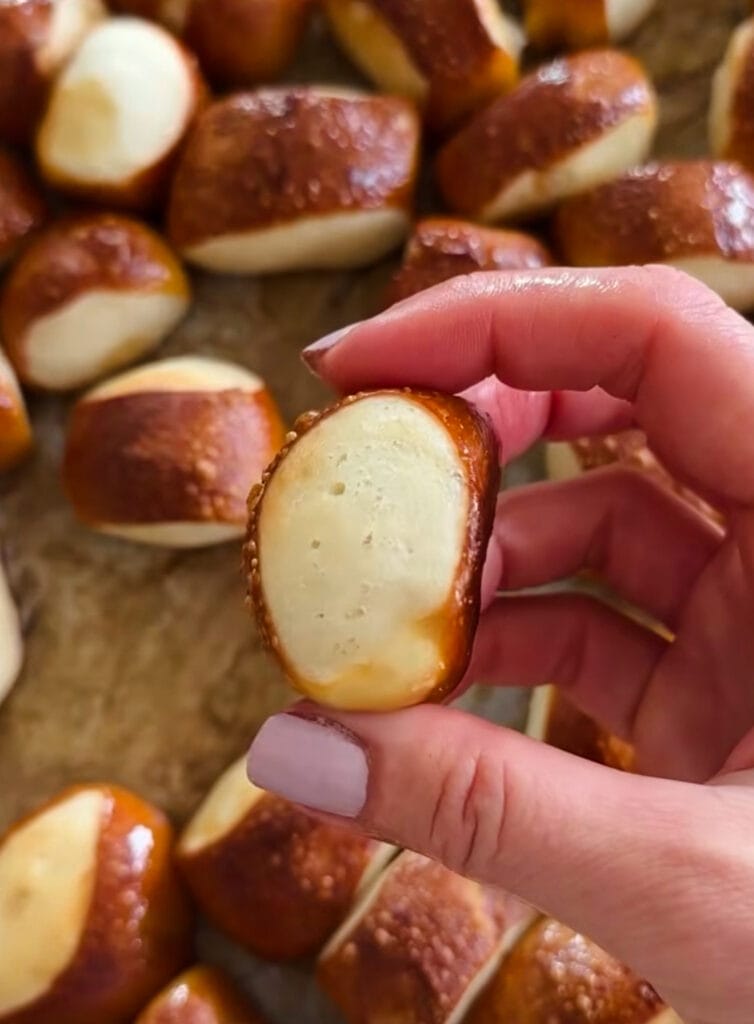
Ever feel the urge for a warm, gooey soft pretzel bite that’s just right? Those with a precisely golden crust and fluffy inside, deserving of a dunk in some cheesy goodness or a dollop of mustard? Well, you’re in luck! I’m going to teach you how to make a few of these absolute crowd-pleasers in your own kitchen.
Well, homemade pretzels might sound a little bit daunting but trust me, it’s not that difficult. And the aroma that permeates during their baking time in your home? Pure magic. Don’t worry about the frozen and sad lookalikes, these soft pretzel bites are more of the real deal and are ideal for game day, movie night, or just good old fashioned, good ole fun. Let’s get baking!
Soft pretzel bites
Ingredients
-
-
- 1.5 cups warm water (105-115°F / 40-46°C)
-
- 2.25 teaspoons active dry yeast (one standard packet)
-
- 1 tablespoon granulated sugar
-
- 1.5 teaspoons kosher salt
-
- 4.5 cups all-purpose flour, plus more for dusting
-
- 0.5 cup unsalted butter, melted
-
- 0.5 cup baking soda
-
- 8 cups water (for the bath)
-
- 1 large egg, beaten (for egg wash, optional)
-
- Coarse pretzel salt, for sprinkling
-
Necessary Utensils & Equipment
-
-
-
- Measuring cups and spoons
-
- Stand mixer with dough hook (optional, but highly recommended)
-
- Dough scraper or sharp knife
-
- Large pot or Dutch oven (at least 5-quart)
-
- Slotted spoon or spider strainer
-
- 2 large baking sheets
-
- Parchment paper
-
- Cooling rack
-
- Pastry brush (if using egg wash)
-
Instructions
-
-
-
- Activate the Yeast: In your large mixing bowl (or stand mixer bowl), combine the warm water, yeast, and granulated sugar. Give it a gentle stir. Let it sit for 5-10 minutes until it looks foamy. This tells you your yeast is alive and ready to rock!
-
- Mix the Dough: Add the kosher salt and half of the flour to the yeast mixture. Mix on low speed with a dough hook (or stir with a sturdy spoon) until just combined. Gradually add the remaining flour, a little at a time, until a shaggy dough forms.
-
- Knead the Dough: Continue kneading with the dough hook for 5-7 minutes, or by hand on a lightly floured surface for 8-10 minutes. You want the dough to be smooth, elastic, and not sticky.
-
- First Rise: Lightly grease your mixing bowl with a little oil. Place the dough in the bowl, turning it once to coat. Cover the bowl with plastic wrap or a clean kitchen towel. Let it rise in a warm spot for about 45-60 minutes, or until it has roughly doubled in size.
-
- Prep for Shaping: While the dough rises, line your two baking sheets with parchment paper. Preheat your oven to 425°F (220°C).
-
- Shape the Bites: Once risen, punch down the dough to release the air. Turn it out onto a lightly floured surface. Divide the dough into 6 equal pieces. Roll each piece into a long, thin rope, about 1/2-inch thick.
-
- Cut and Chill: Using a dough scraper or sharp knife, cut each rope into 1-inch pieces. Arrange them on one of the prepared baking sheets, ensuring they don’t touch. Pop them into the fridge for 15-20 minutes while you prepare the water bath. This helps them hold their shape.
-
- Prepare the Water Bath: In your large pot, bring the 8 cups of water to a rolling boil. Carefully add the baking soda and stir until dissolved. The water will foam up, so make sure your pot is big enough! Reduce the heat to a gentle simmer.
-
- Boil the Bites: Working in batches, carefully drop about 10-15 pretzel bites into the simmering baking soda bath. Cook for 20-30 seconds per side. Don’t overcrowd the pot.
-
- Drain and Place: Using your slotted spoon or spider, remove the pretzel bites from the bath, letting excess water drip off. Place them onto the other parchment-lined baking sheet, leaving a little space between each.
-
- Egg Wash & Salt (Optional but Recommended): If you want that classic shiny, deep golden-brown crust, whisk your large egg in a small bowl. Lightly brush the tops of the pretzel bites with the egg wash. Immediately sprinkle generously with coarse pretzel salt.
-
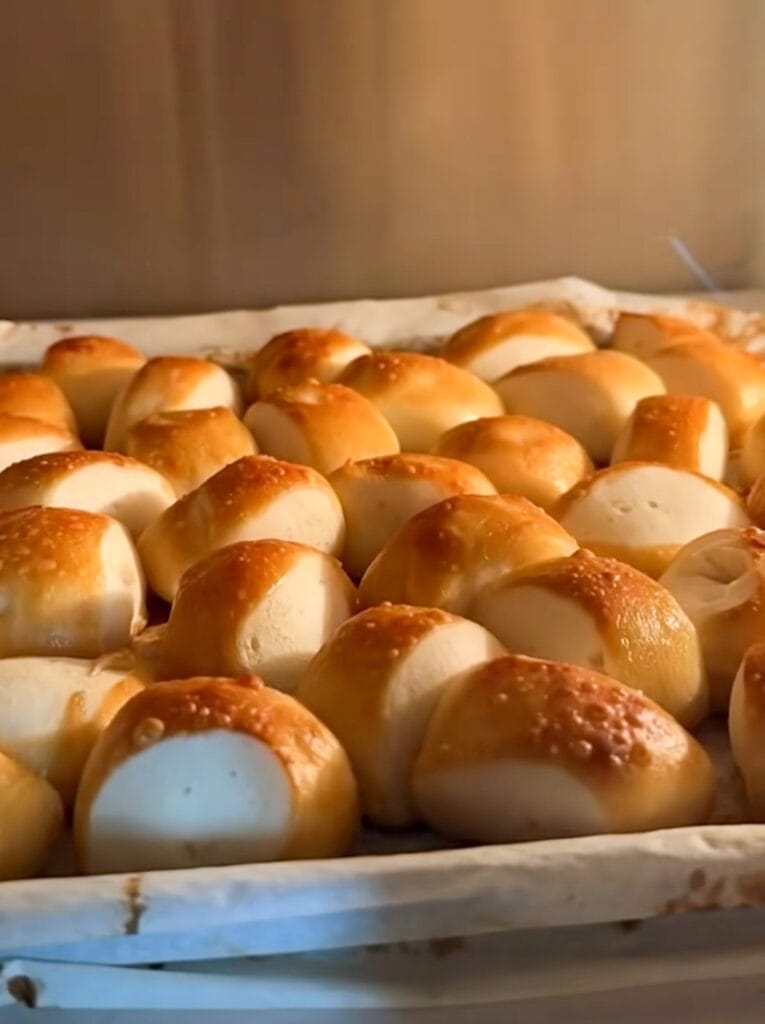
- Bake: Bake for 12-18 minutes, or until they’re puffed up and beautifully golden brown. The exact time depends on your oven.
-
- Cool & Serve: Transfer the baked pretzel bites to a wire cooling rack for a few minutes. Serve them warm with your favorite dipping sauces!
-
-
Expert Tips for Perfect Pretzel Bites Every Time
Making soft pretzel bites is a blast, but a few pointers can take them from “good” to “OMG, you made these?!” Here’s what I’ve learned from countless batches, both perfect and slightly less so.
Troubleshooting Common Pretzel Problems
Honestly, even seasoned bakers run into issues. Don’t stress!
- My pretzels aren’t golden brown: This usually means two things. First, make sure your baking soda bath was simmering, not just warm, and that you gave them enough time in there (20-30 seconds per side is key). Second, if you skipped the egg wash, you’ll miss out on some of that beautiful color and shine. Don’t worry, they’ll still taste amazing!
- My pretzels are tough: Over-kneading can lead to tough dough, but more often, it’s about overbaking. Keep a close eye on them during the last few minutes in the oven. You want them golden, not dark brown and rock hard.
- My dough didn’t rise: This is usually a yeast issue. Make sure your water temperature is correct (105-115°F is like warm bathwater, not hot!). If your yeast doesn’t foam up after 5-10 minutes, it’s likely dead, and you’ll need to start fresh with new yeast.
Pro Tip: Don’t rush the baking soda bath! That alkaline dip is what gives pretzels their signature chewy crust and rich, golden-brown color. It’s truly non-negotiable for authentic pretzel flavor. Think of it as a quick spa day for your dough.
Fun Flavor Variations to Try
Once you’ve mastered the basic pretzel bite, the world is your oyster! These are some of my favorite ways to switch things up:
- Cinnamon Sugar: Skip the coarse salt and egg wash. Immediately after baking, brush the warm pretzels with melted butter and toss them in a mixture of granulated sugar and cinnamon. These are dangerously good!
- Garlic Parmesan: After baking, brush with melted garlic butter and sprinkle with grated Parmesan cheese. A savory dream!
- Everything Bagel Seasoning: Instead of coarse salt, sprinkle with everything bagel seasoning before baking. You’ll get that fantastic crunch and flavor.
The first time I tried making these, I actually made the mistake of not letting the dough rise enough. I was so impatient! The result was denser, less airy pretzel bites. They were still edible, but they lacked that delightful fluffiness on the inside that makes a soft pretzel truly great. So, learn from my early impatience – give that dough its full rest period!
Storing and Reheating Your Pretzel Bites
Let’s be real, these often disappear quickly! But if you happen to have leftovers, here’s what to do:
Store cooled pretzel bites in an airtight container at room temperature for up to 2 days. To reheat, pop them in a 350°F (175°C) oven for 5-7 minutes, or a toaster oven until warmed through. They’ll crisp up nicely again.
You can also freeze baked and cooled pretzel bites for up to 1 month. Thaw them at room temperature, then reheat as described above. They freeze really well, making them perfect for meal prepping snacks!
There’s nothing quite like biting into a warm, salty, perfectly chewy pretzel bite. It’s a simple pleasure that brings a smile to everyone’s face. Seriously, once you make these from scratch, you’ll wonder why you ever bought them.
So, are you ready to impress everyone with your homemade soft pretzel bites? What dipping sauce are you dreaming of serving them with?
Frequently Asked Questions
Q: Can I use instant yeast instead of active dry yeast?
A: Absolutely! If you’re using instant yeast, you can usually skip the first step of activating it in warm water. Just add it directly to your dry ingredients with the sugar, then proceed with adding the warm water. Your dough might rise a bit faster, too.
Q: What’s the deal with the baking soda bath? Is it really necessary?
A: Yes, it’s absolutely necessary for authentic soft pretzels! The baking soda in the simmering water raises the pH of the dough’s surface. This chemical reaction is what gives pretzels their signature chewy texture, distinctive flavor, and the ability to brown beautifully in the oven. Without it, you’d just have baked bread sticks.
Q: What are the best dipping sauces for soft pretzel bites?
A: Oh, the options are endless! Classic choices include sharp cheddar cheese sauce, whole grain mustard, or honey mustard. I also love them with a simple cream cheese dip, a spicy sriracha mayo, or even just plain butter. For sweet variations, cream cheese frosting or a chocolate dipping sauce are fantastic.
Q: Can I make the dough ahead of time?
A: You bet! After the first rise, you can punch down the dough, cover it tightly, and refrigerate it for up to 24 hours. When you’re ready to bake, let the dough sit at room temperature for about 30 minutes to warm up slightly before shaping and proceeding with the water bath and baking steps.
Q: Why did my pretzels come out flat?
A: Flat pretzels can happen for a few reasons. One common cause is over-proofing the dough, meaning it rose too much and then collapsed. Another reason could be not chilling the shaped bites before the water bath – the cold dough holds its shape better. Also, make sure your baking soda bath isn’t too hot or that you’re not boiling them for too long, as this can weaken the dough structure.