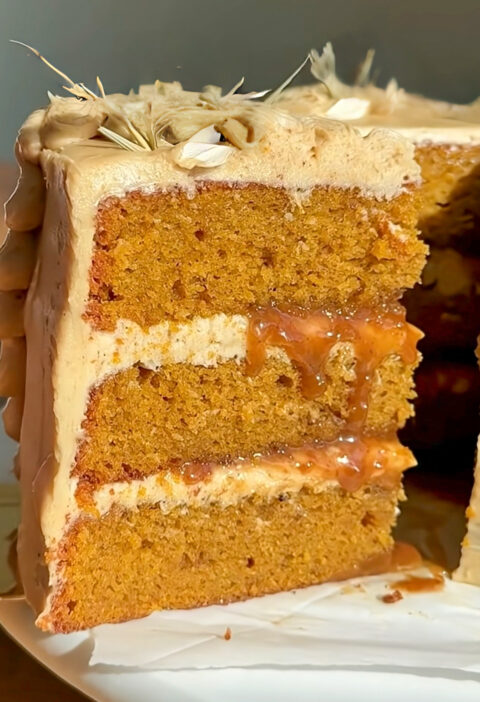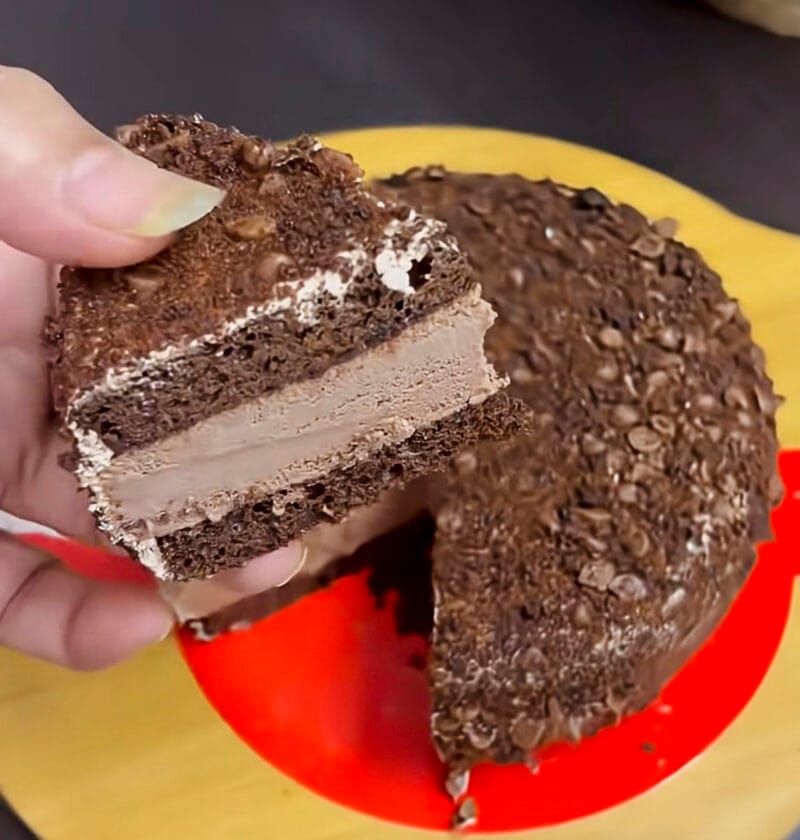
A quick press of the cookie crumb base makes a solid cake that will keep your ice cream cake together easily when layering it. You are creating a marvelous work of culinary art, one delectable bite at a time, and I am so excited to share this amazing recipe with you. You’ll be creating edible masterpieces of your own, using this scrumptious, easy-to-follow dessert treat! This dessert is a real showstopper, and always looks fabulous! It holds together marvelously too, so you can impress your fellow foodies!
Ice cream cake
Layers of creamy, cool indulgence built on a crunchy cookie crust, ready for any celebration.
Ingredients
-
-
- 24 chocolate sandwich cookies (like Oreos), finely crushed
-
- ½ cup (1 stick) unsalted butter, melted
-
- 1.75 quarts (about 7 cups) vanilla ice cream, slightly softened
-
- 1.75 quarts (about 7 cups) chocolate ice cream, slightly softened
-
- 1 (12 ounce) container frozen whipped topping, thawed (or 3 cups homemade whipped cream)
-
- ½ cup hot fudge sauce, warmed
-
- ¼ cup caramel sauce, warmed
-
- Optional: Chocolate shavings, sprinkles, or extra cookie crumbs for garnish
-
Necessary Utensils & Equipment
-
-
-
- 9-inch springform pan
-
- Large mixing bowls (2-3)
-
- Rubber spatulas or offset spatulas
-
- Measuring cups and spoons
-
- Food processor (for crushing cookies) or a zip-top bag and rolling pin
-
- Parchment paper
-
- Plastic wrap or aluminum foil
-
- Freezer-safe space
-
-
Instructions
-
-
-
- Prepare the Pan: Line the bottom of your 9-inch springform pan with parchment paper. This really helps when it’s time to unmold your beautiful creation. You can also lightly grease the sides.
-
- Make the Cookie Crust: In a medium bowl, combine the finely crushed chocolate sandwich cookies with the melted butter. Stir them until the crumbs are thoroughly moistened.
-
- Form the Base: Press the cookie mixture evenly into the bottom of the prepared springform pan. Use the back of a spoon or a flat-bottomed glass to really pack it down. A solid, tightly packed crust is your first step to a stable cake. Place the pan in the freezer for at least 15-20 minutes to set while you prepare the next layer.
-
- Soften the Ice Cream: While the crust chills, take your vanilla and chocolate ice creams out of the freezer and let them sit on the counter for about 10-15 minutes. They should be soft enough to spread easily but not completely melted.
-
- First Ice Cream Layer (Vanilla): Remove the pan from the freezer. Spoon the slightly softened vanilla ice cream over the cookie crust. Spread it out evenly with a rubber spatula or an offset spatula, making sure to reach the edges.
-
- Freeze First Layer: Return the pan to the freezer for at least 30-45 minutes, or until the vanilla ice cream layer is firm to the touch. This crucial step prevents the layers from mixing together and helps maintain definition.
-
- Add Hot Fudge & Caramel Swirl: Once the vanilla layer is firm, drizzle half of the warmed hot fudge and half of the warmed caramel sauce over it. Use a knife or skewer to gently swirl the sauces into the ice cream for a pretty marbled effect. Don’t overmix!
-
- Second Ice Cream Layer (Chocolate): Spoon the softened chocolate ice cream over the fudge and caramel swirl. Spread it out gently and evenly.
-
- Freeze Second Layer: Place the cake back in the freezer for another 1-2 hours, or until the chocolate ice cream is completely firm. This longer freeze ensures your cake will be solid enough for slicing.
-
- Apply Whipped Topping: Once the chocolate layer is firm, remove the cake from the freezer. Spread the thawed whipped topping over the top of the chocolate ice cream, creating a smooth or decorative finish. You can use a piping bag with a star tip for a fancier look, if you like.
-
- Final Chill: Return the ice cream cake to the freezer for at least 4 hours, or preferably overnight. This final chill is what allows everything to truly set and makes for easy slicing.
-
- Garnish & Serve: Before serving, take the cake out of the freezer for about 10-15 minutes to allow it to soften just slightly. Carefully run a warm knife around the edge of the springform pan before releasing and removing the sides. Drizzle with the remaining hot fudge and caramel sauces, and garnish with chocolate shavings, sprinkles, or extra cookie crumbs, if desired. Slice and serve immediately!
-
-
Making an ice cream cake can feel like a delicate operation, but with a few pointers, you’ll be a pro in no time. I’ve learned these through plenty of trial and error (and a few melted disasters!).
Pro Tip: Don’t rush the freezing steps between layers. This is the single most important piece of advice I can give you for a cake that holds its shape beautifully and cuts cleanly. Trying to layer ice cream that isn’t firm enough will only result in a messy, mixed-up cake.
Troubleshooting Common Ice Cream Cake Issues
- Melting Mess: The number one enemy of ice cream cake is warmth. Work quickly, keep your ice cream only *slightly* softened, and return the cake to the freezer at every possible opportunity. If your kitchen is warm, try placing a baking sheet from the freezer under your springform pan while you work.
- Crust is Too Hard/Soft: If your crust is too hard, you might have used too much butter or packed it too tightly. If it’s too soft, it could be too little butter. You’re looking for a consistency that holds its shape but isn’t rock-solid. Adjust melted butter a tablespoon at a time if you’re experimenting with different cookies.
- Layers Blending: This usually means you didn’t freeze each layer enough. Be patient! Giving each layer ample time to firm up is key to those distinct, beautiful lines you want to see.
- Difficulty Unmolding: Make sure your springform pan is lined with parchment paper on the bottom. Running a warm, damp towel around the outside of the pan for a few seconds can also help release the sides smoothly.
Creative Variations to Try
You can easily customize this recipe to suit your favorite flavors and occasions.
- Flavor Fusion: Swap out vanilla and chocolate ice cream for other pairings. Think mint chocolate chip and cookies ‘n cream, or strawberry and pistachio.
- Candy Crunch: Mix in crushed candy bars (like Snickers or Butterfinger) or chopped peanut butter cups into your ice cream layers before freezing.
- Fruity Twist: For a brighter taste, fold in fresh berries or a berry compote into a vanilla ice cream layer. You could even use a fruit-flavored ice cream for one of the layers.
- Cake & Cookie Hybrid: Replace the cookie crust with a thin layer of your favorite boxed brownie or cake mix, baked and cooled, for an extra chewy bottom.
Storing Your Ice Cream Cake
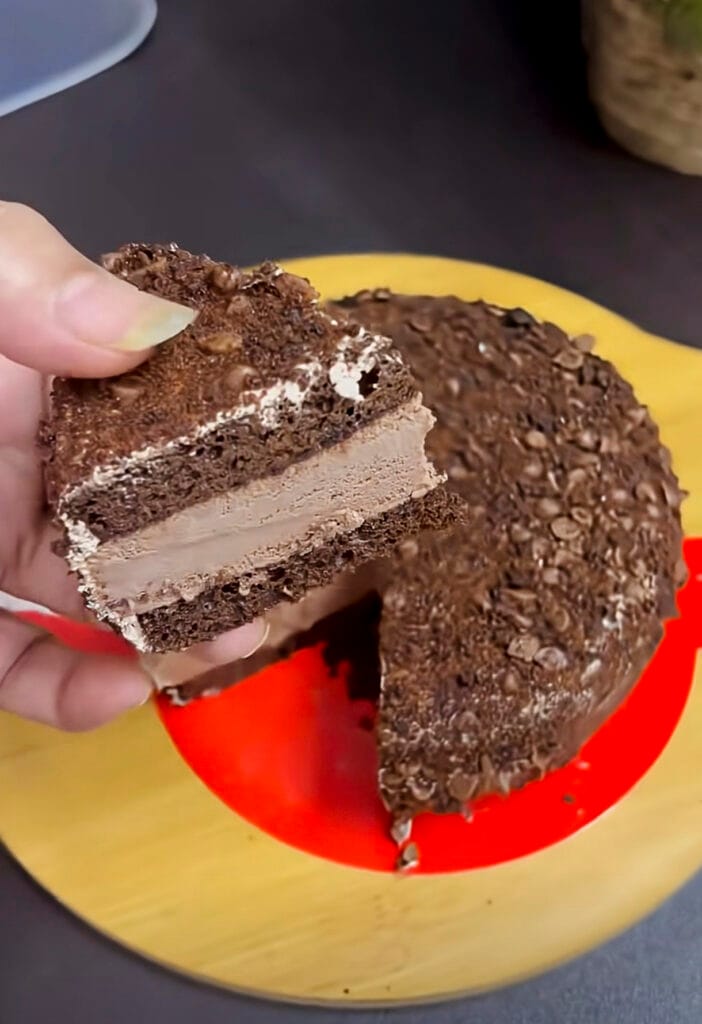
An ice cream cake is great because it freezes well. When it is completely thawed out, wrap the pan with sides on or off in several layers of plastic wrap and then a layer or two of foil to protect the cake from freezer burn or stray odors in the freezer. It will keep in the deep freezer for up to 2 weeks. Just let it defrost a little in the refrigerator before cutting and serving
Frequently Asked Questions
How long does an ice cream cake need to freeze?
Generally, you’ll need at least 4 hours for the entire cake to freeze solid, but I always recommend making it the day before and letting it chill overnight. Freezing between each ice cream layer for 30-45 minutes (or until firm) is also important to keep them distinct.
Can I make an ice cream cake without a springform pan?
You can! A regular 9-inch round cake pan lined with plastic wrap, leaving an overhang on all sides, works well. After the cake is fully frozen, you’ll use the plastic wrap overhang to lift the cake out of the pan. Just be gentle!
What kind of ice cream works best for an ice cream cake?
Any good quality, full-fat ice cream will do. I prefer using classic flavors like vanilla and chocolate for broad appeal, but feel free to pick your favorites. The key is to let it soften just enough to spread, but not melt into liquid.
Can I use homemade whipped cream instead of frozen whipped topping?
Absolutely! Homemade whipped cream is a wonderful substitute. Just make sure it’s stiffly whipped before spreading it on the cake. Keep in mind homemade whipped cream can sometimes crystallize a bit more in the freezer than the frozen whipped topping, but it’ll still taste great.
How far in advance can I make an ice cream cake?
You can make this ice cream cake up to 2 weeks in advance. Just be sure to wrap it really well in plastic wrap and then foil to prevent freezer burn. This makes it a perfect dessert for parties and holidays, as you can get it done ahead of time.