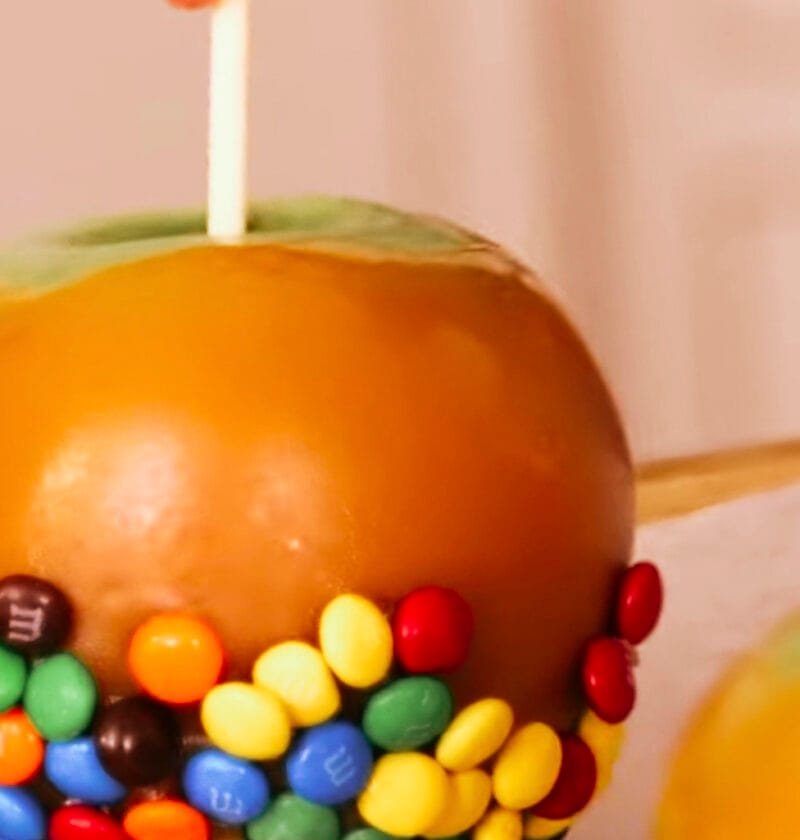
Worrying about dessert for your next date night? You’re in luck. There’s no need to be a master pastry chef to create an amazing caramel apple – it’s just about simple heat management and a bit of patience. Really, it’s all about you can do this classic treat is to master that 1 skill. Avoid the syndrome of eating too much sweets that you can find in the shop. We are referring to apples that are tart, crisp and covered in a rich buttery caramel that just sticks to the apple, providing the perfect crunch and chew that you get with each bite. Looking to leave the takeout behind and create something special?
Caramel Apple
Sink your teeth into a perfectly glossy, rich caramel coating hugging a crisp, sweet-tart apple.
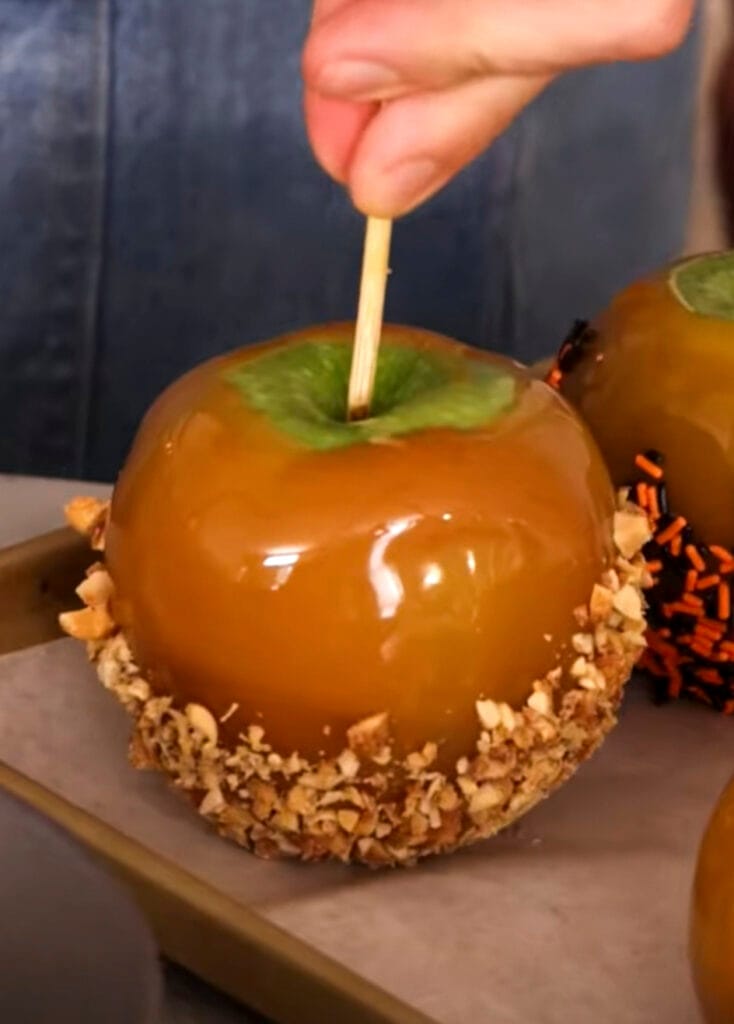
Ingredients
-
-
- 4 medium apples (like Granny Smith or Honeycrisp)
-
- 1 cup (200g) granulated sugar
-
- 1/4 cup (60ml) water
-
- 2 tablespoons (30g) unsalted butter, softened
-
- 1/2 cup (120ml) heavy cream, warmed
-
- 1/2 teaspoon vanilla extract
-
- Pinch of sea salt
-
- Optional toppings: chopped nuts, sprinkles, melted chocolate, mini marshmallows
-
Necessary Utensils & Equipment
-
-
-
- Baking sheet
-
- Parchment paper or silicone mat
-
- Heavy-bottomed saucepan
-
- Candy thermometer
-
- Wooden skewers or popsicle sticks
-
- Measuring cups and spoons
-
-
Instructions
-
-
-
- Prep Your Apples: Wash your apples thoroughly with hot water and soap to remove any wax coating. Dry them completely – this is super important! Remove stems and insert a wooden skewer or popsicle stick into the core of each apple. Line a baking sheet with parchment paper or a silicone mat.
-
- Start the Sugar Syrup: In a heavy-bottomed saucepan, combine the granulated sugar and water. Stir just until the sugar is moistened.
-
- Cook the Caramel Base: Place the saucepan over medium-high heat. Let it come to a boil without stirring. You’ll see the sugar dissolve and the mixture bubble.
-
- Watch the Temperature: Insert your candy thermometer and continue cooking until the syrup reaches 320°F (160°C). This usually takes about 5-8 minutes. Keep a close watch; it can turn quickly!
-
- Add Butter and Cream: Immediately remove the pan from the heat. Carefully whisk in the softened butter, followed by the warmed heavy cream and vanilla extract. The mixture will bubble up, so be cautious. Stir until smooth.
-
- Cool to Dipping Temperature: Let the caramel cool in the saucepan to approximately 200°F (93°C). This takes about 10-15 minutes. If it’s too hot, it’ll run right off your apples; too cool, and it’ll be too thick to coat evenly.
-
- Dip Your Apples: Hold an apple by its stick and dip it into the caramel, tilting the pan and rotating the apple to get an even coating. Let any excess caramel drip back into the pan.
-
- Add Toppings (Optional): If you’re using toppings, roll the caramel-coated apple in your chosen nuts, sprinkles, or chocolate immediately after dipping.
-
- Set and Enjoy: Place the dipped apples on your prepared baking sheet. Let them set at room temperature for about 30 minutes, or pop them in the fridge for 15 minutes to speed things up.
-
-
Perfect caramel apples need not be hard to achieve. I have had my share of messy experiences (quite literally!) and I have picked up a thing or two from the process. When I decided to try my hand at caramel apples for the first time, I was very excited. As soon as I washed the apples, I started dipping them and the caramel kept sliding off! So here’s an important thing about caramel apples – really clean and dry apple surface is crucial for adhesion.
Troubleshooting Common Caramel Apple Issues
- Caramel Sliding Off: As I found out, usually this means your apples weren’t cleaned properly, or they were still wet. Wax coatings prevent caramel from sticking.
- Grainy Caramel: This often happens if sugar crystals form on the sides of the pan during cooking and then fall back into the syrup. Avoid stirring the sugar mixture once it boils. If you see crystals, use a wet pastry brush to gently wash them down the sides of the pan.
- Caramel Too Hard/Soft: This comes down to temperature. If your caramel cools too much before dipping, it’ll be too thick. If it’s too hot, it will be runny. The 200°F (93°C) mark is a sweet spot.
- Sticky Mess: A little mess is part of the fun, but working quickly and having your parchment-lined sheet ready helps. Don’t touch the caramel too much once it’s on the apple until it’s set.
For the best caramel texture, don’t stir the sugar and water once it starts boiling. Let it do its thing until it reaches the right temperature. Stirring can cause crystallization, making your caramel grainy instead of smooth.
Caramel Apple Variations and Toppings
Want to take your caramel apples up a notch? This is where you can truly make them your own. The possibilities are vast! Think about adding a sprinkle of flaky sea salt right after dipping for that amazing sweet-and-salty contrast. Or how about a drizzle of dark chocolate over the caramel for a deeper, richer taste?
Here are some of my top suggestions for toppings and twists:
- Chopped Nuts: Pecans, walnuts, peanuts, or almonds add a lovely textural crunch.
- Sprinkles: Fun and festive, especially for holidays or kids’ parties.
- Melted Chocolate: Drizzle milk, dark, or white chocolate in decorative patterns.
- Crushed Cookies/Candy: Think crushed Oreos, graham crackers, or even candy bars.
- Coconut Flakes: Toasted or plain, they add a tropical feel.
- Mini Marshmallows: A soft, chewy addition that pairs wonderfully with caramel.
When you dip, try rolling the apple in your chosen toppings while the caramel is still warm and tacky. This helps everything stick perfectly, creating a beautiful and delicious finish. You’ll feel that satisfying “snap” of the apple meeting the soft chew of the caramel as you bite into it.
Storing Homemade Caramel Apples
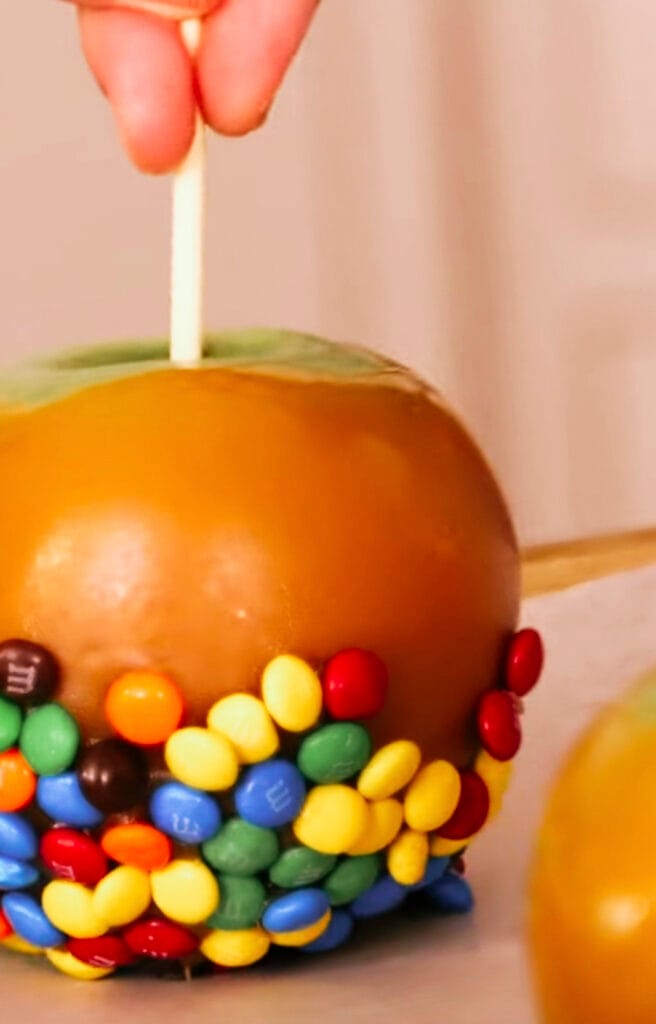
Once you’ve prepared your delightful caramel apples, storing them the right way is important to preserve their freshness. Your best bet would be to put them in an airtight box in the fridge, where they can remain fresh for up to one week. Nonetheless, the caramel will eventually soften as time passes; hence, they’re always best eaten one or two days after preparation. If you have added any topping that’s prone to moisture, such as marshmallows, eat them even earlier!
There is nothing more satisfying than enjoying a delicious caramel apple knowing that you’re eating one with all its natural goodness, and one whose color cannot be beaten by anything from the store. What topping would you like to use first?
Frequently Asked Questions
What kind of apples are best for caramel apples?
Crisp, tart apples work best to balance the sweetness of the caramel. Granny Smith is a classic choice, offering a nice tang. Honeycrisp, Fuji, and Gala are also great options if you prefer a slightly sweeter apple with good crunch.
Why did my homemade caramel turn grainy?
Grainy caramel is usually caused by sugar crystallization. This happens when sugar crystals from the sides of the pan fall back into the syrup and cause the whole batch to crystalize. Avoid stirring the sugar and water mixture once it’s boiling, and use a wet pastry brush to wipe down the sides of the pan if you see crystals forming.
How do I store caramel apples to keep them fresh?
After your caramel apples have fully set, store them individually wrapped in plastic wrap or in an airtight container in the refrigerator. They typically last for about 5-7 days, though the caramel will start to soften slightly over time.
Can I make the caramel ahead of time?
Yes, you can! Prepare the caramel and let it cool completely. Store it in an airtight container at room temperature for up to 2-3 days, or in the fridge for up to a week. When you’re ready to use it, gently reheat it over low heat, stirring frequently, until it reaches the correct dipping consistency and temperature (around 200°F or 93°C).
What are some good topping ideas for caramel apples?
Beyond classic chopped nuts, consider melted chocolate drizzles, crushed cookies (like Oreos or graham crackers), sprinkles for a festive touch, toasted coconut flakes, or even a sprinkle of sea salt for a sweet and salty taste. You can get really creative with your favorite candies or crunchy bits!