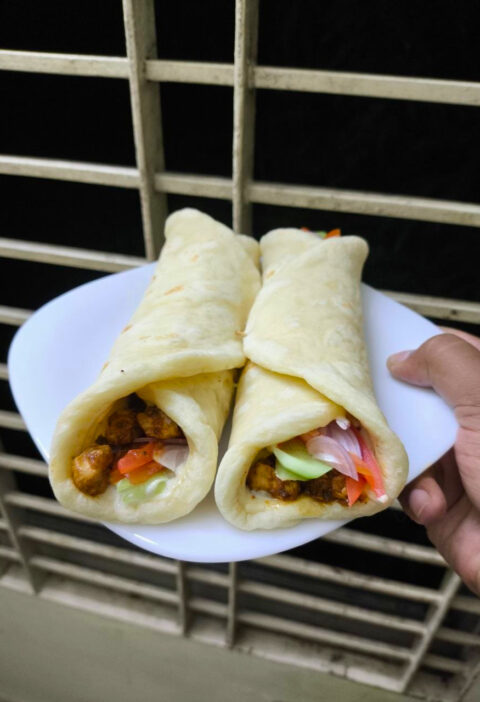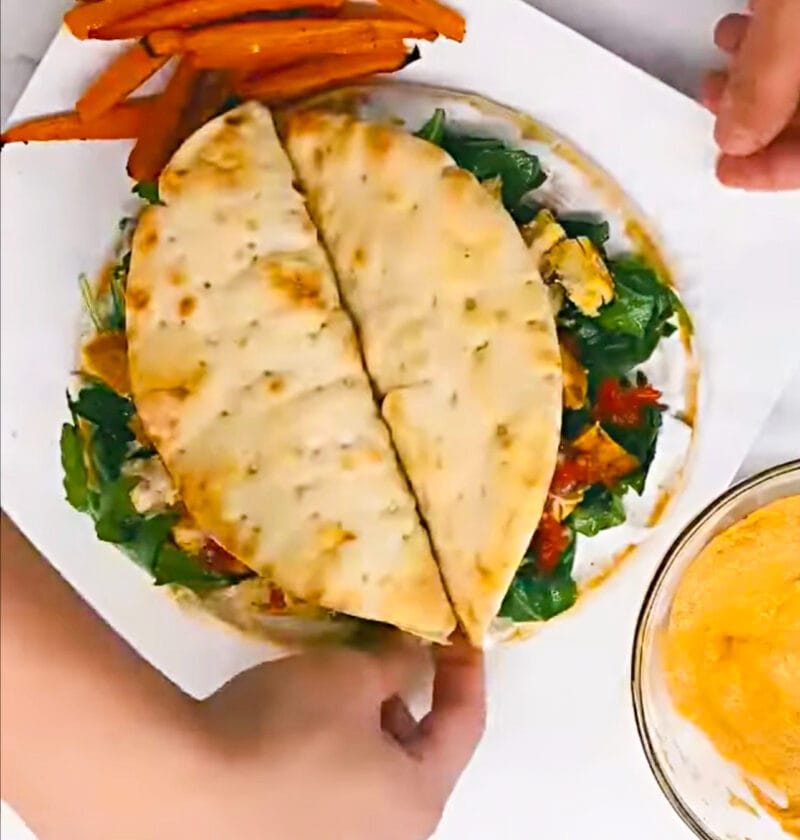
Who doesn’t want to enjoy a meal that’s put together with little effort and doesn’t leave a lot of dishes to clean up? This recipe for Sheet Pan Chicken Pita is just that. We’re talking tender, perfectly seasoned chicken and vibrant, roasted veggies, all cooked on one pan. Then, you cram it in with a cold, creamy sauce in warm pita bread. Packed with flavour, very easy to make and, believe me, you want this on your regular dinners rotation. The perfect blend of ease and ease and deliciousness. This will be a family favorite in no time!
Sheet Pan Chicken Pita
Ingredients
-
-
- 1.5 lbs boneless, skinless chicken breasts, cut into 1-inch pieces
-
- 2 tbsp olive oil, divided
-
- 1 lemon, juiced (about 2-3 tbsp)
-
- 2 cloves garlic, minced
-
- 1″>1 tsp dried oregano
-
- 1/2 tsp dried thyme
-
- 1/2 tsp salt, plus more to taste
-
- 1/4 tsp black pepper, plus more to taste
-
- 1 red bell pepper, cored and sliced
-
- 1″>1 green bell pepper, cored and sliced
-
- 1/2 red onion, sliced
-
- 1 pint cherry tomatoes
-
- 4-6 pita breads, warmed
- For the Tzatziki-style Sauce:
- 1 cup plain Greek yogurt
-
- 1/2 cucumber, grated and squeezed dry
-
- 1″>1 clove garlic, minced
-
- 1 tbsp fresh dill, chopped (or 1 tsp dried)
-
- 1″>1 tbsp lemon juice
-
- 1/4 tsp salt
-
- Pinch of black pepper
- For Serving (Optional):
- Crumbled feta cheese
-
- Fresh parsley, chopped
-
- A drizzle of extra virgin olive oil
-
Necessary Utensils & Equipment
-
-
-
- Large sheet pan (18×13 inches)
-
- Two large mixing bowls
-
- Sharp knife
-
- Measuring spoons and cups
-
- Box grater (for cucumber)
-
-
Instructions
-
-
-
- Preheat Oven & Prep Chicken: Preheat your oven to 400°F (200°C). In a large mixing bowl, combine the cut chicken pieces with 1 tablespoon of olive oil, lemon juice, minced garlic, dried oregano, dried thyme, 1/2 tsp salt, and 1/4 tsp black pepper. Toss well to coat the chicken evenly. Let it sit while you prep the veggies.
-
- Prepare Vegetables: In your second large mixing bowl, add the sliced red bell pepper, green bell pepper, red onion, and cherry tomatoes. Drizzle with the remaining 1 tablespoon of olive oil and season with a pinch of salt and pepper. Toss gently until all vegetables are lightly coated.
-
- Arrange on Sheet Pan: Spread the marinated chicken and seasoned vegetables in a single layer on your large sheet pan. Try to make sure there’s a little space between everything, this helps them roast instead of steam.
-
- Roast: Place the sheet pan in the preheated oven and roast for 25-30 minutes, or until the chicken is cooked through (internal temperature reaches 165°F/74°C) and the vegetables are tender-crisp with a slight char. Give everything a stir halfway through cooking. You’ll know it’s ready when your kitchen is filled with that amazing savory aroma!
-
- Make the Tzatziki-style Sauce: While the chicken and veggies are roasting, prepare your sauce. In a medium bowl, combine the Greek yogurt, grated and squeezed cucumber, minced garlic, fresh dill, lemon juice, 1/4 tsp salt, and a pinch of black pepper. Whisk until smooth. Taste and adjust seasoning if needed.
-
- Warm Pita Bread: During the last few minutes of cooking, warm your pita breads. You can do this by wrapping them in foil and placing them in the oven for 5 minutes, or by toasting them lightly in a dry skillet on the stovetop.
-
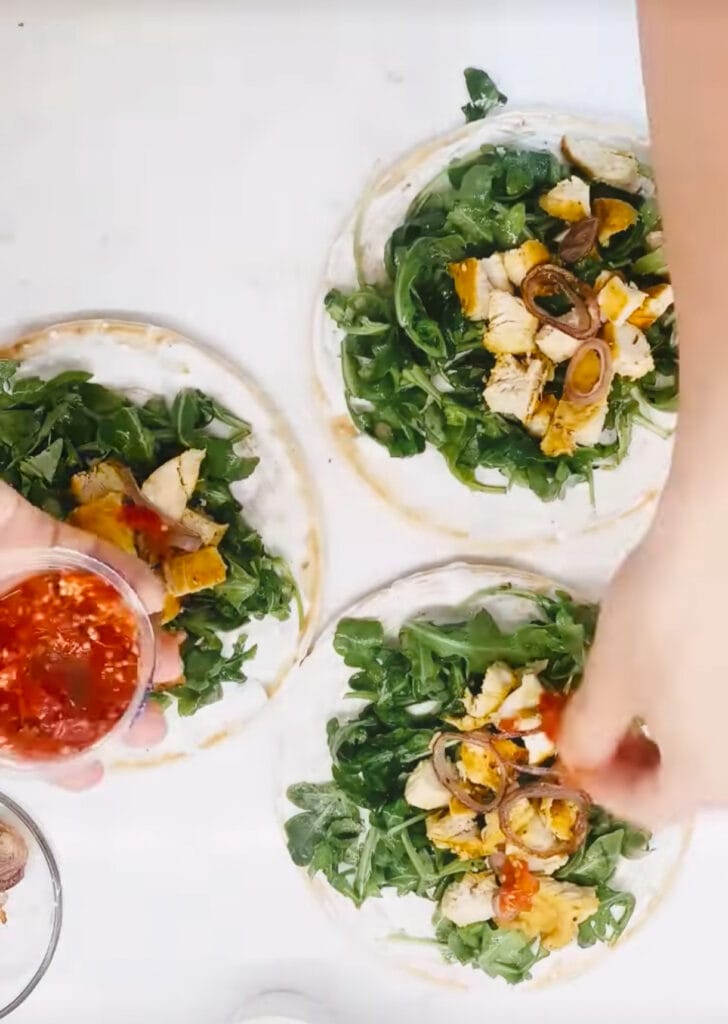
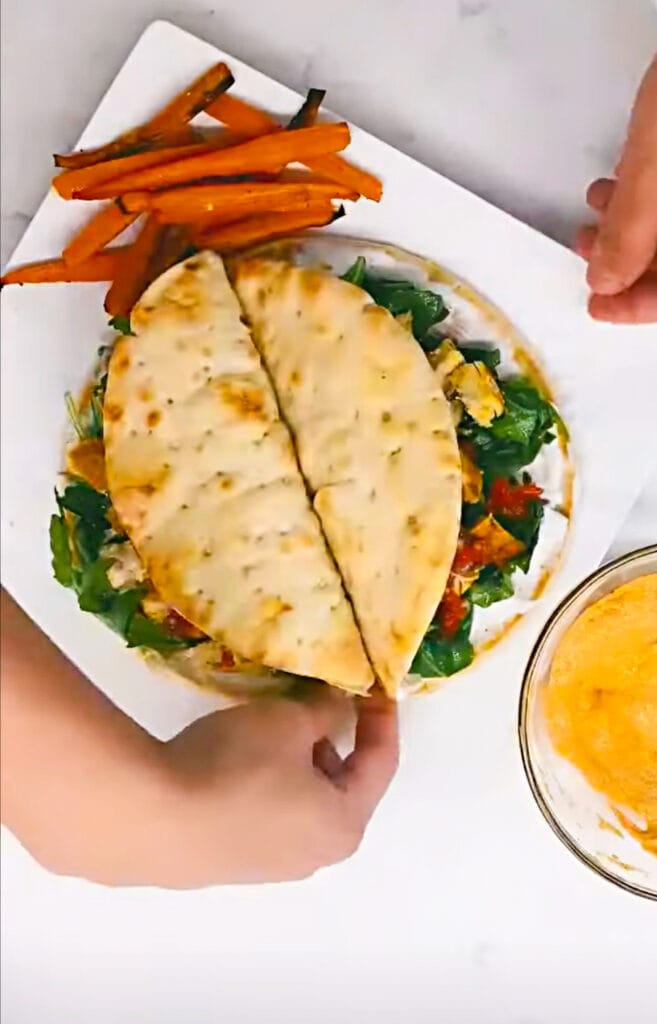
- Assemble & Serve: Once everything is cooked, remove the sheet pan from the oven. Fill the warm pita breads with the roasted chicken and vegetables. Drizzle generously with the homemade tzatziki-style sauce, and if you like, sprinkle with crumbled feta cheese and fresh parsley. Serve immediately and enjoy!
-
-
Things I Do For Sheet Pan Pita Success
Let’s chat about a few tricks I’ve picked up over the years to really nail this recipe. It’s already super easy, but these pointers will make it truly spectacular and help you steer clear of common pitfalls.
Don’t Crowd the Pan (My Rookie Mistake!)
Alright, I was a little overambitious on my first attempt at a sheet pan dinner. I loaded it all in a pan and reasoned, “more food, less cleaning up, right? Wrong. No Steaming of the Veges, and no golden brown crust for the chicken. It is important to spread the ingredients out to achieve the wonderful caramelized taste and consistency. If your sheet pan is too full, then take a second one. It’s the extra plate worth!
Pro Tip: For extra crispy veggies and perfectly cooked chicken, make sure not to overcrowd your sheet pan. Use two if necessary, or roast in batches if you’re making a huge amount!
Customizing Your Veggies & Protein
This recipe is incredibly forgiving, which is why I like it so much. Feel free to swap out the bell peppers and onions for other quick-cooking vegetables. Think zucchini, asparagus, snap peas, or even thinly sliced sweet potatoes (though they’ll need a head start in the oven).
- For a different twist: Try adding chopped mushrooms or even broccoli florets.
- Protein variations: If you’re not a fan of chicken breast, boneless, skinless chicken thighs work beautifully here too. Just adjust the cooking time as they can be a bit more forgiving if slightly overcooked.
- Make it vegetarian: Skip the chicken entirely and add extra chickpeas or firm tofu cubes tossed in the same seasoning for a hearty plant-based option.
Make-Ahead Magic for Busy Days
One of the great things about this Sheet Pan Chicken Pita is how much of it you can prep ahead of time. This is a game-changer for those crazy weeknights.
- Chicken Marinade: You can marinate your chicken up to 24 hours in advance. Just mix it all up in a bowl or a zip-top bag and store it in the fridge.
- Veggies: Chop all your vegetables ahead of time and keep them in an airtight container in the fridge. When it’s dinner time, just toss them with oil and seasonings.
- Tzatziki Sauce: The sauce actually tastes even better after it’s had some time to sit in the fridge! Make it a day or two before, and the flavors will meld together beautifully. Just give it a good stir before serving.
Storage & Reheating Tips
Got leftovers? That’s awesome! They make for a fantastic lunch the next day.
- Storage: Store the cooked chicken and vegetables in an airtight container in the refrigerator for up to 3-4 days. Keep the tzatziki sauce in a separate container.
- Reheating: To reheat, you can warm the chicken and veggies in the microwave, but for the best texture, I recommend spreading them back on a baking sheet and popping them in a 350°F (175°C) oven for about 10-15 minutes until heated through. This helps them regain some crispness. Warm fresh pita bread and assemble as usual.
Frequently Asked Questions
Can I use chicken thighs instead of breasts for this Sheet Pan Chicken Pita?
Absolutely! Boneless, skinless chicken thighs are a wonderful option for this recipe. They tend to stay juicier and have a little more flavor. The cooking time will be roughly the same, but always check for an internal temperature of 165°F (74°C) to ensure they’re fully cooked.
What’s the best way to warm pita bread?
There are a few great ways! You can wrap them in foil and warm them in the oven during the last 5-10 minutes of the chicken and veggie roasting. Alternatively, lightly toast them in a dry skillet over medium heat for about 30 seconds per side until they’re warm and slightly puffed. You can also quickly microwave them for 15-20 seconds.
How do I make sure my vegetables get properly roasted and not soggy?
The key is not overcrowding your sheet pan. Give your vegetables space to breathe and allow moisture to evaporate, which promotes browning and crisping. Also, ensure your oven is fully preheated to the correct temperature. A little olive oil helps too!
Can I prepare this recipe ahead for meal prep?
Yes, this Sheet Pan Chicken Pita is fantastic for meal prep! You can chop all your vegetables, marinate the chicken, and even make the tzatziki sauce a day or two in advance. Store each component separately in airtight containers in the fridge. When it’s time to cook, simply toss everything onto the sheet pan and roast.
What if I don’t have fresh dill for the tzatziki sauce?
No problem! You can swap fresh dill for dried dill. As a general rule, use about one-third the amount of dried herbs compared to fresh. So, for 1 tablespoon of fresh dill, use about 1 teaspoon of dried dill. The flavor will still be delightful!