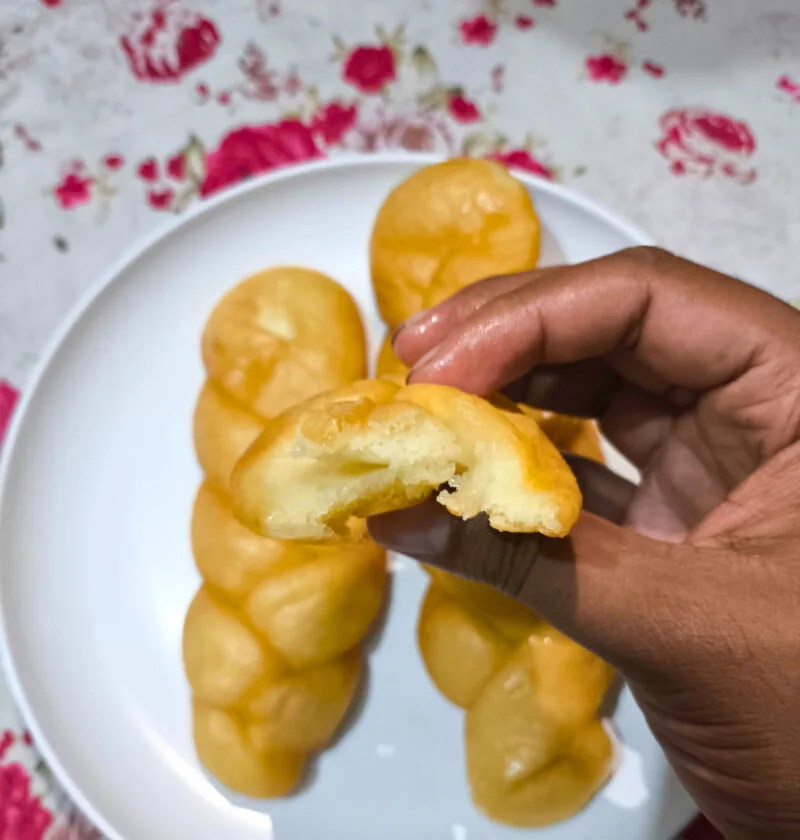
Hi, fellow baker! Today is a special day and we are going to make some homemade Sweet Soft Spongy Honey Buns! You know what we’re talking about when we say this warm, gooey, cinnamon spiced delish from the bakery? These aren’t just any buns, they’re a hug for your taste buds wrapped in a perfectly tender, slightly chewy dough.
Say goodbye to bland, tasteless store-bought varieties. We’re referring to fresh, sticky, sweet buns with a gorgeous honey glaze that absorbs into every bite, leaving it pure bliss. They are surprisingly simple to prepare, and the aroma that will permeate your kitchen will be worth it all. Shall we go for a baking? These are going to be a lot of fun.
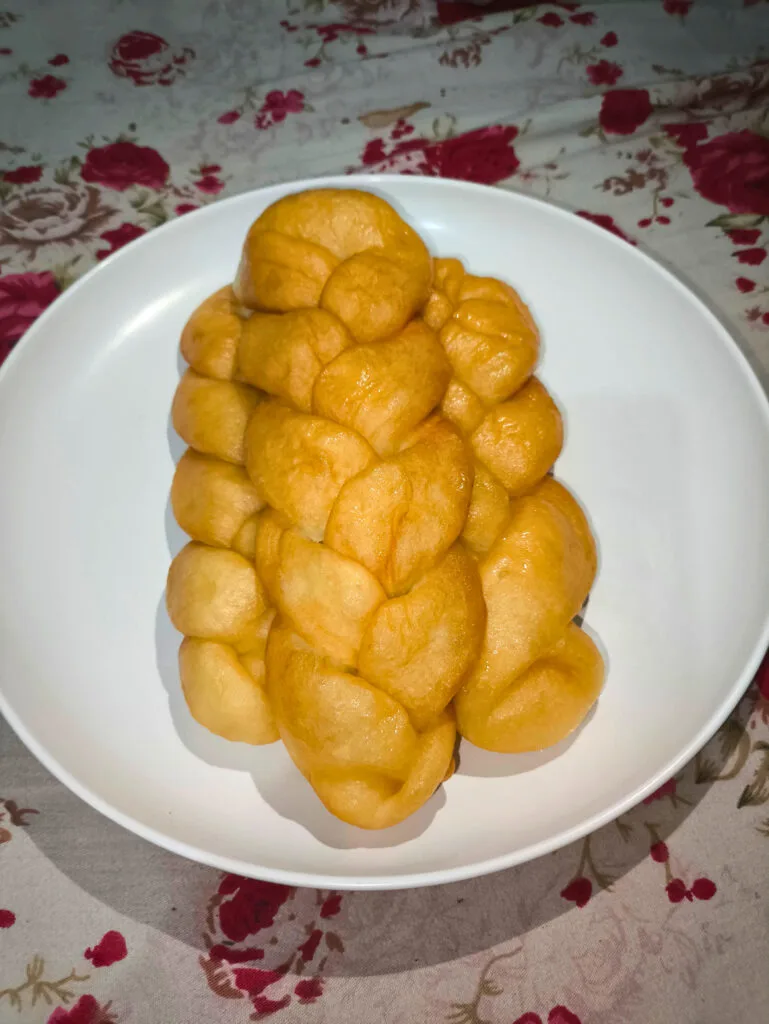
Sweet Soft Spongy Honey Bun
Ingredients
For the Dough:
-
-
- 1 cup (240ml) warm milk (105-115°F / 40-46°C)
-
- 2.25 teaspoons (1 packet) active dry yeast
-
- 1/4 cup (50g) granulated sugar
-
- 1 large egg, at room temperature
-
- 1/4 cup (56g) unsalted butter, melted and cooled
-
- 1/2 teaspoon salt
-
- 3 to 3.5 cups (360-420g) all-purpose flour, plus more for dusting
-
For the Filling:
-
-
- 1/2 cup (113g) unsalted butter, softened
-
- 3/4 cup (150g) packed light brown sugar
-
- 2 teaspoons ground cinnamon
-
- 1/4 teaspoon ground nutmeg (optional)
-
For the Honey Glaze:
-
-
- 1/2 cup (170g) honey
-
- 1/4 cup (56g) unsalted butter
-
- 1/4 cup (60ml) hot water
-
- 1 teaspoon vanilla extract
-
- 1 cup (120g) powdered sugar
-
Necessary Utensils & Equipment
-
-
-
- Stand mixer with dough hook attachment (optional, but helpful)
-
- Measuring cups and spoons
-
- Small saucepan
-
- 9×13 inch baking dish
-
- Plastic wrap or clean kitchen towel
-
- Pastry brush
-
Instructions
-
-
-
- Activate the Yeast: In your large mixing bowl (or stand mixer bowl), combine the warm milk, yeast, and granulated sugar. Give it a gentle stir. Let it sit for about 5-10 minutes until it looks foamy. This tells you your yeast is alive and ready to work its magic!
-
- Mix Wet Ingredients: Add the egg, melted butter, and salt to the yeast mixture. Mix until everything is well combined.
-
- Add Flour & Knead: Gradually add 3 cups of flour, mixing on low speed with a dough hook (or with a sturdy spoon) until a shaggy dough forms. If mixing by hand, turn it out onto a lightly floured surface. Knead for 8-10 minutes until the dough is smooth and elastic. If using a stand mixer, increase speed to medium-low and knead for 6-8 minutes. Add more flour, a tablespoon at a time, only if the dough is too sticky to handle. It’s better for the dough to be slightly sticky than too dry!
-
- First Rise (Proofing): Form the dough into a ball and place it in a lightly oiled bowl, turning once to coat. Cover the bowl with plastic wrap or a clean kitchen towel. Let it rise in a warm, draft-free place for 45-60 minutes, or until it has doubled in size.
-
- Prepare the Filling: While the dough is rising, combine the softened butter, brown sugar, cinnamon, and nutmeg (if using) in a small bowl. Mix until you get a smooth, spreadable paste.
-
- Shape the Buns: Once the dough has doubled, gently punch it down to release the air. Turn it out onto a lightly floured surface. Roll the dough into a large rectangle, roughly 12×18 inches.
-
- Spread Filling & Roll: Evenly spread the cinnamon-sugar filling over the entire surface of the dough, leaving a small border on one of the long edges. Starting from the opposite long edge, tightly roll the dough into a log.
-
- Cut the Buns: Use a sharp knife or unflavored dental floss to cut the log into 8 equal pieces, each about 1.5 inches thick.
-
- Second Rise: Arrange the cut buns in your greased 9×13 inch baking dish, leaving a little space between each. Cover loosely with plastic wrap or a kitchen towel again. Let them rise for another 30-45 minutes, or until they look puffy.
-
- Bake: Preheat your oven to 375°F (190°C). Bake the honey buns for 20-25 minutes, or until they’re golden brown on top and cooked through. If they start browning too quickly, you can loosely tent them with foil.
-
- Make the Glaze: While the buns are baking, combine the honey, butter, and hot water in a small saucepan. Heat over medium-low, stirring until the butter is melted and the mixture is smooth. Remove from heat and stir in the vanilla extract and powdered sugar until smooth.
-
- Glaze & Serve: As soon as the buns come out of the oven, brush them generously with the warm honey glaze. The warmth of the buns helps the glaze soak in, creating that signature gooey texture. Serve immediately and enjoy!
-
-
My Little Honey Bun Story
First time I attempted to make honey buns, it was a bit of a mess. I was so excited but I was in a hurry, didn’t knead it long enough, didn’t let it rise long enough, and got dense and slightly dry pucks instead of fluffy buns. My family happily consumed them, but I could tell they were not very happy about it. It was a good lesson in patience, a baker’s best friend, particularly with yeasted doughs. Now I love the quiet times of kneading and watching the dough slowly rise, and knowing what is to come. The fragrant, delicious aroma as they cook? Pure magic.
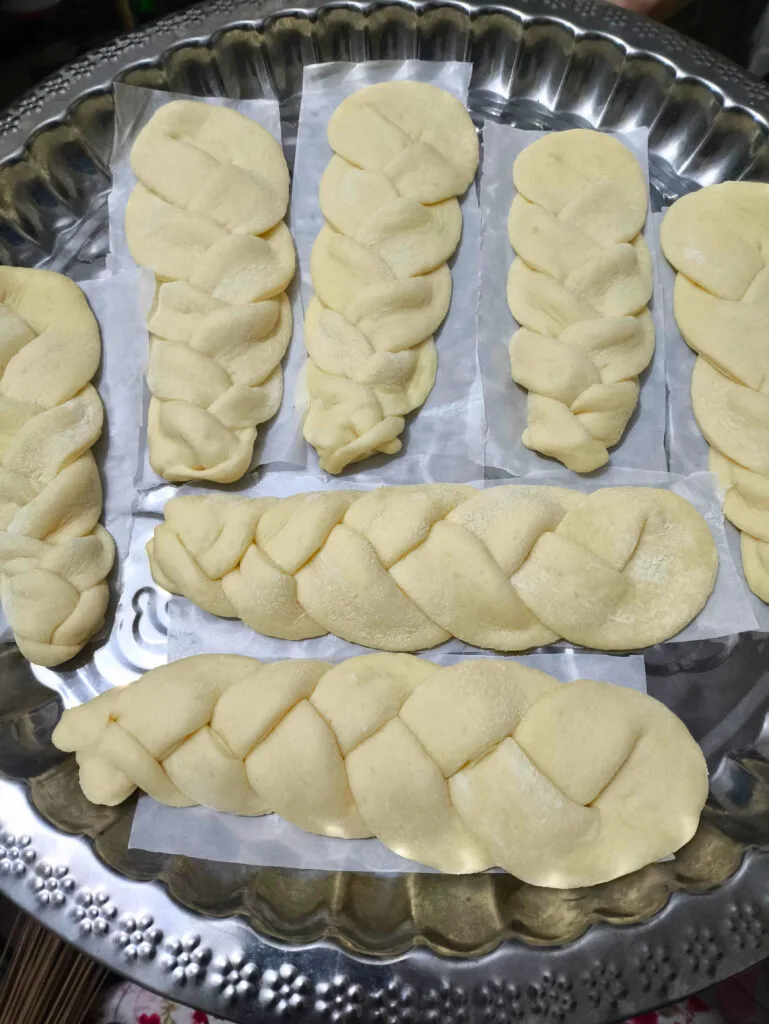
Expert Tips for Sweet Honey Bun Success
Want to make these honey buns truly sing? Here are my go-to tips for a bakery-quality treat every time.
Mastering Your Dough
- Don’t Rush the Proof: That first rise is incredibly important for flavor and texture. If your kitchen is cool, you can put the covered bowl in an oven that’s been turned off but still slightly warm (not hot!).
- Flour Power: When you’re adding flour, remember that less is often more. Adding too much flour can lead to dry, tough buns. The dough should be soft and slightly tacky, not stiff. Feel it with your hands – it should be responsive.
- The Windowpane Test: Want to check if your dough is kneaded enough? Pinch off a small piece and gently stretch it. If you can stretch it thin enough to see light through it without tearing, you’ve kneaded it perfectly!
Pro Tip: For extra fluffy buns, use bread flour instead of all-purpose flour. Its higher protein content will give you a chewier, more substantial texture that still maintains incredible softness.
Perfecting the Filling and Glaze
The filling is where all that cozy flavor comes from, and the glaze seals the deal!
- Softened Butter is Key: For the filling, make sure your butter is truly softened, not melted. It needs to be easily spreadable but still firm enough to hold the sugar and cinnamon together.
- Even Spreading: When you spread the filling, try to get it as even as possible across the dough. This makes sure every bite has a consistent amount of spice and sweetness.
- Warm Glaze, Warm Buns: This is critical! Brushing the glaze over warm buns allows it to melt and soak in, making them super gooey and sticky. If your buns have cooled, you can gently rewarm them slightly before glazing.
Storage and Reheating
These buns are best enjoyed fresh, but don’t worry, they store pretty well too!
- Room Temperature: Store leftover honey buns in an airtight container at room temperature for up to 2-3 days.
- Freezing: For longer storage, wrap individual buns tightly in plastic wrap, then place them in a freezer-safe bag. They’ll keep in the freezer for up to 1 month.
- Reheating: To enjoy them again, pop a bun in the microwave for 15-30 seconds, or warm in a preheated oven at 300°F (150°C) for about 5-10 minutes. They’ll be almost as good as fresh!
Flavor Variations to Try
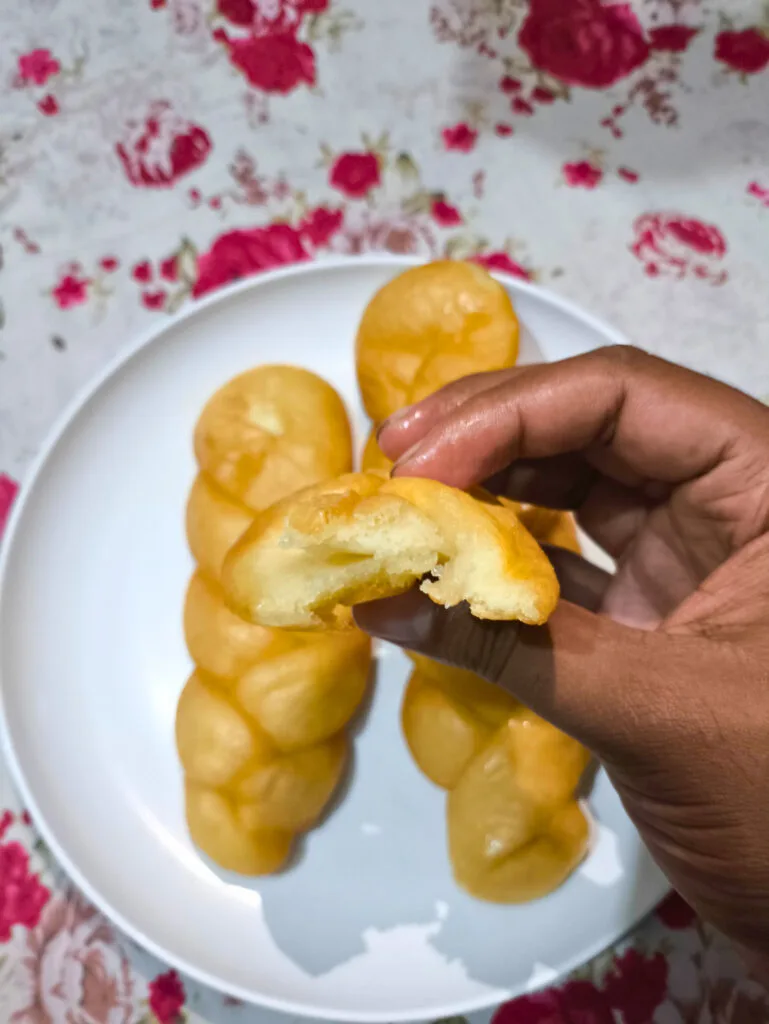
Once you’ve mastered the basic recipe, feel free to get creative!
- Nutty Delight: Sprinkle chopped pecans or walnuts over the filling before rolling the dough.
- Citrus Zing: Add a teaspoon of orange or lemon zest to the dough for a bright, refreshing twist.
- Maple Glaze: Swap out half the honey in the glaze for pure maple syrup for a different kind of sweet finish.
Frequently Asked Questions
Can I make the dough ahead of time?
Yes, absolutely! You can prepare the dough up to step 4 (after the first rise), then punch it down, cover the bowl tightly with plastic wrap, and refrigerate it overnight. Let it come to room temperature for about 30-60 minutes before proceeding with step 5 and onward. This can sometimes deepen the flavor of the dough.
What if my yeast doesn’t foam?
If your yeast mixture doesn’t get foamy after 5-10 minutes, it likely means your yeast is no longer active, or your milk wasn’t the right temperature. The milk should be warm to the touch, like bathwater, but not hot. Discard the mixture and start again with fresh yeast and properly warmed milk. Active yeast is the secret to fluffy buns!
Can I use whole wheat flour?
You can substitute a portion of the all-purpose flour with whole wheat flour, but I wouldn’t recommend swapping it all. Start by replacing about 1 cup of all-purpose flour with whole wheat. Keep in mind that whole wheat flour absorbs more liquid, so you might need to adjust the amount of milk slightly, and your buns might be a bit denser.
Why are my honey buns dry?
Dry honey buns are usually a sign of one of two things: either you added too much flour during the kneading process, or you overbaked them. Remember to only add enough flour to make the dough manageable and keep an eye on your oven. Once they’re golden brown, they’re likely done!
Is there a dairy-free option for these buns?
You can certainly make these dairy-free! Use a plant-based milk (like almond or soy milk) and a dairy-free butter substitute in both the dough, filling, and glaze. Just ensure your butter substitute is suitable for baking.