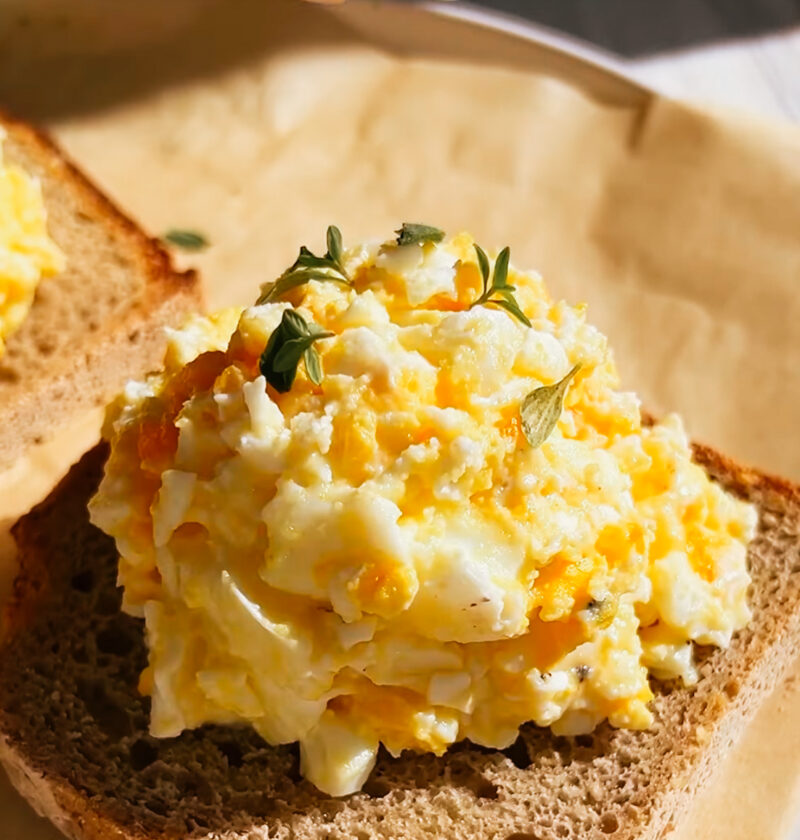
Mornings are a struggle, but breakfast doesn’t have to be. Picture a healthy, delicious meal that combines creamy, salty feta, sweet roasted tomatoes, and perfectly cooked eggs—with just a little effort. Seems like a great plan, doesn’t it? Well, it’s not! This recipe for Baked Feta Eggs is not just a dream come true for anyone looking for a quick, easy, and tasty meal, it’s an actual dream come true. Ideal for brunch, a quick weeknight meal or any time comfort is a must. Believe me, you want this in your rotation.
Baked Feta Eggs Recipe
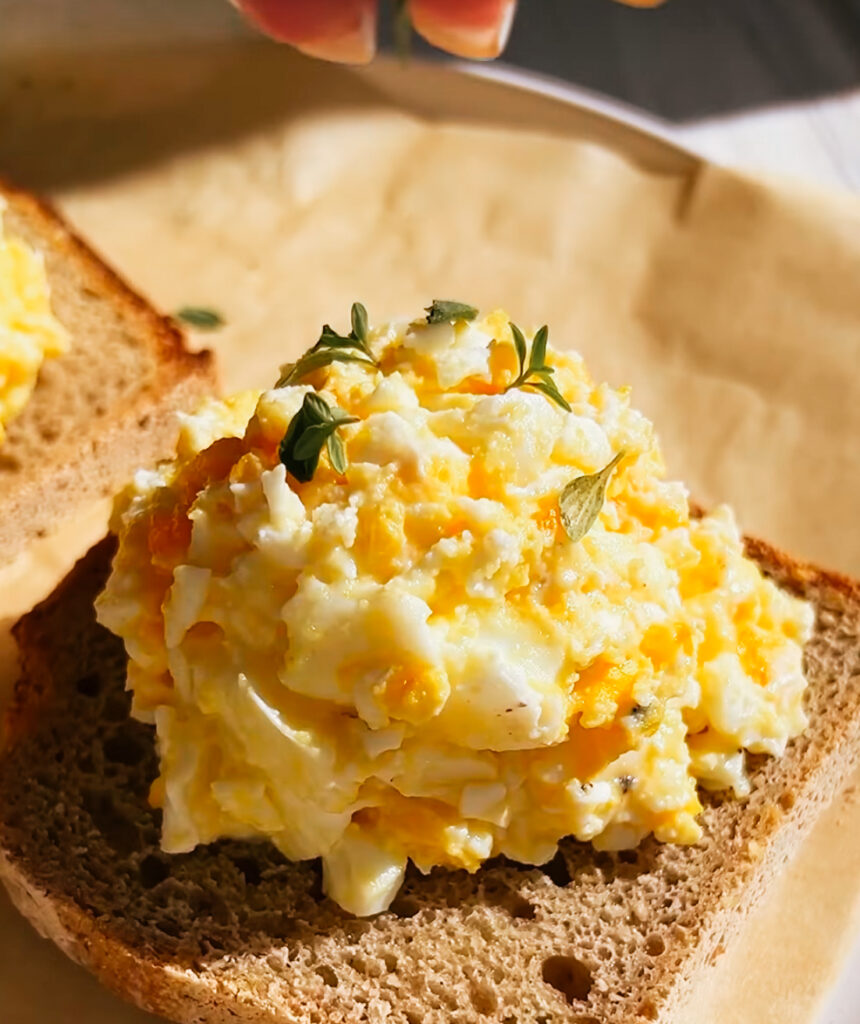
Ingredients
-
-
- 4 large eggs
-
- 4 oz block feta cheese (ideally Greek, not pre-crumbled)
-
- 1 cup cherry or grape tomatoes, halved
-
- 2 tbsp olive oil, divided
-
- 2 cloves garlic, minced
-
- 1 tsp fresh oregano, chopped (or ½ tsp dried)
-
- ¼ tsp red pepper flakes (optional, for a kick)
-
- Salt and freshly ground black pepper, to taste
-
- Fresh parsley or dill, chopped (for garnish, optional)
-
- Crusty bread or pita for serving
-
Necessary Utensils & Equipment
-
-
-
- Oven-safe skillet (like cast iron, 8-inch or 10-inch) or small baking dish
-
- Measuring spoons and cups
-
- Sharp knife
-
- Spatula or serving spoon
-
-
Instructions
-
-
-
- Preheat your oven to 400°F (200°C).
-
- In your oven-safe skillet or baking dish, combine the halved cherry tomatoes, minced garlic, fresh (or dried) oregano, and red pepper flakes (if you’re using them). Add 1 tablespoon of olive oil, and season with a pinch of salt and pepper. Give everything a gentle toss to combine.
-
- Create a space in the center of the tomato mixture and nestle the block of feta cheese right in there. Drizzle the remaining 1 tablespoon of olive oil evenly over the feta.
-
- Bake for 10–12 minutes. You’re looking for the feta to soften and get just a little golden around the edges, and for those tomatoes to start bursting and releasing their juices.
-
- Carefully remove the hot skillet from the oven. Using the back of a spoon, gently create 2 to 4 small wells or indentations in the tomato-feta mixture. These are where your eggs will go!
-
- Carefully crack one egg into each well. Season the eggs lightly with a little more salt and pepper.
-
- Return the skillet to the oven and bake for another 8–10 minutes. The timing here depends on how you like your eggs. You want the whites to be fully set, but for a truly delicious experience, aim for yolks that are still wonderfully runny.
-
- Once done, take it out of the oven. Garnish with some fresh chopped parsley or dill, if you like. Serve your Baked Feta Eggs immediately with plenty of crusty bread or warm pita to soak up all that incredible cheesy, tomato-y goodness.
-
-
Baked Feta Eggs: A Quick Origin Story
The baked feta pasta with the viral video has been flying around the internet, and believe me, it’s a genius idea. This Baked Feta Eggs recipe is a take on that book, minus the complexity and made for a breakfast, brunch or light dinner. It’s Mediterranean comfort food, with very little effort. Pensaterebbe salty, creamy, tart and fresh-flavored, all in one pan.
The simplicity of this dish is the reason it’s so beautiful. You’re using ingredients that pair really well together already: salty feta, sweet acid roasted tomatoes, and rich, comforting eggs. The magic really begins when they are brought together in the oven. It’s a simple meal, yet it packs a punch in taste, which is the reason that people enjoy it.
Why This Recipe Works for Busy People
Honestly, we’re all looking for those recipes that deliver maximum flavor for minimum effort. This is one of them. You’ll appreciate how little active cooking time is involved, making it perfect for those mornings when you want something special without feeling rushed. The oven does most of the heavy lifting here. Just a bit of chopping, a quick toss, and then you let the heat work its wonders.
Plus, it’s incredibly versatile. You can dress it up or down, add a variety of ingredients, and it still tastes fantastic. For me, it’s a constant go-to because I always have eggs and feta in the fridge, and tomatoes are a staple. This recipe proves that you don’t need a lot of complex steps or obscure ingredients to make something truly memorable.
Ingredients Deep Dive: What You’ll Need
Each ingredient plays a crucial part in the overall taste and texture of your Baked Feta Eggs. Let’s talk about them for a second.
- Feta Cheese: This is the star! Don’t skimp on quality here. Look for a block of Greek feta packed in brine. It’ll have a creamier texture and a saltier, tangier taste than pre-crumbled varieties, which often dry out in the oven. The way it softens and almost melts into the tomatoes is just wonderful.
- Eggs: Fresh, large eggs are what you want. The size helps them sit nicely in the wells you create. You want those yolks to be rich and flavorful, whether you like them jammy or perfectly runny.
- Cherry or Grape Tomatoes: These burst beautifully when roasted, releasing a sweet and tangy juice that mingles perfectly with the feta. They also add a lovely pop of color and freshness.
- Olive Oil: A good quality extra virgin olive oil makes a huge difference. It helps roast the tomatoes, keeps the feta moist, and adds a fruity, peppery note to the dish.
- Garlic & Oregano: These are classic Mediterranean flavors that truly elevate the dish. Fresh is always best for both, but dried works fine if that’s what you have. They add a wonderful aromatic depth.
- Red Pepper Flakes (Optional): If you like a little warmth and a gentle kick, these are fantastic. They wake up your taste buds without being overly spicy.
- Salt & Pepper: Always essential for seasoning. Remember that feta is quite salty, so go easy on the added salt, especially before tasting.
Step-by-Step Instructions For Perfect Recipe
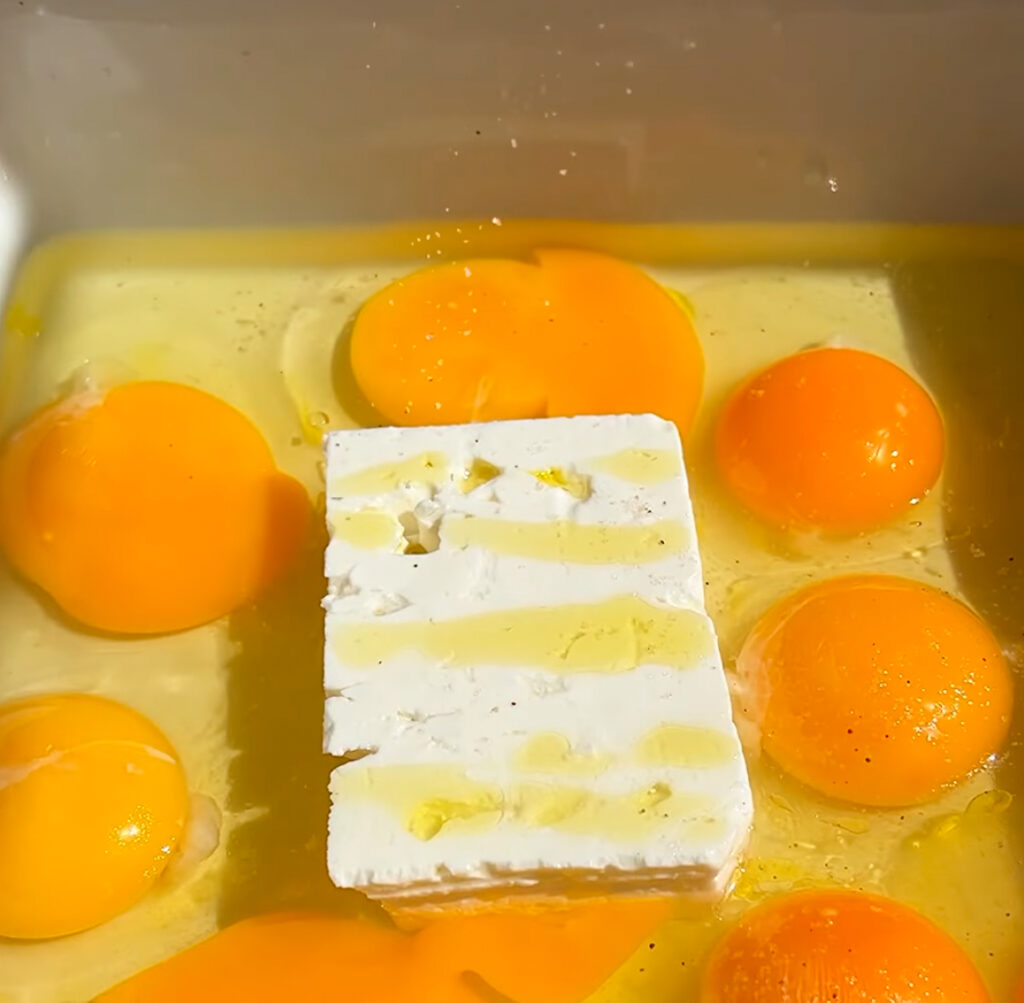
Let’s walk through the instructions again, but this time, with a few extra thoughts on getting it just right.
1. Oven Temperature: Getting your oven to 400°F (200°C) is key for quickly roasting the tomatoes and softening the feta without drying it out. Don’t rush this preheating step.
2. Tomato Prep: Halving the cherry tomatoes allows their juices to release more easily as they cook, creating a fantastic sauce for the feta and eggs. Toss them well with the olive oil, garlic, and herbs.
3. Feta Placement: Nestling the feta in the center is strategic. It keeps it from getting too crispy on the edges too quickly, allowing it to become creamy. A final drizzle of olive oil helps it melt beautifully.
4. First Bake: This initial bake is about tenderizing the tomatoes and softening the feta. You’ll smell the garlic and oregano filling your kitchen – that’s a good sign! You’ll see the tomatoes starting to blister and deflate a bit.
5. Creating Wells: When you pull the skillet out, be gentle. The back of a spoon is perfect for pushing aside some of the tomato mixture to make neat little beds for your eggs. This helps the eggs cook evenly and keeps them from spreading too much.
6. Cracking Eggs: Crack each egg into a separate small bowl first, then gently slide it into its well. This avoids shell mishaps and ensures your yolks don’t break prematurely. Season them lightly.
7. Second Bake: This is the crucial stage for your eggs. Keep a close eye on them. For runny yolks, you might only need 8 minutes. If you prefer them more set, go for 10-12 minutes. The edges of the whites should be set, but the yolks should still jiggle slightly if you gently shake the pan. The aroma of baked feta and eggs is truly wonderful. This is when the dish really comes alive!
8. Garnish and Serve: A sprinkle of fresh herbs adds color and a fresh finish. Parsley, dill, or even some fresh basil would be lovely. And honestly, don’t forget the crusty bread – it’s practically mandatory for mopping up every last bit of that flavorful sauce.
Expert Tips for Success
Making this dish is straightforward, but a few pointers can take it from good to truly memorable.
Perfecting this dish
The kind of feta you use really matters here. The first time I tried making a baked feta dish, I grabbed some pre-crumbled feta from the dairy aisle. Big mistake! It dried out in the oven, becoming crumbly and tough, instead of that gorgeous creamy, melty consistency I was hoping for.
Pro Tip: Always opt for a block of feta packed in brine. Its moisture content is higher, which means it will soften and become beautifully creamy in the oven, offering that perfect salty contrast without drying out.
You want it to be warmed through and slightly browned on top, but still soft enough to scoop. If it looks like it’s getting too dark too fast, you can loosely tent it with foil for the last few minutes of baking.
Egg Doneness: A Personal Choice
We all have our preferences when it comes to eggs. This recipe is designed for runny yolks, which I think pair best with the creamy feta and tomatoes. The joy of dipping your bread into that warm, runny yolk is simply unmatched. However, if you prefer your yolks jammy or fully cooked, just adjust the baking time in the second stage. Add an extra 2-4 minutes for jammy, or more for firm yolks. Just remember to watch them closely, as ovens vary.
Troubleshooting Common Issues
- Eggs cooking too fast/slow: Oven temperatures can be inconsistent. Get an oven thermometer! If eggs are cooking too fast, lower the heat slightly next time or bake on a lower rack. If too slow, increase heat slightly.
- Feta drying out: As mentioned, use a block in brine. If it’s still drying, ensure you’re drizzling enough olive oil over it and bake it tucked into the tomatoes.
- Tomatoes not bursting: If your tomatoes are a bit stubborn, you can gently crush a few with the back of a spoon before the first bake to help them along.
- Dish is too salty: Feta is naturally salty. Taste your initial tomato mixture *before* adding feta and go easy on the salt. You can always add more at the end.
Variations & Add-Ins
 w
w
This dish is incredibly adaptable. Don’t be afraid to experiment with what you have on hand or what sounds good!
- Veggies:
- Add some sliced bell peppers (red or yellow work well).
- Toss in chopped spinach or kale during the first bake.
- Artichoke hearts or olives can add a lovely briny kick.
- Consider thin slices of zucchini or asparagus.
- Herbs & Spices:
- Fresh basil or thyme are fantastic additions.
- A pinch of smoked paprika or a dash of chili powder can bring a different kind of warmth.
- Lemon zest sprinkled over the finished dish adds brightness.
- Protein Boost:
- Stir in cooked, crumbled sausage or bacon with the tomatoes.
- Add some shredded cooked chicken for a fuller meal.
- Cheese Alternatives: While feta is the star, you could experiment with goat cheese for a milder tang, or even a creamy burrata for a truly decadent experience. Just know the cooking times might adjust slightly.
Serving Suggestions
While it’s perfect on its own with some crusty bread, you can make this a more complete meal.
- For Brunch: Serve alongside a fresh green salad with a light vinaigrette. A side of crispy bacon or a fresh fruit salad would also pair wonderfully.
- For Dinner: This can be a light and satisfying meal. Serve it with a side of quinoa or couscous to soak up the juices, or a simple side salad.
- Bread is a Must: Warm pita bread, crusty baguette, sourdough, or even toasted challah are all excellent choices for dipping.
Storing Leftovers
Honestly, this dish is best enjoyed fresh, straight from the oven. The runny yolks and creamy feta are at their peak right then. However, if you do have leftovers (and that’s a big *if*!), you can store them in an airtight container in the refrigerator for up to 2-3 days.
To reheat, gently warm in the microwave or in a small pan on the stovetop over low heat. The eggs won’t be as runny, and the feta might lose some of its creaminess, but it will still taste delicious. Don’t expect the same texture, but the flavors will still be there to enjoy. I personally love leftover feta eggs cold on a piece of toast sometimes! It offers a different, yet still enjoyable, tasting perspective.
Frequently Asked Questions
Got questions about Baked Feta Eggs? I’ve got answers!
Q: Can I use pre-crumbled feta for this recipe?
A: You *can*, but I strongly recommend against it. Pre-crumbled feta tends to be drier and won’t melt into that luscious, creamy texture you get from a block of feta packed in brine. For the best flavor and texture, always choose a block.
Q: What kind of skillet is best for baking feta eggs?
A: A cast iron skillet is ideal because it distributes heat beautifully and goes straight from stovetop to oven. If you don’t have one, any oven-safe baking dish (like a ceramic gratin dish or a small casserole dish) will work just fine. Just make sure it’s not too large; you want the ingredients to be somewhat nestled together.
Q: Can I prepare this dish ahead of time?
A: This dish truly shines when made fresh, especially because of the eggs. You can prep your ingredients by halving tomatoes and mincing garlic in advance. However, I wouldn’t recommend assembling and baking it until you’re ready to serve for the best results, particularly for perfectly cooked eggs and creamy feta.
Q: Is this recipe healthy?
A: Absolutely! With fresh tomatoes, healthy fats from olive oil and feta, and protein-packed eggs, it’s a very nutritious meal. The calories are modest for a satisfying dish, and you’re getting plenty of vitamins and minerals from the ingredients. It’s a compelling way to start your day or enjoy a light lunch.
Q: Can I make a larger batch for more people?
A: Yes! Simply scale up the ingredients. You might need a larger baking dish or two separate dishes to accommodate more feta and eggs. Just ensure there’s enough space for the eggs to cook without overcrowding the pan. Remember to adjust the olive oil and seasoning accordingly.