Remember when someone in your family or friends told you that dessert was their new favorite? I did the same with the first person who tried this Biscoff cheesecake. The cookie tasted so rich and spiced and soooooooooooo creamy! Let’s talk about a dessert that can turn any event into something a little more special a little more “café elegant” without all the fuss.
If you’re looking for that perfect blend of comforting familiarity and sophisticated taste, you’ve found it. This recipe combines all of the irresistibly yummy aspects of Biscoff cookies in a smooth dreamy cheesecake. You’re going to love how easy it is to make something so truly impressive.
Biscoff Cheesecake
A deeply spiced, impossibly creamy cheesecake with a crisp Biscoff crust and luscious cookie butter swirl.
Ingredients
-
-
- 250g (about 1.5 sleeves) Biscoff cookies, finely crushed
-
- 80g (5 tablespoons) unsalted butter, melted
-
- Pinch of salt
-
- 900g (4 bricks) full-fat cream cheese, softened
-
- 200g (1 cup) granulated sugar
-
- 120g (½ cup) sour cream, room temperature
-
- 2 teaspoons vanilla extract
-
- 4 large eggs, room temperature
-
- 120g (½ cup) Biscoff cookie butter spread, melted and cooled
-
- 60g (¼ cup) Biscoff cookie butter spread, melted (for topping)
-
- 2-3 extra Biscoff cookies, crushed (for garnish)
-
Necessary Utensils & Equipment
-
-
-
- 9-inch springform pan
-
- Medium mixing bowl
-
- Electric mixer (stand or hand-held)
-
- Rubber spatula
-
- Measuring cups and spoons
-
- Small saucepan or microwave-safe bowl
-
- Aluminum foil (heavy-duty)
-
- Baking sheet (optional, for water bath)
-
- Wire cooling rack
-
-
Instructions
-
-
-
- Prep the Pan & Oven: Preheat your oven to 325°F (160°C). Wrap the outside of your 9-inch springform pan tightly with several layers of heavy-duty aluminum foil. This prevents water from getting in if you use a water bath.
-
- Make the Crust: In a medium bowl, stir together the crushed Biscoff cookies, melted butter, and a pinch of salt until well combined. Press this mixture firmly into the bottom of the prepared springform pan. I like to use the bottom of a flat glass or measuring cup to get an even, compact layer.
-
- Bake the Crust: Bake the crust for 8-10 minutes, just until it smells fragrant and looks lightly golden. Take it out and let it cool completely on a wire rack while you prepare the filling.
-
- Beat the Cream Cheese: In a large mixing bowl, beat the softened cream cheese with an electric mixer on medium speed for about 2 minutes, until it’s super smooth and there are no lumps. Scrape down the sides of the bowl often.
-
- Add Sugar & Flavor: Gradually add the granulated sugar to the cream cheese, beating on low speed until just combined. Then, mix in the sour cream and vanilla extract until smooth.
-
- Incorporate Eggs: Add the eggs one at a time, mixing on low speed after each addition just until the yolk disappears. It’s really important not to overmix here once the eggs are in. Overmixing introduces too much air, which can lead to cracks.
-
- Swirl in Biscoff: Gently fold in the ½ cup of melted and cooled Biscoff cookie butter spread with a rubber spatula until just combined. You want to see some streaks of Biscoff, not a completely uniform color. This creates those lovely swirls.
-
- Fill & Bake: Pour the cheesecake filling over the cooled Biscoff crust in the springform pan. Place the springform pan into a larger roasting pan. Carefully pour hot water into the roasting pan, reaching about halfway up the sides of the springform pan. This water bath is key for a smooth, crack-free cheesecake.
-
- Bake: Bake for 60-70 minutes, or until the edges are set but the center still has a slight wobble when you gently shake the pan. Turn off the oven, crack the door open slightly, and leave the cheesecake inside for another hour.
-
- Cool & Chill: Remove the cheesecake from the oven and the water bath. Carefully remove the foil from the springform pan. Let it cool completely on a wire rack at room temperature. Once cool, cover loosely with plastic wrap and chill in the refrigerator for at least 6 hours, or ideally overnight.
-
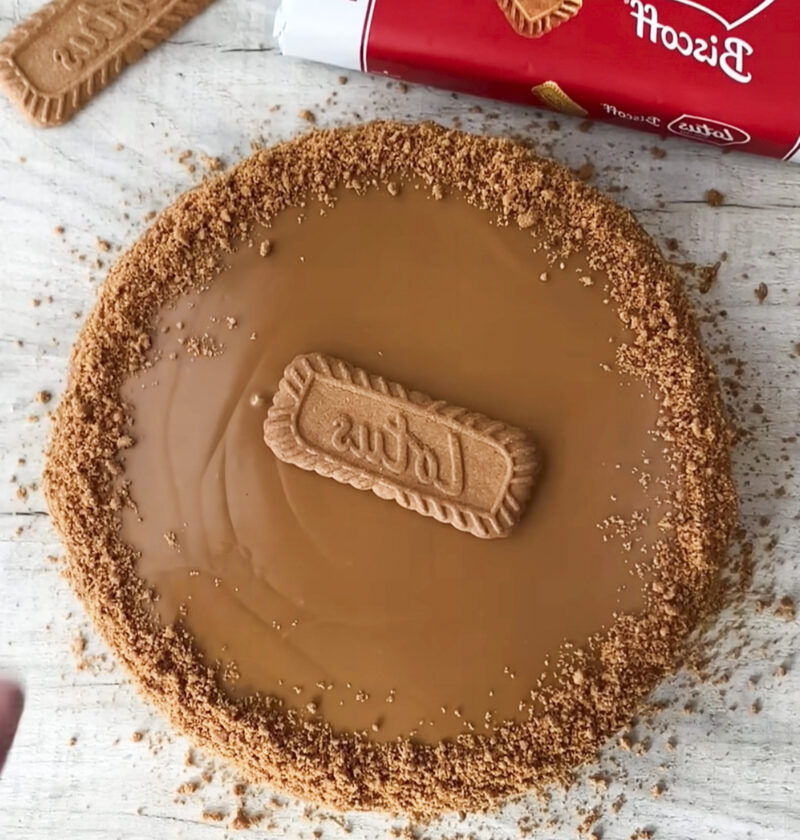
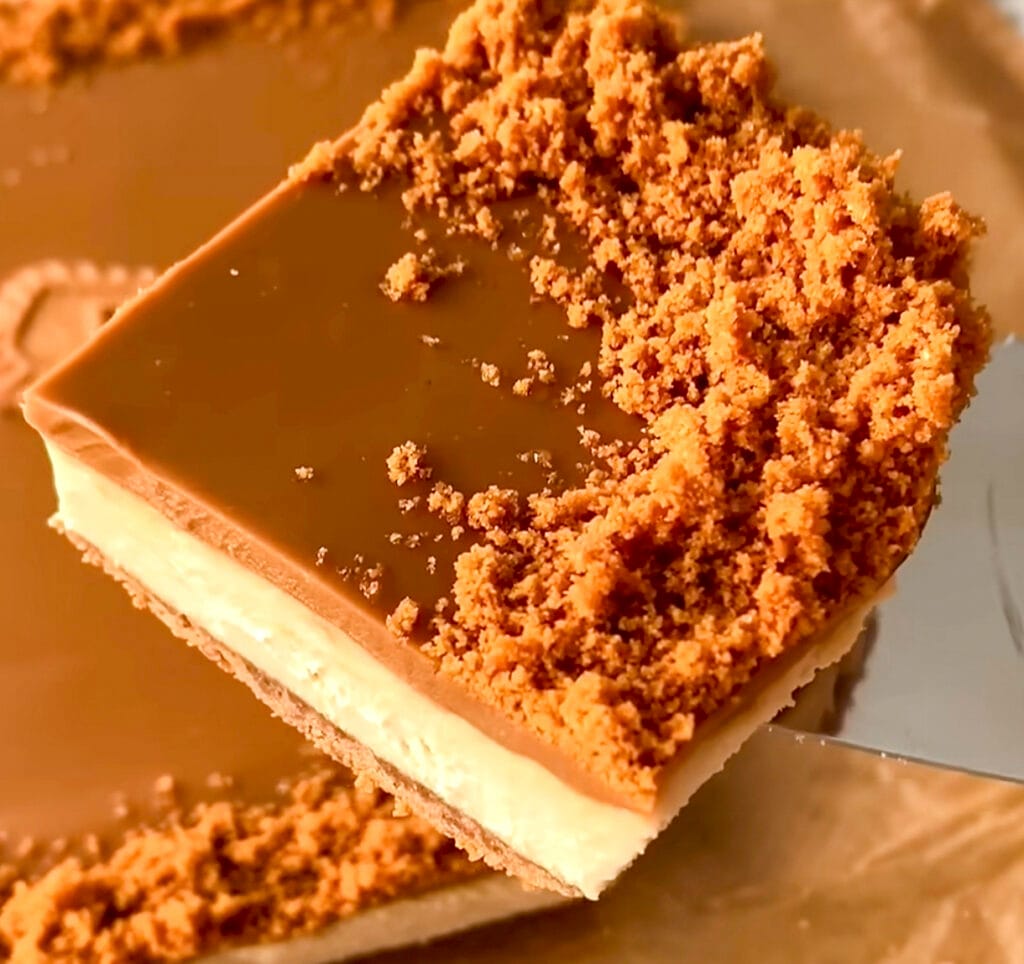
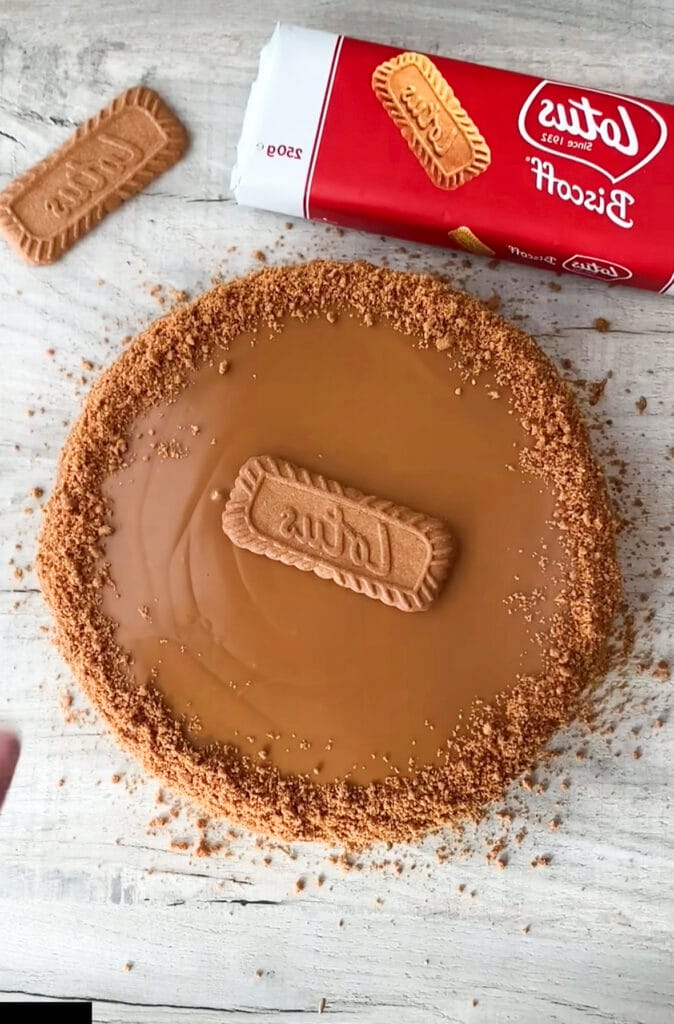
- Garnish & Serve: Once thoroughly chilled, gently run a thin knife around the edge of the pan before releasing the springform. Melt the remaining ¼ cup of Biscoff spread for topping and drizzle it decoratively over the top of the cheesecake. Sprinkle with the extra crushed Biscoff cookies. Slice and serve!
-
-
Some Mistakes To Avoid
No cheesecake has to be a daunting experience for you to create a cheesecake that looks and tastes great. Here are some tips for making a cheesecake that doesn’t crack. The initial time I did a water bath, I was a little apprehensive about getting water in the pan so I now use multiple layers of foil and bake the pan on a baking sheet underneath so that I know I’m covered. Can make a big difference to the final creamy texture and will prevent the dreaded cracks.
Cracking the Code on Cracks
Cheesecake cracks often happen due to drastic temperature changes or overmixing. Here are a few ways to guard against them:
- Room Temperature Ingredients: Make sure your cream cheese, sour cream, and eggs are truly at room temperature. This helps them mix smoothly without overworking.
- Don’t Overmix: As mentioned in the instructions, mix the eggs just until combined. Incorporating too much air can cause the cheesecake to puff up and then crack as it cools.
- The Water Bath is Your Friend: A water bath creates a moist, even heat in the oven, preventing the edges from baking too quickly while the center catches up. This gentle cooking helps ensure a perfectly smooth surface.
- Slow Cooling: Don’t pull the cheesecake straight out of the hot oven into a cold kitchen. Let it cool gradually in the oven with the door ajar for an hour. This gradual temperature change helps prevent cracking.
Pro Tip: If you want those beautiful Biscoff swirls to really stand out, don’t mix the cookie butter completely into the batter. Leave distinct streaks and patterns when you fold it in.
Storage and Make-Ahead
This Biscoff cheesecake is actually even better the next day, once the flavors have had a chance to meld. You can make it a day or two in advance!
- Refrigeration: Store leftover cheesecake slices in an airtight container in the refrigerator for up to 5 days.
- Freezing: For longer storage, you can freeze individual slices or the whole cheesecake (without the final topping drizzle). Wrap slices tightly in plastic wrap, then foil, and store in a freezer-safe bag for up to 1 month. Thaw in the refrigerator overnight before serving.
Frequently Asked Questions
What kind of cream cheese should I use for Biscoff cheesecake?
You should always use full-fat block cream cheese, not the spreadable kind that comes in a tub. The higher fat content is crucial for the rich, dense, and creamy texture we all want in a classic cheesecake.
Can I make this Biscoff cheesecake without a water bath?
Yes, you can, but it might result in a slightly drier texture and a higher likelihood of cracks. If you skip the water bath, be sure to place a pan of hot water on the bottom rack of your oven to add some humidity, and keep an eye on the baking time.
How do I know when my Biscoff cheesecake is done baking?
The cheesecake is done when the edges are set and lightly golden, but the center (about 2-3 inches wide) still has a slight wobble when you gently shake the pan. It will continue to set as it cools and chills.
What if I don’t have a springform pan?
While a springform pan is ideal for easy removal and presentation, you could use a regular 9-inch round baking pan. Line it with parchment paper, leaving an overhang on the sides, to help you lift the cheesecake out once it’s chilled. Be aware that slicing might be trickier.
Can I add other toppings to my Biscoff cheesecake?
Absolutely! Besides the classic Biscoff drizzle and crushed cookies, you could add a dollop of whipped cream, a sprinkle of cinnamon, or even some thinly sliced caramelized apples for an extra touch.