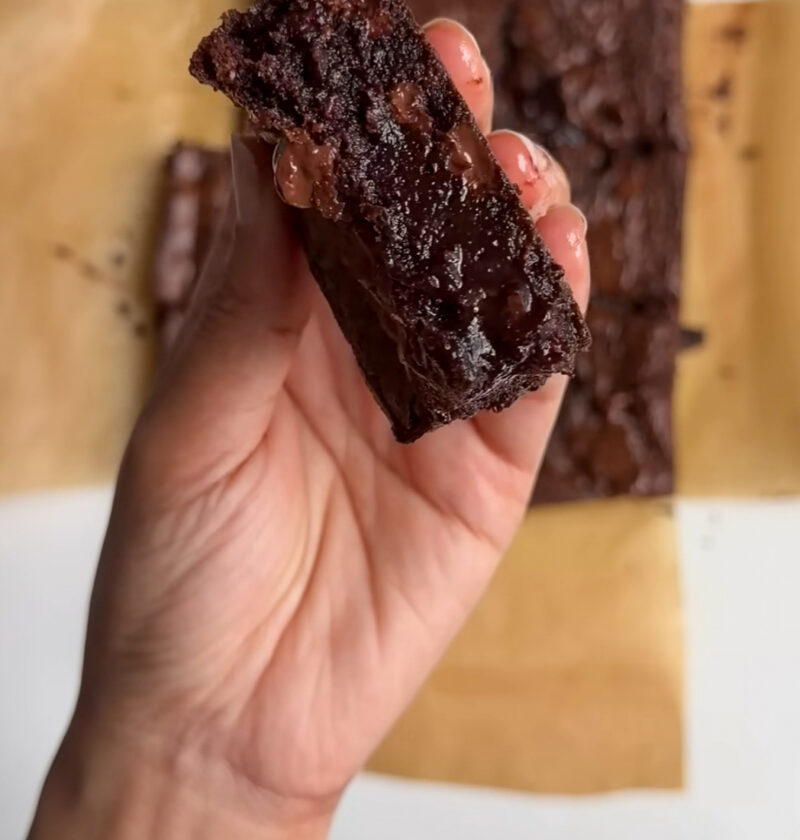
Brownie lovers, get ready! Not only are we making brownies today, but we are creating an experience. Say goodbye to traditional chocolate squares and hello to chocolate brownies that will blow your mind with their fudgy brown butter goodness. Believe it or not, they are that good.
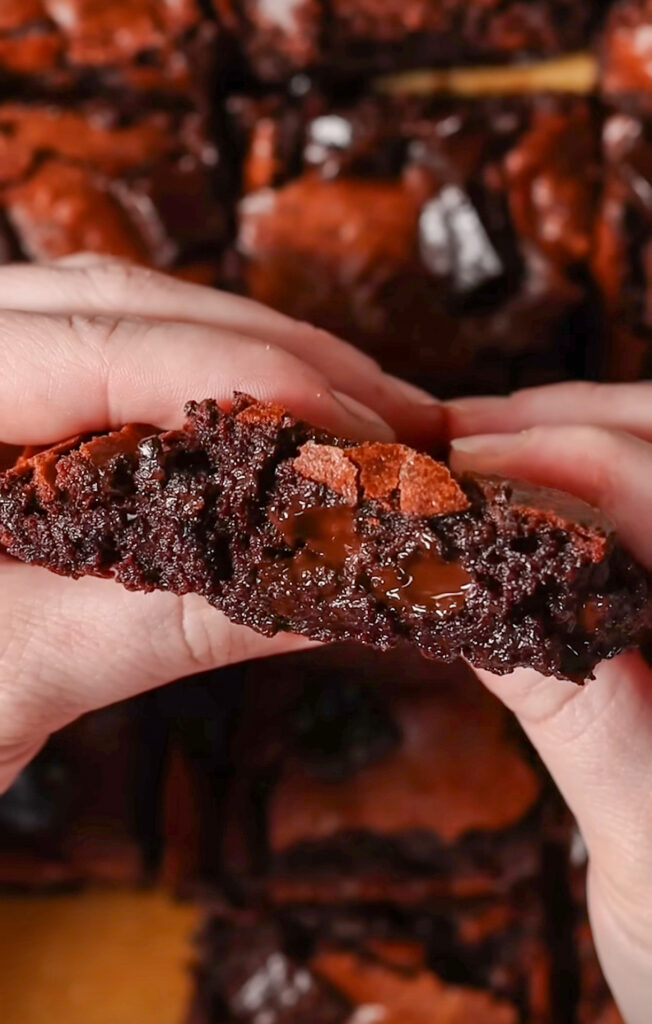
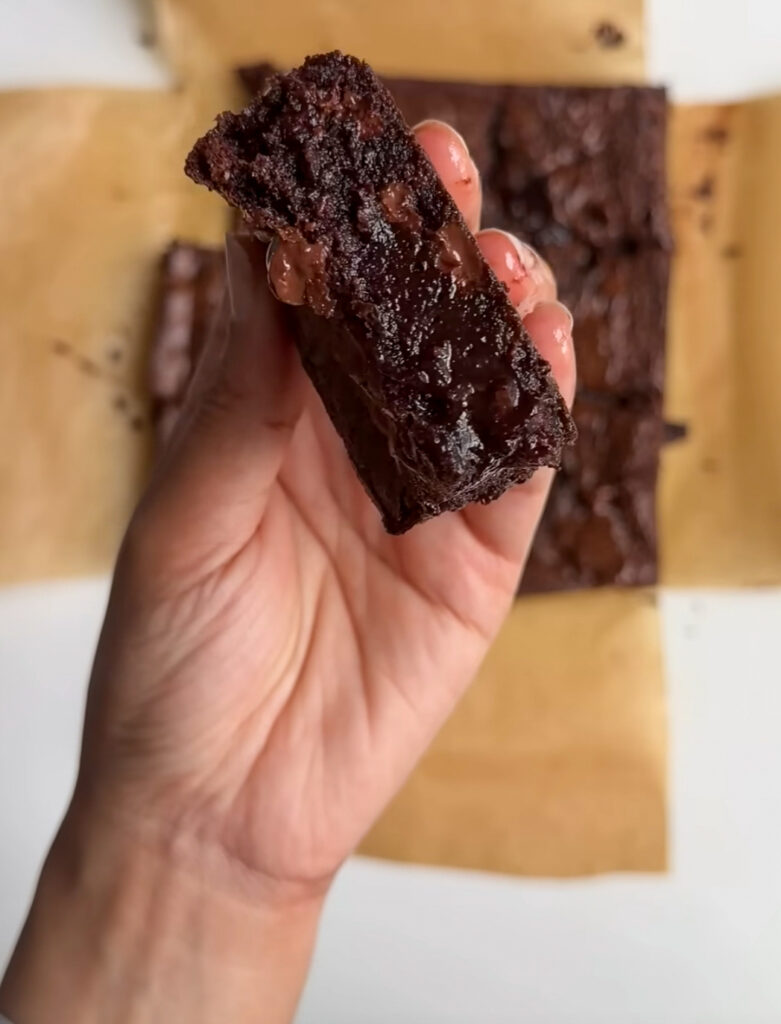
Why brown butter? That was just a simple trick that turns an average brownie into “OMG what is this magic?”. It gives a rich nutty, caramel-like flavor that can only be achieved with it. These are seriously fudgy, chewy centers and wondered about the crinkly top. I’m not exaggerating, you’ll never go back to white butter. It’s a surprisingly simple recipe, ideal for a weeknight indulgence or a show-stopper dessert! Let’s get baking!
Fudgy Brown Butter Brownie
Ingredients
-
-
- 1 cup (2 sticks) unsalted butter
-
- 1 1/2 cups granulated sugar
-
- 1/2 cup packed light brown sugar
-
- 3/4 cup unsweetened cocoa powder (Dutch-processed for a darker brownie)
-
- 1/2 teaspoon salt
-
- 2 large eggs
-
- 1 teaspoon vanilla extract
-
- 1 cup all-purpose flour
-
- 1/2 cup chocolate chips or chunks (optional, but highly recommended)
-
Necessary Utensils & Equipment
Instructions
-
-
-
- Preheat your oven to 350°F (175°C). Line a 9×13 inch baking pan with parchment paper, leaving an overhang on the sides for easy lifting. Lightly grease the parchment paper.
-
- In a medium saucepan, melt the butter over medium heat. Continue cooking, stirring occasionally, until the butter browns. It’ll start to foam, then small brown bits will form at the bottom, and it’ll smell nutty. This usually takes 5-8 minutes. Pour the browned butter (including the bits!) into a large mixing bowl. Let it cool for about 5 minutes.
-
- To the slightly cooled brown butter, add the granulated sugar, brown sugar, cocoa powder, and salt. Whisk vigorously for about 1-2 minutes until everything is well combined and glossy. You’re creating that iconic crackly top here!
-
- Whisk in the eggs, one at a time, making sure each egg is fully mixed in before adding the next. Stir in the vanilla extract. The mixture should look thick and shiny.
-
- Gently fold in the flour with a rubber spatula until just combined. Be careful not to overmix; just stop once no dry streaks remain. If using, fold in the chocolate chips now.
-
- Pour the brownie batter into your prepared baking pan. Spread it evenly with your spatula.
-
- Bake for 28-32 minutes, or until a toothpick inserted into the center comes out with moist crumbs attached, but not wet batter. Remember, we want fudgy, not cakey!
-
- Let the brownies cool completely in the pan on a wire rack before lifting them out using the parchment paper overhang. This is key for super fudgy brownies that hold their shape.
-
- Once cooled, cut into 12 squares and enjoy!
-
-
Some Tweaking with Your Brown Butter Brownies
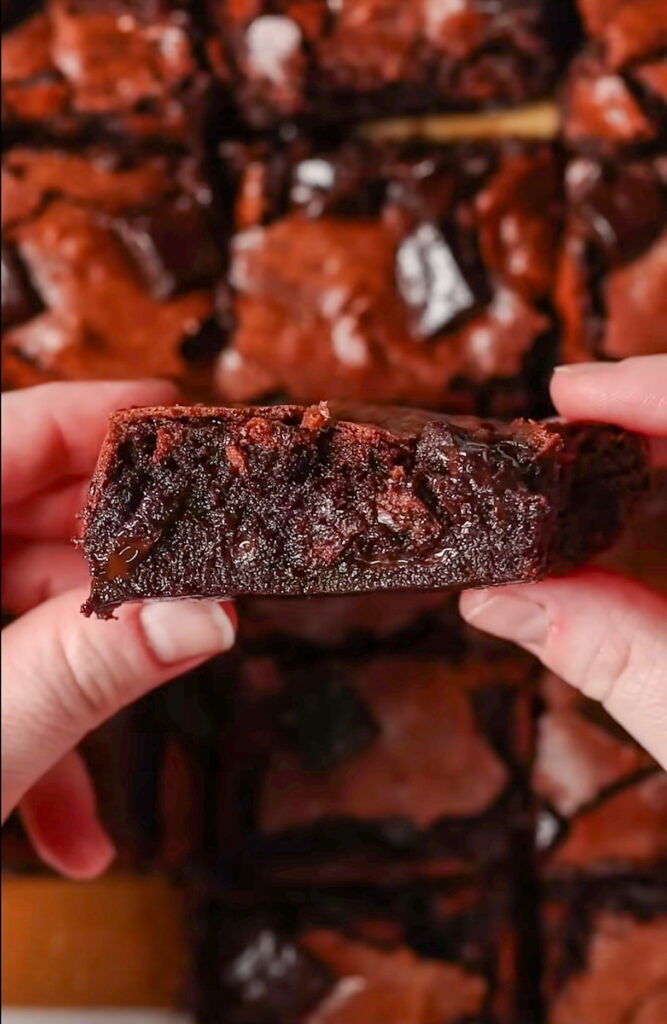
You have the recipe, but let’s discuss a few things that will make your brownies stand out. At times baking is like a science experiment, isn’t it? The great news is these brownies are a bit of a sponge cake, yet with a couple of minor adjustments, they will be greatly changed.
I had a first time using the browning butter which I totally burnt. I walked off to the stove, black and smoky came back. Don’t be like me! Don’t get near it and don’t look away. It changes from a perfect gold to burnt in a heartbeat. It’s all about the stirring and looking for the lovely amber specks.
Pro Tip: Don’t rush the cooling process! For truly fudgy brownies that slice cleanly and hold their shape, let them cool completely in the pan. I know, it’s hard to wait when your kitchen smells like heaven, but patience pays off here! Pop ’em in the fridge for an hour if you’re really in a hurry for neat slices.
Browning Butter Like a Boss
Browning butter is the secret sauce here, so let’s make sure you nail it.
- Use a light-colored saucepan. This makes it much easier to see the color change as the milk solids toast.
- Stir constantly. You want those little milk solids to brown evenly, not burn.
- Watch for the smell. It starts to smell nutty, like hazelnuts, which is your cue that it’s nearly done.
- Don’t forget the bits! Those little browned specks at the bottom of the pan are full of flavor; scrape them all into your mixing bowl.
Variations to Keep Things Exciting
While these brownies are incredible on their own, there are always ways to mix it up!
- Nutty Goodness: Fold in a 1/2 cup of chopped walnuts or pecans with the chocolate chips for some extra crunch.
- Espresso Boost: Add 1 teaspoon of instant espresso powder with the cocoa powder. It won’t make your brownies taste like coffee, but it will deepen and enrich the chocolate flavor.
- Minty Fresh: Stir in 1/2 teaspoon of mint extract along with the vanilla for a refreshing twist. Great with a drizzle of white chocolate!
- Salted Caramel Drizzle: A generous drizzle of homemade or store-bought salted caramel sauce over the cooled brownies is always a winner. Talk about decadent!
Troubleshooting Common Brownie Issues
Got questions? I’ve got answers.
- My brownies are cakey, not fudgy! You likely overmixed the batter after adding the flour, or baked them too long. Gently fold the flour until *just* combined, and remember that a toothpick should have moist crumbs, not liquid batter, but also not come out completely clean.
- My brownies stuck to the pan! Next time, be sure to grease your parchment paper, and make sure to leave enough overhang for “handles” to lift them out. Cooling completely helps too.
- The crackly top isn’t showing up. The key to that beautiful crinkly top is vigorously whisking the sugars into the warm, browned butter. You’re trying to dissolve some of the sugar and create a glossy, thick mixture before adding eggs. Also, ensure your butter isn’t too hot when you add the sugar and cocoa.
Storage & Freezing Tips
So you’ve somehow managed to have leftover brownies (a rare occurrence, I know!). Here’s how to keep them fresh:
- Countertop: Store them in an airtight container at room temperature for up to 3-4 days. They actually get even fudgier and more flavorful on day two!
- Refrigerator: You can pop them in the fridge in an airtight container for up to a week. They’ll be firmer, which some people love.
- Freezing: For longer keeping, wrap individual brownies tightly in plastic wrap, then place them in a freezer-safe bag or container. They’ll keep well for up to 3 months. Thaw at room temperature when you’re ready for a treat.
These brown butter brownies are seriously one of my favorite things to bake, and I’m sure they’ll become a favorite for you too. Give them a go, and let me know how they turn out! What’s your favorite topping for a rich, fudgy brownie?
Frequently Asked Questions
What is brown butter and why is it special for brownies?
Brown butter, also known as beurre noisette, is butter that has been cooked until the milk solids separate and toast to a nutty, golden-brown color. This process gives it a deep, toasted, caramel-like flavor that adds incredible depth and complexity to baked goods, making these brownies much richer and more interesting than those made with regular melted butter.
Can I make these brown butter brownies gluten-free?
You can definitely experiment with a 1:1 gluten-free all-purpose flour blend! Just be aware that the texture might be slightly different. Some gluten-free blends can make baked goods a bit drier, so keep an eye on the baking time and avoid overbaking.
How do I know when my brown butter brownies are done baking?
The best way to tell is by inserting a toothpick into the center of the pan. It should come out with moist crumbs attached, but not wet batter. If it comes out completely clean, your brownies might be on the drier, cakey side. If it’s pure wet batter, they need a few more minutes.
Can I use dark chocolate cocoa powder instead of regular unsweetened?
Absolutely! Using dark chocolate (Dutch-processed) cocoa powder will result in an even richer, darker brownie with a slightly less acidic chocolate flavor. It’s a fantastic choice if you love deep, intense chocolate.
What’s the best way to get clean slices of brownies?
The key to clean slices is letting the brownies cool completely. For the absolute cleanest cuts, chill the brownies in the refrigerator for at least an hour before cutting. Use a large, sharp knife, wiping it clean with a damp cloth after each cut to prevent sticking.