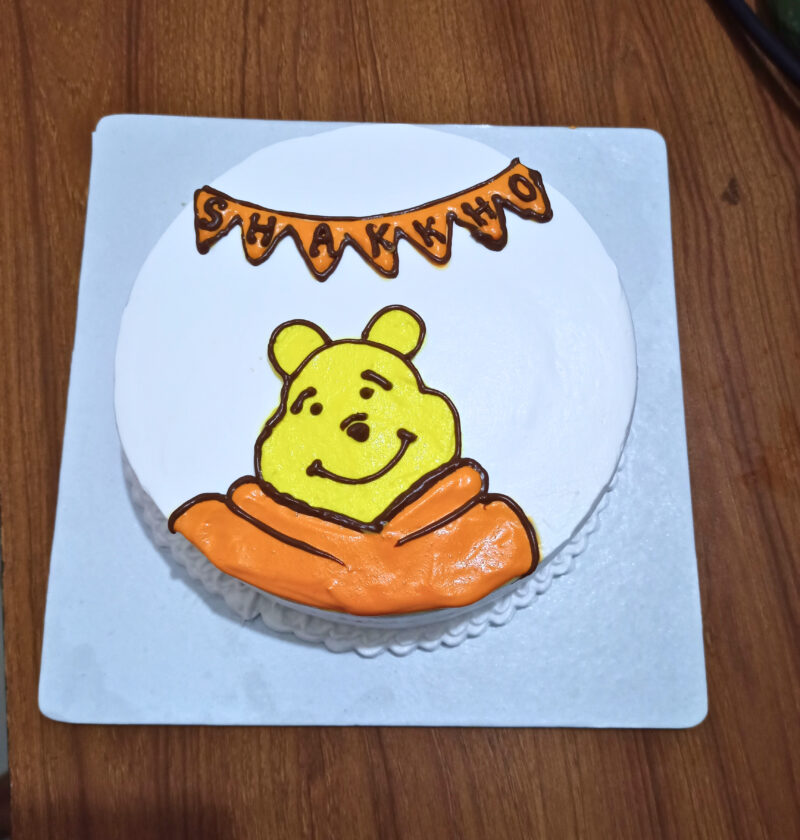
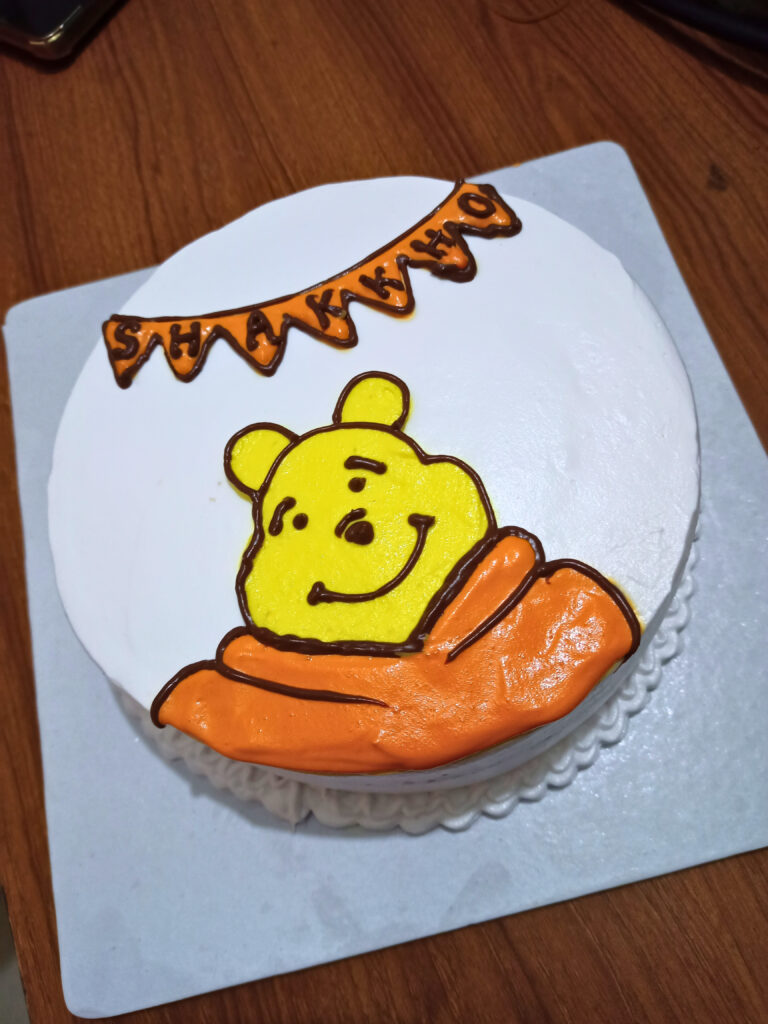
Hello, sweethearts! If you’re in search of a recipe that will definitely give the giggles (and perhaps a few squeals of joy) to your next children’s party, you’ve just struck it rich. This is not a regular cake – it is a “Cute Critter Cake” – a fluffy delicious cake waiting for you to transform it into a cute animal friend! It’s surprisingly simple to put together, even if you’re not a professional baker. We’re talking about a cake that is delicious and looks like it jumped straight out of a book! Don’t go to the store, let’s bake something special!
Key Takeaways
Cute Critter Cake for kids
Ingredients
-
-
-
For the Cake:
-
-
- 2 1/2 cups all-purpose flour
-
- 2 cups granulated sugar
-
- 1 tablespoon baking powder
-
- 1/2 teaspoon salt
-
- 1 cup unsalted butter, softened
-
- 4 large eggs
-
- 1 cup whole milk
-
- 2 teaspoons vanilla extract
-
-
For the Vanilla Buttercream Frosting:
-
-
- 1 cup unsalted butter, softened
-
- 4 cups powdered sugar, sifted
-
- 1/4 cup heavy cream or milk
-
- 1 teaspoon vanilla extract
-
- 1/4 teaspoon salt
-
-
For Decoration:
-
-
- Food coloring (gel colors work best for vibrant shades)
-
- Candy eyes
-
- Oreo cookies or similar round biscuits (for ears, snouts)
-
- Pretzel sticks (for antlers, whiskers)
-
- Small candies (M&Ms, sprinkles for noses, spots)
-
Necessary Utensils & Equipment
-
-
-
- Two 8 or 9-inch round cake pans
-
- Electric mixer (stand or hand mixer)
-
- Large mixing bowls (2-3)
-
- Measuring cups and spoons
-
- Rubber spatula
-
- Wire cooling rack
-
- Offset spatula or butter knife
-
- Piping bags and assorted tips (optional, but helpful for details)
-
- Small, sharp knife
-
-
Instructions
-
-
-
- Prepare your Cake Pans: Preheat your oven to 350°F (175°C). Grease and flour two 8 or 9-inch round cake pans, or line them with parchment paper circles.
-
- Mix Dry Ingredients: In a large bowl, whisk together the flour, granulated sugar, baking powder, and salt. Set aside.
-
- Cream Wet Ingredients: In another large bowl, using an electric mixer, beat the softened butter until creamy. Add the eggs one at a time, mixing well after each addition. Stir in the vanilla extract.
-
- Combine: Gradually add the dry ingredients to the wet ingredients, alternating with the milk, beginning and ending with the dry ingredients. Mix until just combined, being careful not to over mix. A few lumps are okay!
-
- Bake: Divide the batter evenly between your prepared cake pans. Bake for 30-35 minutes, or until a wooden skewer inserted into the center comes out clean.
-
- Cool: Let the cakes cool in their pans for about 10-15 minutes before inverting them onto a wire rack to cool completely. This part is important – warm cakes are terrible for frosting!
-
- Make the Buttercream: While the cakes cool, beat the softened butter in a large bowl with an electric mixer until light and fluffy. Gradually add the sifted powdered sugar, alternating with splashes of heavy cream or milk, until smooth and spreadable. Beat in the vanilla extract and salt.
-
- Assemble the Cake: Once the cakes are completely cool, level them if necessary with a serrated knife. Place one cake layer on your serving plate or cake stand. Spread a generous layer of buttercream frosting over the top. Carefully place the second cake layer on top.
-
- Crumb Coat: Apply a thin layer of frosting all over the cake – sides and top. This is called a crumb coat, and it traps any loose crumbs, so your final frosting layer is smooth. Chill the cake in the refrigerator for 15-20 minutes to set the crumb coat.
-
- Color and Frost: Divide the remaining buttercream into separate bowls for different colors you’ll need for your critter. Color each portion with gel food coloring. Apply a thicker, final layer of frosting to the chilled cake, smoothing it out with your offset spatula.
-
- Decorate Your Critter: Now for the fun part! Use your imagination.
- For ears, cut Oreo cookies in half or use whole ones.
- Press candy eyes into place.
- Use a small candy or a dab of frosting for the nose.
- Pretzel sticks can make great antlers or whiskers.
- Piping bags with small tips can create fur textures, mouths, or other details.
- Let your little ones help with edible sprinkles or small candies!
- Serve and Enjoy: Once your critter cake is complete, it’s ready to be admired and devoured!
- Decorate Your Critter: Now for the fun part! Use your imagination.
-
-
Why You’ll Adore Making This Critter Cake
Really, it’s one of the greatest things in the world to have a kid light up their eyes, right? This critter cake has that and so much more! It is highly customizable and can be easily changed to suit any theme or preference. Oh, and the vanilla cake + buttercream frosting recipe is a tried and true one, and everyone loves it! It’s soft, sweet and comforting and a great foundation for all your decorating ideas. You’re not just making a cake, you’re creating a show-stopper that will be remembered long after it’s done.
My First Critter Cake Adventure (and a little mishap!)
I can still recall the first time I attempted to make a critter cake. My daughter was about to celebrate her fifth birthday, and she had a definite idea about her cake: She wanted an owl cake! I thought, “Easy!” I baked the round cakes, created the frosting, and then with confidence began to cut. The mistake I made? I was going to try to draw the owl’s “feathers” freehand with a knife, but my perfect round cake landed up a crumbly mess with one side more than the other. It seemed more like a disgruntled, flattened pigeon than a cute owl!
Well, I was about to quit. Then I thought, the beauty of the buttercream. I was able to save it with a little more frosting and some strategic eye placement of Oreo halves and a yellow M&M for a beak. It was not perfect, but it was a character and my daughter loved it. That’s when I really knew that these cakes are not about perfection, but about fun and creativity.
Pro Tip for Perfect Frosting
Always make sure your cake is completely cooled before you even *think* about frosting it. Warm cake + buttercream = a melting, sliding mess. Pop it in the fridge for 10-15 minutes after the crumb coat too; it makes the final frosting so much easier to spread smoothly.
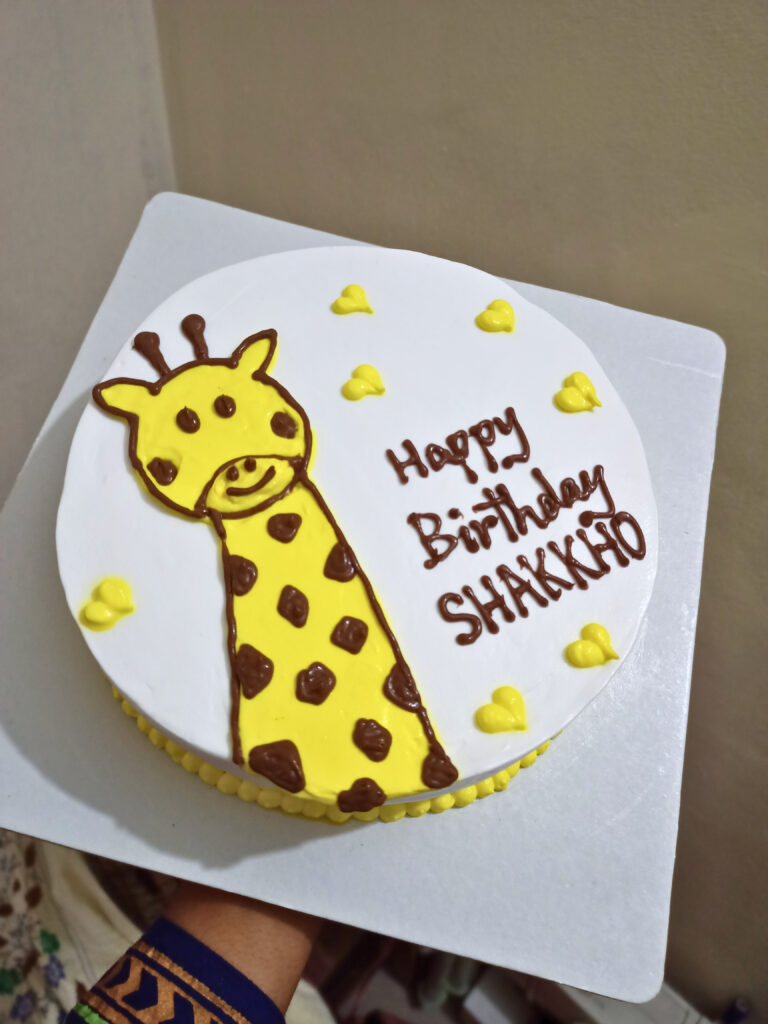
Expert Tips for Your Critter Cake
Creating a cute critter cake is all about having fun with it! Here are a few pointers to help you along the way, whether you’re aiming for a fluffy bear, a mischievous fox, or an adorable owl.
Get Creative with Colors
The beauty of this cake is how you can use color. Don’t be afraid to mix bright, bold shades for your frosting. Think about the animal you’re creating. A vibrant orange for a fox, a soft brown for a bear, or even a whimsical purple for a fantasy creature. Gel food colors give the best intensity without changing the frosting’s texture.
Use Simple Shapes for Features
You don’t need fancy tools for amazing details. Think about what household items or simple candies can become:
- Ears: Oreo cookies, cut in half or left whole, are perfect for bear or mouse ears. You can even dip them in melted chocolate first for extra flair.
- Eyes: Candy eyes are readily available and instantly add personality. Alternatively, use chocolate chips, M&Ms, or pipe small dots of white and black frosting.
- Noses: A single M&M, a mini chocolate chip, or a piped dot of frosting works wonders.
- Whiskers/Antlers: Pretzel sticks are fantastic for this! For something softer, try thin licorice laces.
- Texture: A fork can be used to create simple “fur” lines on your frosting, giving your critter more character.
Troubleshooting Cake Decorating Challenges
- Melting Frosting: If your frosting seems too soft or starts to melt, pop it (and the cake if it’s already crumb-coated) into the fridge for 15-20 minutes. A cooler environment helps it firm up.
- Crumbs in Frosting: This is why we crumb coat! If you still see crumbs, don’t worry too much. A second, slightly thicker layer of frosting will cover most imperfections.
- Uneven Cake Layers: Don’t stress! Leveling your cake layers with a serrated knife before frosting makes a huge difference. You can also stack the cake with plenty of frosting in between to fill gaps.
Fun Variations on Your Critter Theme
The “critter” aspect is super versatile. Instead of a standard bear, consider:
- A Fox: Orange frosting, white belly detail, and pointed Oreo ears.
- An Owl: Brown or grey frosting, large white frosting circles for eyes, and Oreo pupils.
- A Hedgehog: Chocolate frosting with chocolate sprinkles or slivered almonds pressed into it for quills.
- A Puppy: Use brown or black frosting, floppy Oreo ears, and a round black candy for a nose.
How to store Your Critter Cake.
Your cute critter cake is best eaten within 2-3 days after decorating. Keep it loose at room temperature if you are using a butter frosting (not cream cheese or whipped cream). If it contains perishable ingredients or if your kitchen is warm, refrigerate it. Just be sure to allow it to cool for around 30 minutes at room temperature before serving to give the cake and frosting a bit of softening. It will be so much better when it’s not super cold!
Making this cake isn’t just baking; it’s an adventure in creativity that results in a delicious treat. It’s worth every minute, I promise!
Frequently Asked Questions
Can I use a boxed cake mix for this recipe?
Absolutely! While I’ve given you a scratch recipe, you can definitely use your favorite boxed cake mix to save time. Just follow the package directions for baking, and then proceed with our buttercream frosting and decorating steps.
How far in advance can I bake the cake layers?
You can bake the cake layers up to two days in advance. Once cooled, wrap them tightly in plastic wrap and store them at room temperature. You can even freeze them for up to a month, wrapped well. Just thaw at room temperature before frosting.
What if my buttercream frosting is too stiff or too runny?
If your buttercream is too stiff, add a teaspoon of milk or heavy cream at a time, beating until it reaches the desired consistency. If it’s too runny, add a tablespoon of sifted powdered sugar at a time, beating until it thickens. Temperature also affects consistency, so a quick chill can help if it’s too soft.
Can I make this a gluten-free or dairy-free cake?
Yes! You can certainly make substitutions. For gluten-free, use a 1:1 gluten-free baking flour blend in the cake recipe. For dairy-free, use a dairy-free butter alternative, unsweetened non-dairy milk (like almond or oat milk), and dairy-free heavy cream for the frosting. The texture might vary slightly, but it will still be delicious.
Are there any alternatives to candy eyes for decoration?
Of course! If you don’t have candy eyes, you can use chocolate chips (pointy side down for a cartoon look), small round candies, or even pipe eyes using black and white frosting. Get creative with what you have!
So, are you ready to whip up some magic and create a critter cake that’ll be the talk of the party? What kind of animal will you make first?