
Well, hey there, fellow dessert lover! If you’ve ever dreamt of scooping up a spoonful of creamy, dreamy gelato without booking a flight to Italy, you’re in the right place. Forget everything you thought you knew about homemade frozen treats, because we’re about to dive into the wonderful world of gelato. This isn’t just ice cream’s fancier cousin; it’s a whole different experience!
Honestly, making gelato at home might sound a little intimidating, but trust me, it’s much simpler than you think. With a few key ingredients and a bit of patience, you’ll be creating a dessert that’s ridiculously smooth, intensely flavored, and just plain divine. This recipe is your ticket to a dessert that’ll impress everyone, including yourself. Let’s get that churner ready!
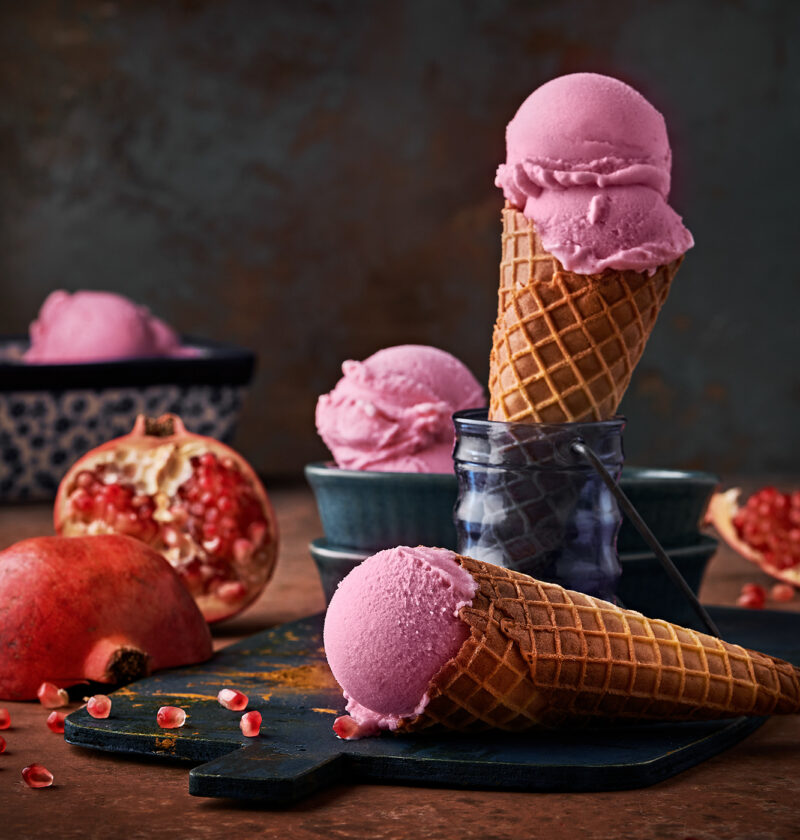
Gelato icecream
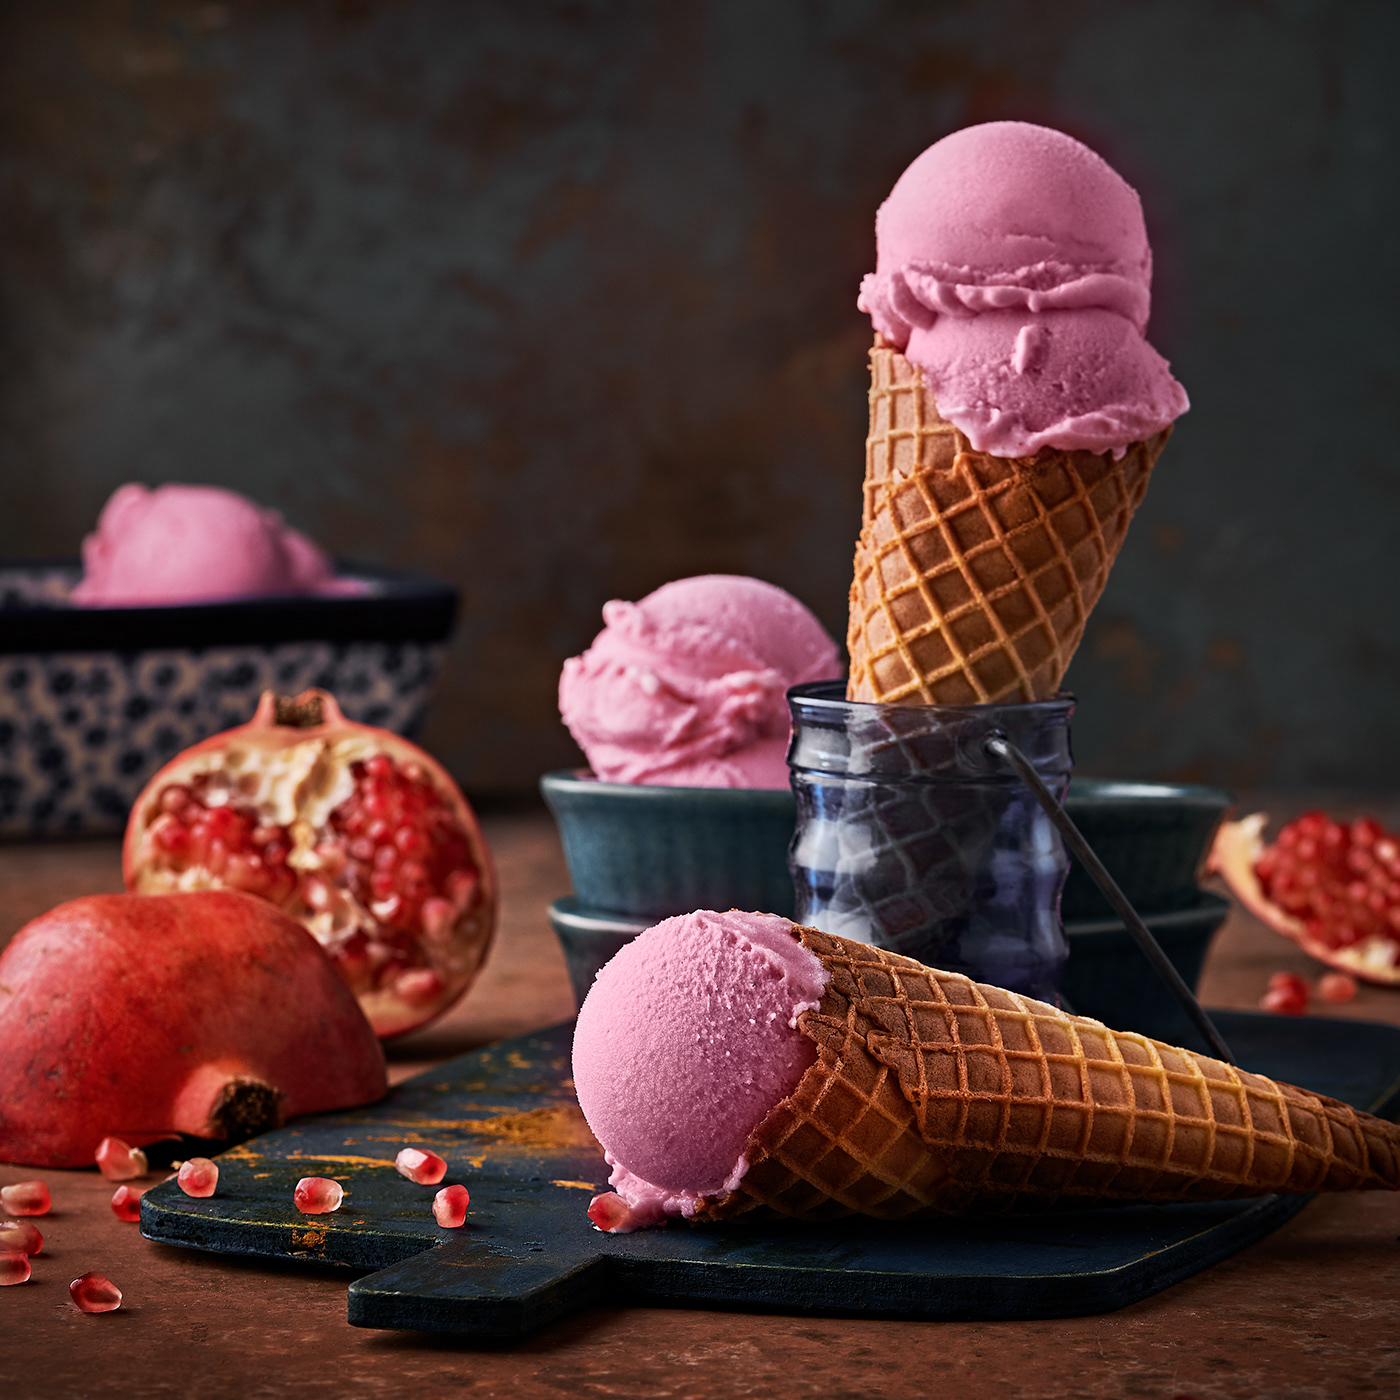
Experience the perfect blend of flavors in this expertly crafted dish.
Ingredients
- 2 cups (470ml) whole milk
- 1 cup (240ml) heavy cream
- ¾ cup (150g) granulated sugar
- ¼ teaspoon salt
- 1 vanilla bean, split and scraped (or 2 teaspoons pure vanilla extract)
- 5 large egg yolks
- Combine Dairy: In a medium saucepan, whisk together the milk, heavy cream, sugar, and salt. If using a vanilla bean, add both the scraped seeds and the pod to the mixture.
- Heat Slowly: Heat the mixture over medium-low heat, stirring occasionally, until the sugar fully dissolves and small bubbles just start to form around the edges. Don’t let it boil!
- Temper Egg Yolks: In a separate medium bowl, whisk the egg yolks until they are light yellow and slightly thick. Slowly, and I mean *slowly*, pour about half a cup of the warm milk mixture into the egg yolks while whisking constantly. This helps to temper the yolks, preventing them from scrambling.
- Return to Heat: Pour the tempered egg yolk mixture back into the saucepan with the remaining warm dairy. Continue to cook over medium-low heat, stirring constantly with a wooden spoon or spatula.
- Thicken the Custard: Cook until the mixture thickens enough to coat the back of your spoon, roughly 5-8 minutes. When you run your finger across the spoon, the line should hold. The temperature should reach about 175-180°F (79-82°C).
- Strain and Chill: Immediately remove the saucepan from the heat. If you used a vanilla bean pod, remove it. Pour the custard through a fine-mesh sieve into a clean bowl. This step ensures an incredibly smooth gelato. Let it cool to room temperature, then cover it tightly and refrigerate for at least 4 hours, or preferably overnight, until thoroughly chilled. Chilling is absolutely key for that perfect gelato texture.
- Churn the Gelato: Once completely chilled, pour the mixture into your ice cream maker’s freezer bowl and churn according to the manufacturer’s directions, typically 15-25 minutes. It should look like soft-serve.
- “Ripen” (Freeze): Transfer the freshly churned gelato to an airtight container. Press plastic wrap directly onto the surface of the gelato to prevent ice crystals from forming. Freeze for another 2-4 hours to allow it to firm up to a scoopable consistency.
- Serve: When ready to serve, let the gelato sit at room temperature for 5-10 minutes to soften slightly, then scoop and enjoy!
Instructions
Mastering Your Gelato: Tips for a Smooth Finish
Why Chilling is Crucial
The first time I tried making gelato, I was so excited I barely chilled the base for an hour. Big mistake! It churned, but the result was thin and a bit icy, not the thick, velvety smooth consistency I was craving. Don’t skip the chilling step; it makes all the difference. A well-chilled custard churns better, incorporates less air, and gives you that dense, creamy mouthfeel you expect from proper gelato. Think of it as letting the flavors meld and the liquids get super cold for optimal freezing.
Pro Tip: Always use high-quality ingredients, especially for your dairy and vanilla. Since gelato has less fat than traditional ice cream, the flavor of each ingredient truly shines through. You’ll taste the difference!
Flavor Variations to Try
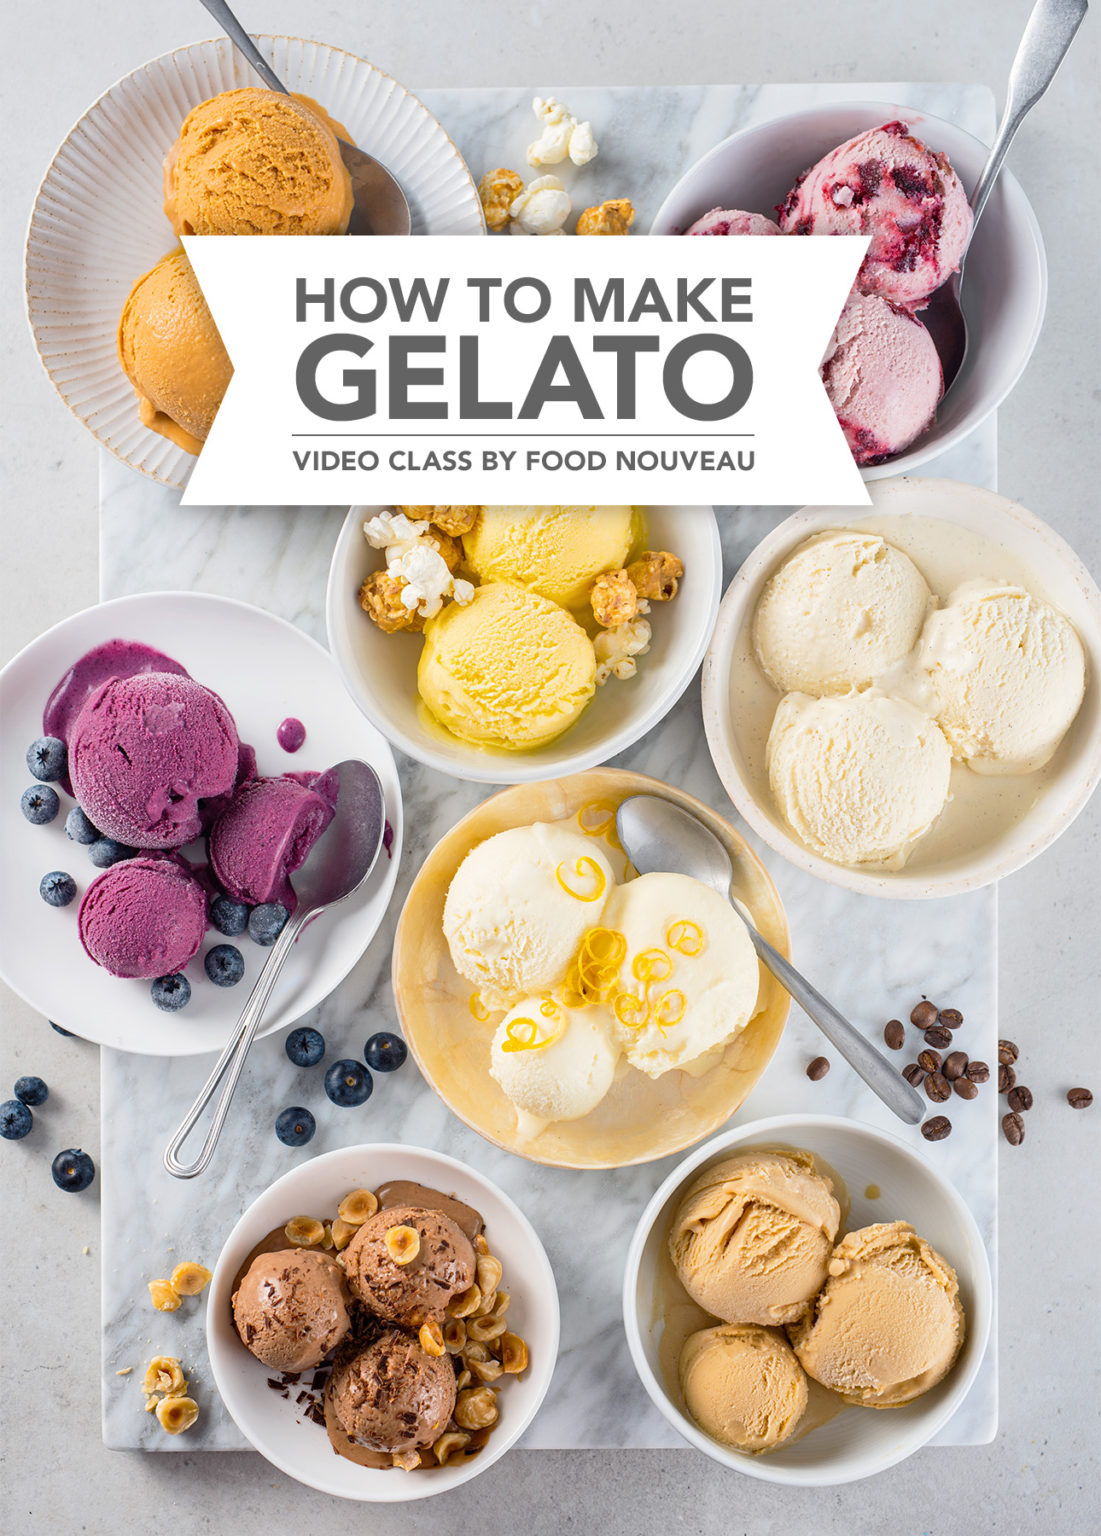
Once you’ve got the basic vanilla down, the world of gelato flavors is your oyster! It’s really fun to get creative. Here are a few ideas to get you started:
- Chocolate Gelato: Whisk in ½ cup (50g) unsweetened cocoa powder with the sugar and salt in step 1. You can also melt in 3 oz (85g) chopped dark chocolate at the straining stage.
- Pistachio Gelato: Blend ½ cup (70g) roasted, unsalted pistachios with a tablespoon of oil until a paste forms. Whisk this into the base after straining and before chilling.
- Coffee Gelato: Dissolve 2 tablespoons of instant espresso powder or fine coffee grounds in the warm milk mixture in step 1.
- Fruit Gelato (Sorbetto Style): For a true fruit gelato (more like a sorbetto), you’d generally skip the egg yolks and heavy cream, making a base of fruit puree, sugar, and water. However, you can add fruit purees to this recipe after churning for a swirl effect.
Storage Smarts for Lasting Freshness
You’ve put in the effort to make this incredible treat, so let’s make sure it stays amazing. Properly storing your gelato means you can enjoy it for longer without it turning into an icy block.
- Airtight is Key: Always store your gelato in an airtight container. This keeps freezer odors out and prevents moisture loss.
- Plastic Wrap Shield: Press a layer of plastic wrap directly onto the surface of the gelato before putting on the lid. This creates a barrier against air and significantly reduces the formation of those pesky ice crystals.
- Scoop Smart: When you’re ready for a serving, let the container sit on the counter for about 5-10 minutes. This lets the gelato soften just enough for easy scooping, protecting that lovely creamy texture.
Let’s be real, you might not have much left to store once people get a taste of this!
Gelato vs. Ice Cream: What’s the Real Difference?
Often people confuse gelato with regular ice cream, but they’re distinct frozen desserts. Understanding their differences will help you appreciate why your homemade gelato tastes so special. It’s not just a name; it’s a difference in how they’re made and what they offer in terms of texture and flavor.
Here’s a quick look at how they stack up:
| Characteristic | Gelato | Ice Cream |
|---|---|---|
| Fat Content | Lower (more milk, less cream) | Higher (more cream, often egg yolks) |
| Air Content (Overrun) | Lower (churned slower, denser) | Higher (churned faster, lighter) |
| Serving Temperature | Warmer (softer, flavors are more pronounced) | Colder (firmer) |
| Texture | Dense, creamy, silky, intense flavor | Lighter, fluffier, richer (due to fat) |
| Main Ingredients | Milk, sugar, egg yolks (optional, for custard base), flavorings | Cream, sugar, egg yolks (common), flavorings |
As you can see, gelato has less fat and less air, which is why it feels so much denser and often melts more slowly on your tongue, letting those pure flavors really sing. The result is a more intense, pure flavor experience that truly hits different.
Frequently Asked Questions
Got more questions about whipping up your own batch of this delightful Italian dessert? I’ve got you covered!
What’s the main difference between homemade gelato and store-bought?
Honestly, the biggest difference often comes down to freshness and ingredients. Homemade gelato allows you to control the quality of your milk, cream, and flavorings. Store-bought versions sometimes contain stabilizers or artificial flavors to prolong shelf life, which you won’t find in your kitchen creation. Plus, you get to eat it when it’s perfectly fresh!
Do I absolutely need an ice cream maker for gelato?
While an ice cream maker definitely makes the process much easier and yields the best results (think smoother texture and less ice), you *can* make gelato without one. The “no-churn” method typically involves whipping heavy cream separately and folding it into the chilled base, then freezing and stirring every 30-60 minutes for the first few hours to break up ice crystals. It requires a bit more manual work but is a plausible alternative.
How long does homemade gelato last in the freezer?
For the best quality and texture, I recommend enjoying your homemade gelato within 1 to 2 weeks. Beyond that, it might start to develop more ice crystals and lose some of its silky smoothness, even with careful storage. But let’s be real, it’s so good it usually won’t last that long!
Can I make this gelato recipe dairy-free or vegan?
Yes, you can adapt it! For a dairy-free version, swap the whole milk and heavy cream for full-fat coconut milk or a good quality unsweetened cashew or oat milk. You’ll likely need to omit the egg yolks or replace them with a cornstarch slurry for thickening. The texture will be slightly different, but you can still achieve a wonderful frozen dessert. It might take a few attempts to calibrate the right consistency, but it’s a worthwhile endeavor!
Why did my gelato turn out icy instead of smooth?
There are a few common culprits for icy gelato. The most common reasons include not chilling the base thoroughly enough before churning, over-churning (which incorporates too much air), or not storing it properly (i.e., not using an airtight container or plastic wrap directly on the surface). Make sure your base is *ice cold* before it hits the churner, and follow the storage tips above for optimal results.
So, are you ready to bring a little bit of Italian magic into your kitchen? What’s the first flavor you’re going to try after perfecting this classic vanilla? Let me know in the comments below!