
Well, you’re here because you’ve looked at the price tag on pre-built cabinets and thought, “I can do that myself.” And honestly? You absolutely can. But let’s be real—building a full kitchen cabinet setup isn’t like assembling flat-pack furniture. It demands precision, patience, and knowing which materials won’t sag under the weight of a week’s worth of canned goods.
I get it. Stepping into the world of serious kitchen cabinet woodworking can feel intimidating. You’re juggling decisions about concealed European hinges, whether to use a pocket hole jig, and what kind of finish will actually hold up against kitchen grease and spills. It’s a lot to process.
This isn’t some quick-fix guide. We’re going to walk through the real steps, the decisions experienced builders make, and the simple tricks that keep your cabinet doors from looking like they were built on a tilt-a-whirl. If you want cabinets that look custom-made and last for decades, pull up a chair. We need to talk materials, measurements, and mastering that beautiful shaker cabinet style.
Key Takeaways
- Choosing the Right Box Material: Understand the pros and cons of cabinet grade plywood versus MDF before you spend a dime on materials.
- Joinery Styles Matter: Learn why face frame construction is often favored for traditional looks, and how to use a pocket hole jig efficiently.
- Mastering Dimensions: Nail the standard dimensions for upper kitchen cabinets and calculate the proper toe kick height for base cabinets every time.
- Perfecting the Doors: Discover the secrets to building flawless shaker cabinet doors using cope and stick joinery on your router table setup.
Choosing Your Material: Plywood vs MDF for Kitchen Cabinet Construction Pros and Cons
 The first fork in the road of any good kitchen cabinet woodworking project is what you’re going to build the boxes out of. This isn’t just an aesthetic choice; it’s a structural one. The main contenders are usually cabinet grade plywood and MDF (Medium-Density Fiberboard). Let’s look at the facts.
Plywood, especially Baltic Birch or high-quality hardwood veneer plywood, is incredibly strong. It’s made of thin layers (plies) glued together, and because the grains run in alternating directions, it resists racking and warping. It also handles moisture better than MDF, which is a big deal in a kitchen environment. Plus, screws hold incredibly well in the layered edges of plywood.
MDF, on the other hand, is sawdust pulverized and mixed with resins under high pressure. It’s perfectly flat and stable, making it a dream for painting because it has no grain to telegraph through the finish. It’s also significantly cheaper than good cabinet grade plywood. However, if it gets wet, it swells like a sponge, and the edge isn’t great at holding heavy screws or dovetail drawer boxes.
When you look at Plywood vs MDF for kitchen cabinet construction pros and cons, you often find experienced builders mixing the two. They might use plywood for the cabinet frames and sides (where strength and screw retention count) and MDF for door panels and decorative elements (where smooth painting is the priority).
| Material | Primary Benefit | Primary Drawback | Best Use Case |
|---|---|---|---|
| Cabinet Grade Plywood | Superior strength, moisture resistance, excellent screw retention. | Higher cost, edges need careful finishing or melamine edge banding. | Cabinet boxes, face frames, open shelving. |
| MDF (Medium-Density Fiberboard) | Perfectly smooth surface, takes primer well, lower cost. | Heavy, poor resistance to water damage, difficult to anchor screws into edges. | Painted cabinet doors, drawer fronts, back panels. |
| Particle Board | Cheapest option, often used in budget construction. | Very poor water resistance, low density, easily damaged. | Interior shelving (if not holding heavy items), not suitable for cabinet frames. |
I know what you’re thinking: is particle board suitable for cabinet frames or only shelves? The answer is generally no for frames in a custom kitchen. It just doesn’t have the density or moisture resilience we need. Stick to plywood or MDF for the structure.
Face Frame Construction vs. Frameless: Picking Your Joinery Style
.jpg)
Image credit: www.nakedkitchens.com
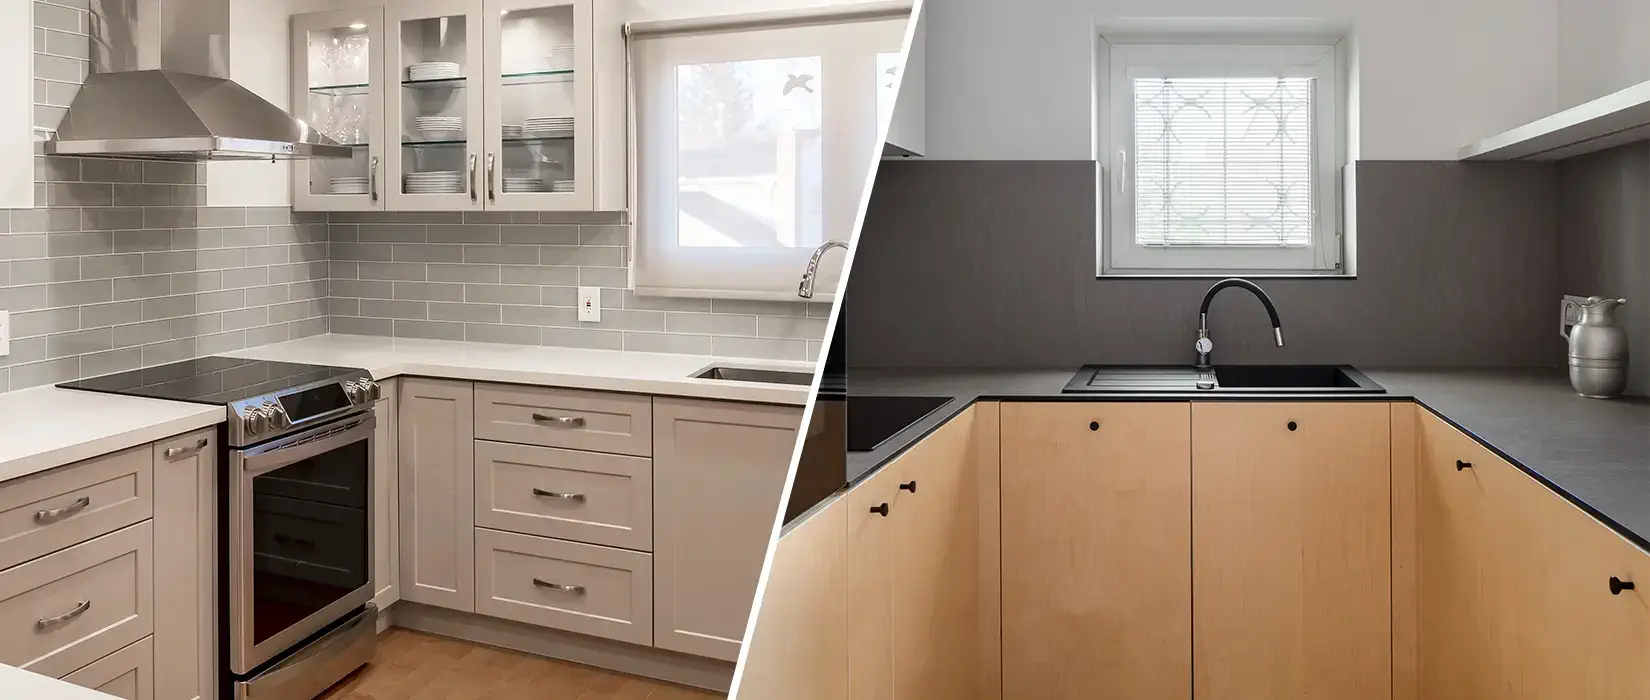
Once you’ve got your materials sorted, you need to decide on the architecture. Are you going for traditional face frame construction or the sleeker, modern frameless style?
Face frame construction involves building a solid wood border (the frame) that gets applied to the front edge of the cabinet box. This adds immense rigidity, gives you something solid to anchor your door hinges to, and provides a classic, layered look. If you’re building traditional shaker cabinet style cabinets, this is often the way to go.
If you choose face frame construction, you’ll become best friends with the pocket hole jig. This small tool, combined with a Kreg jig, is arguably the fastest and strongest way for a hobbyist builder to join those face frame pieces (stiles and rails). It pulls the joints together tightly, leaving a clean connection that hides the screws discreetly.
Frameless cabinets, sometimes called European style, skip the face frame entirely. The doors and drawer fronts cover nearly the entire opening, which gives you maximum accessibility inside the cabinet. The fastest way to assemble frameless cabinet boxes usually involves dado stacks or specialized cabinet clamps, relying on strong butt joints or rabbet joints secured with glue and biscuits or screws.
When using a pocket hole jig for face frame construction, always use clamps to hold the joint perfectly flush before drilling and driving the screws. A one-sixteenth-inch misalignment here translates to an unsightly gap on the visible finished frame later.
I’ll never forget the first time I built a massive run of custom upper cabinets using face frame construction. I was rushing and didn’t use enough cabinet clamps on the joints. When I went to install the run on the wall, the frames were slightly bowed—maybe just a millimeter or two—but enough that the reveal around the doors was inconsistent. I had to painfully steam and clamp those frames straight overnight. That’s when I learned that preparation and clamping time are non-negotiable.
If you’re asking which Kreg jig is best for face frame cabinet construction, look for their larger benchtop models. They offer faster setup and more repeatable accuracy than the smaller, portable versions, especially if you’re building an entire kitchen’s worth of units.
Making Boxes That Last: The Fastest Way to Assemble Frameless Cabinet Boxes
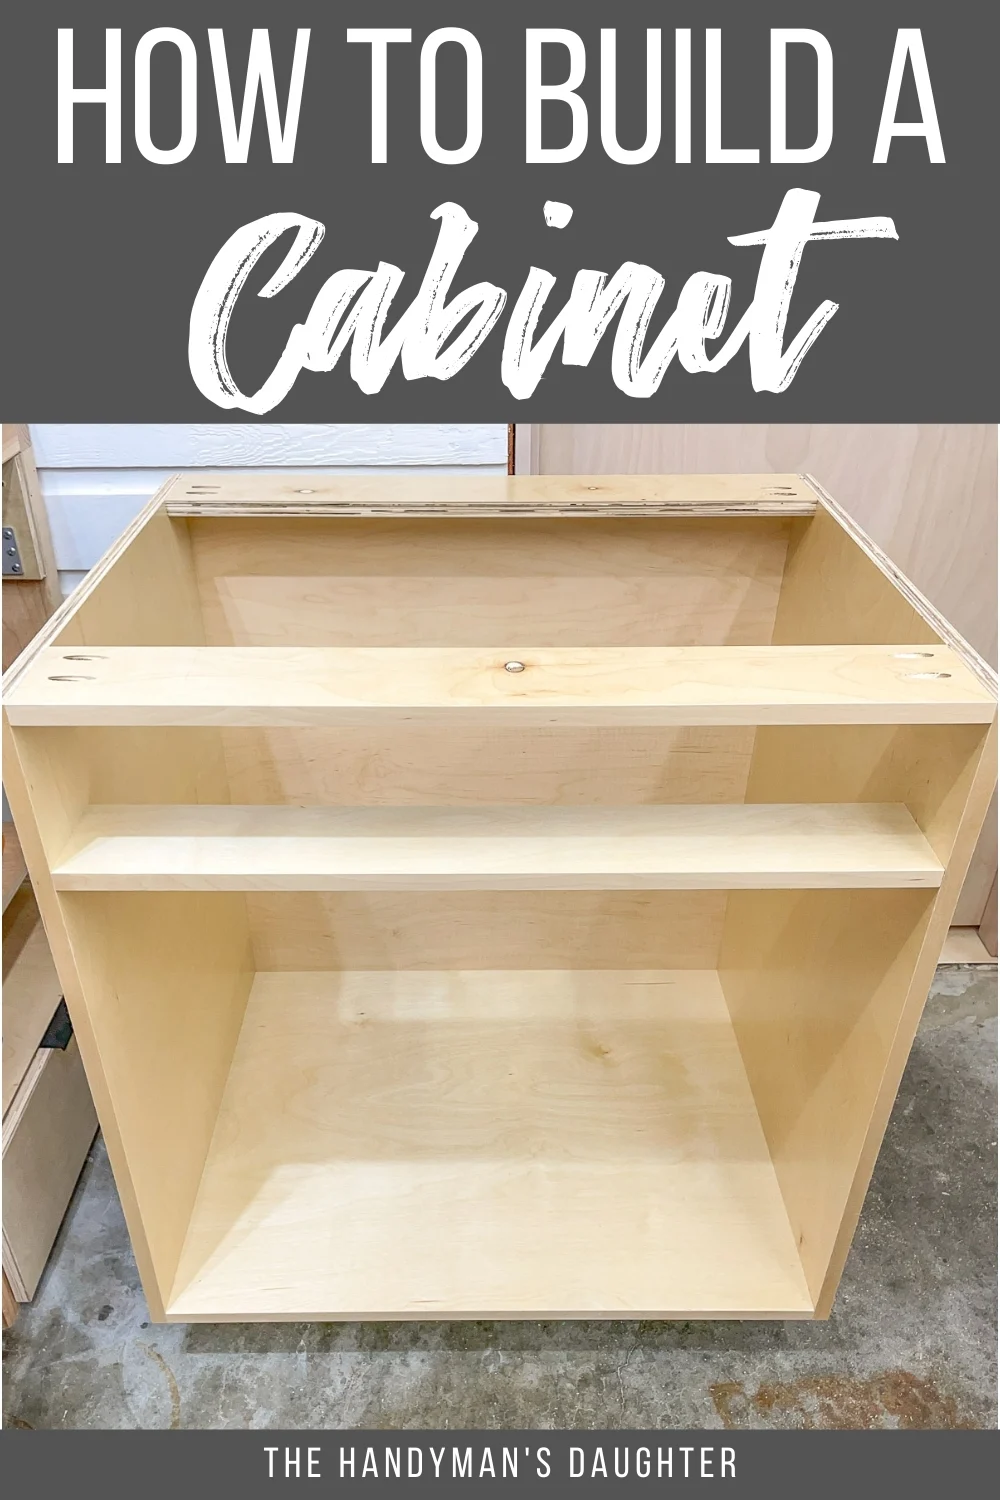
Image credit: www.thehandymansdaughter.com
For those leaning into the frameless method, efficiency is everything, and that often means using a dado stack. A dado stack is a set of blades for your table saw that cuts wide, flat-bottomed grooves (dados and rabbets) that snugly accept the mating piece of cabinet grade plywood.
When you’re building frameless boxes, the side panels, top, bottom, and fixed shelves all slot into each other. This interlocked joinery, combined with quality glue, makes a box that’s incredibly rigid even without a face frame.
The secret to speed here is batch processing. Once your material is perfectly sized—and let me tell you, if your material isn’t square and sized exactly right, your cabinet drawers sticking after installation will become your new nightmare—you set up your router table setup or table saw once to cut all the dados for all the identical boxes at the same time. You’re not remeasuring or resetting the saw fence.
The actual assembly then becomes a race against the glue setting time. You apply glue to all the joining surfaces, slide the pieces together like puzzle parts, and apply a specialized set of cabinet clamps designed to pull the box square. If you don’t have the big, specialized clamps, make sure you use a large square reference block inside the box while you tighten your screws.
Precision Joinery: How to Build Shaker Cabinet Doors Using Cope and Stick Joinery
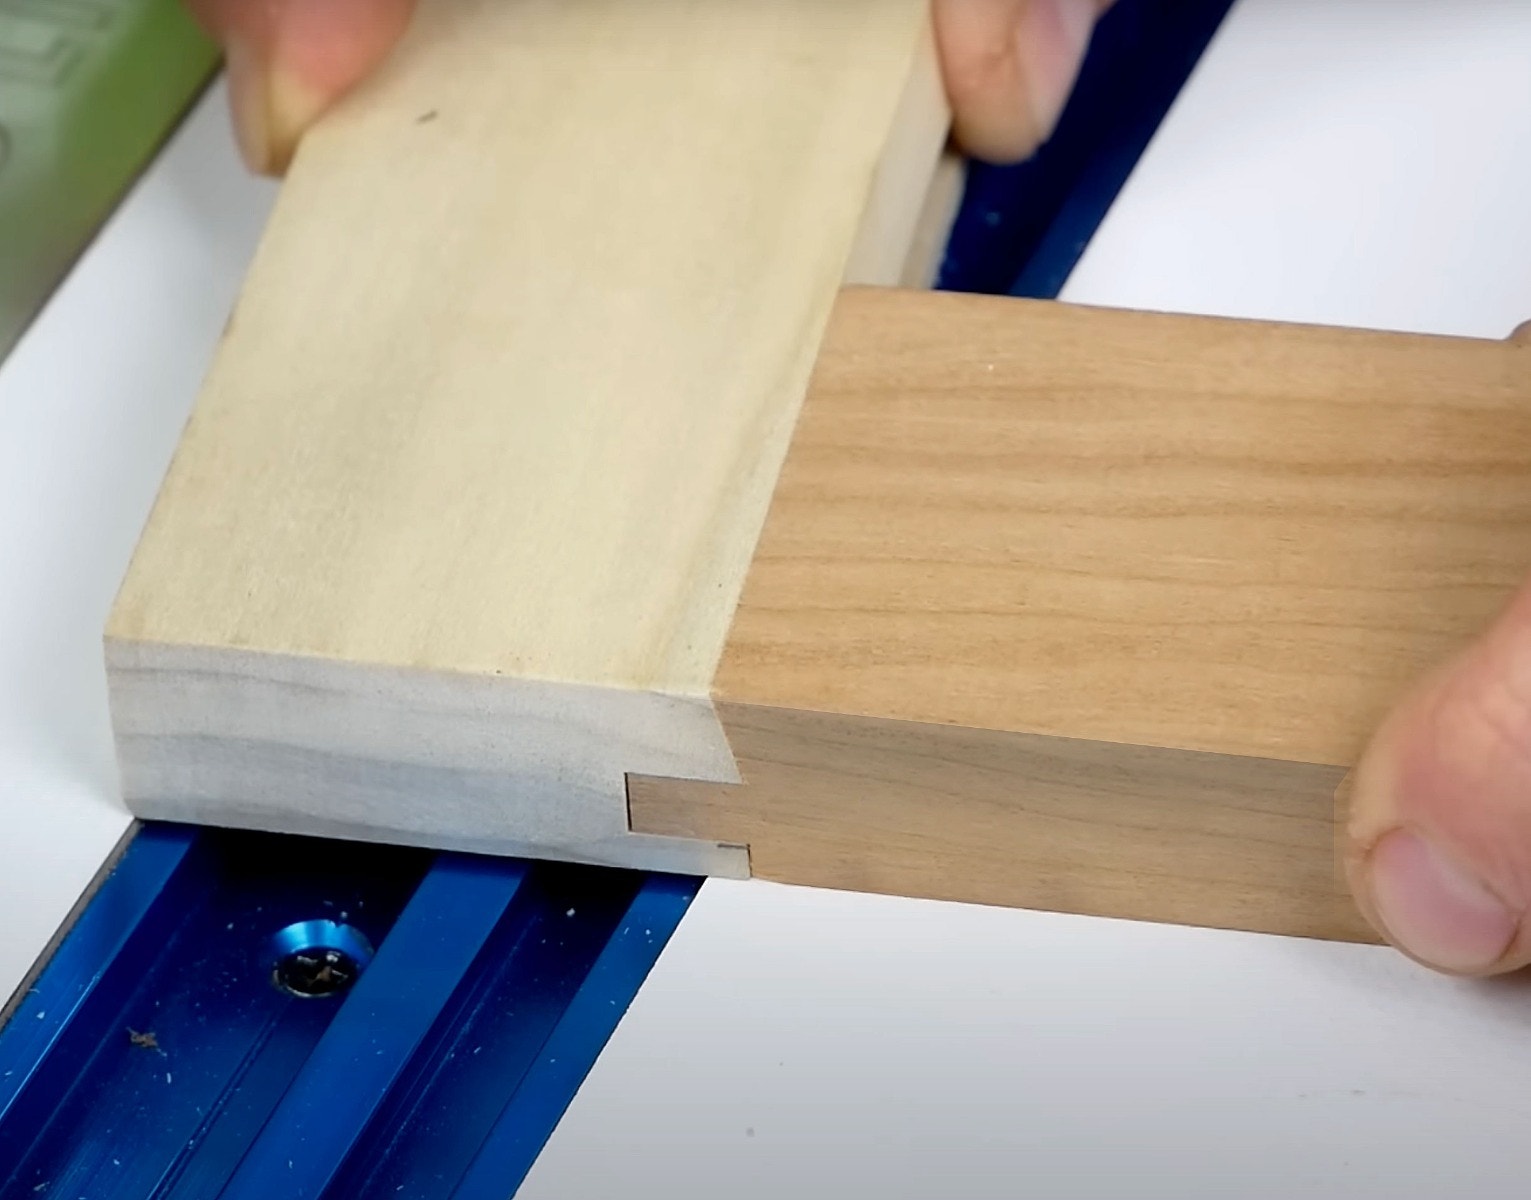
Image credit: www.rockler.com
The doors are the showpiece. If you want that classic, clean look, the shaker cabinet style is unbeatable. It’s timeless, and thankfully, learning how to build shaker cabinet doors using cope and stick joinery is very achievable with a decent router table setup.
Cope and stick joinery uses matched router bits. One bit cuts the ‘sticking’ profile (the decorative edge) onto the inside edges of the vertical stiles and horizontal rails. The second, matching bit cuts the ‘cope’ profile (the inverse shape) onto the ends of the horizontal rails, allowing them to interlock perfectly with the stiles.
The process goes like this:
- Mill the material (usually MDF or solid hardwood) for your stiles and rails, ensuring every piece is perfectly square and the same thickness.
- Set up the router table with the cope bit. Use a scrap piece to cut the cope profile on the ends of your short rails. This cut is critical; it dictates the tightness of the joint.
- Switch to the stick bit. Run the inside edges of all pieces (stiles and rails) to create the panel groove and the decorative profile.
- Assemble the four frame pieces, sliding the floating panel (usually high-pressure laminate or solid wood veneer) into the grooves.
- Glue only the cope and stick joints. Do not glue the panel, as it needs to float slightly within the frame to allow for seasonal expansion.
For those looking for the ultimate level of durability and traditional craftsmanship, mortise and tenon joinery is the king of door construction. It takes significantly longer and requires even more accurate layout and cutting, but the joint strength is unmatched, making it a great choice for doors that will see heavy use.
Getting the Dimensions Right: Standard Measurements and the Proper Toe Kick Height for Base Cabinets
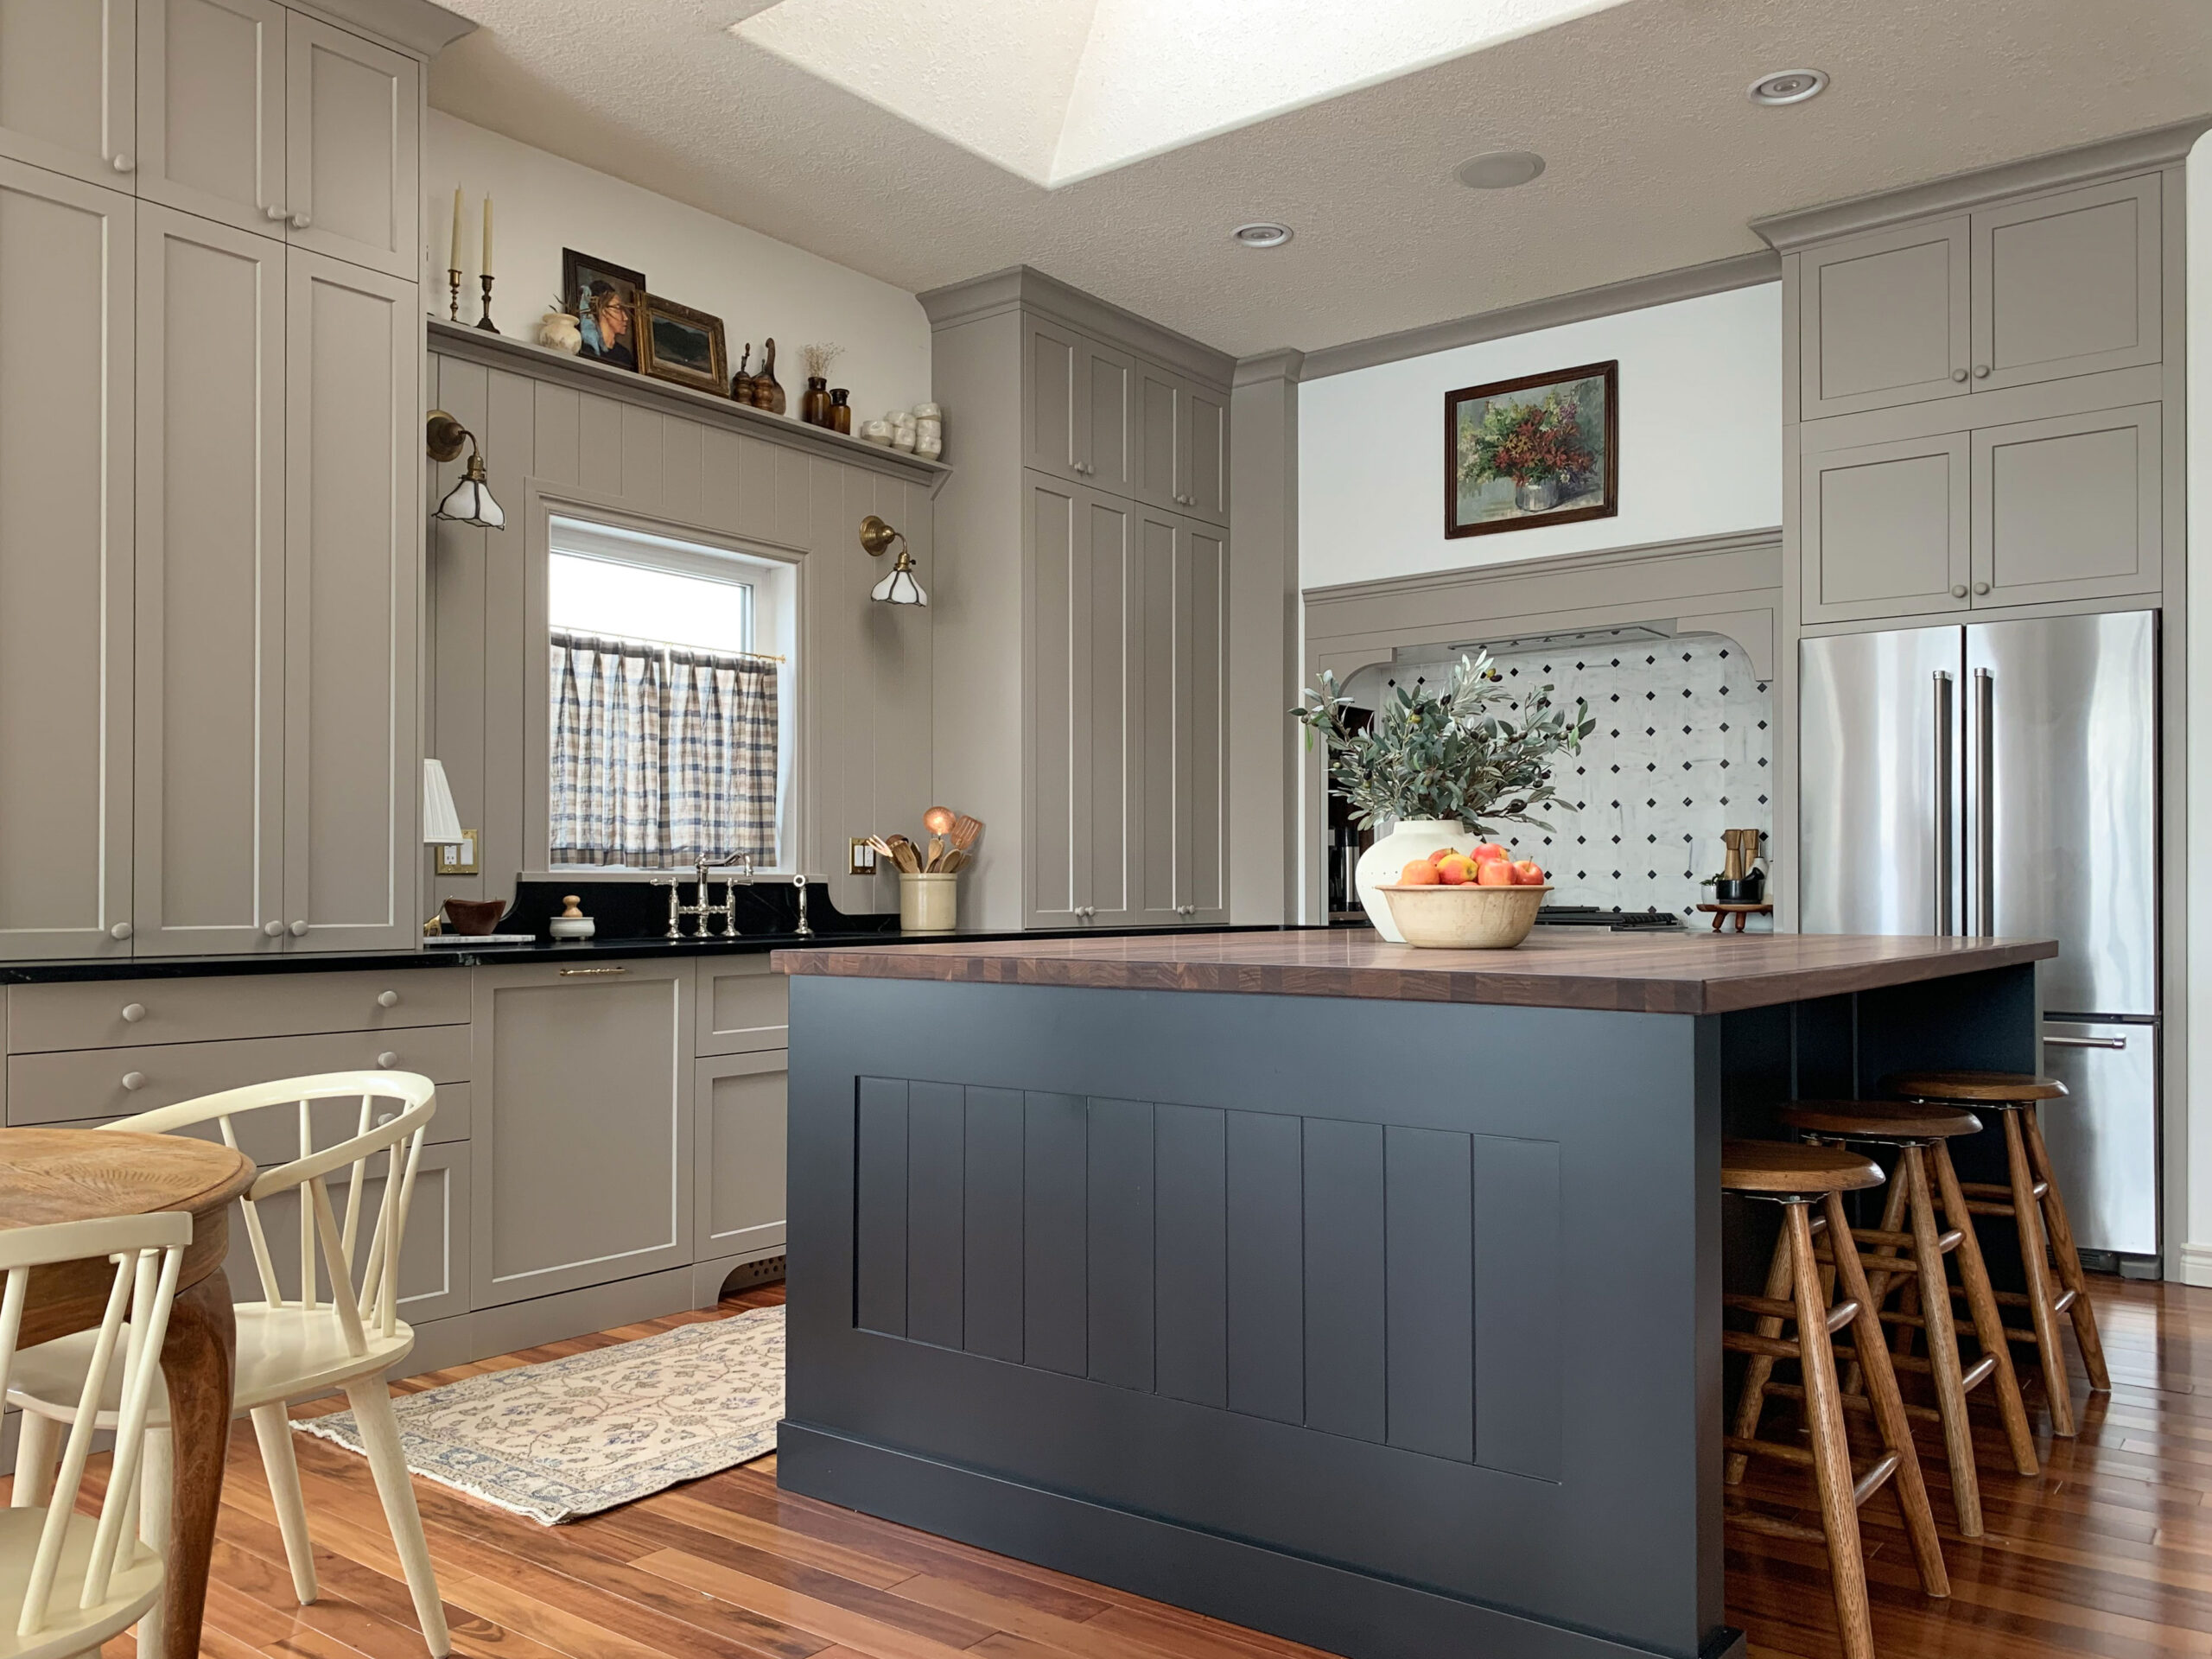
Image credit: erinzubotdesign.com
Here’s where the planning pays off. If your boxes are too deep, too shallow, or too tall, everything else breaks down—the appliances don’t fit, and the countertops won’t seat properly. What are the standard dimensions for upper kitchen cabinets? Typically, upper cabinets are 12 inches deep and 30, 36, or 42 inches tall. They usually hang 18 inches above the countertop.
Base cabinets are generally 24 inches deep (not including the door/drawer front) and designed to stand 34.5 inches tall, which, when topped with a standard 1.5-inch counter, gives you the industry-standard working height of 36 inches.
But let’s talk about the unsung hero of the base cabinet: the toe kick. The toe kick is the recessed area at the bottom that allows you to stand comfortably right up against the counter without stubbing your toes. What is the proper toe kick height for base cabinets? Standard heights usually hover between 3.5 and 4 inches, with a depth (recess) of 3 inches. Building a shorter toe kick might look strange and feel uncomfortable when you’re leaning in to chop vegetables.
When you’re working on these larger pieces—the whole run of cabinets laid out on sawhorses—you can almost smell the freshly cut, slightly sweet scent of the cabinet grade plywood dust clinging to the air. That’s the smell of precision, and it reminds you that every measurement counts.
If you’re a beginner woodworking building full kitchen cabinets, I recommend drawing everything out in full scale on a sheet of plywood or large cardboard first. Seeing the exact size of a blind corner cabinet maximizing storage on paper helps prevent expensive mistakes with the actual wood.
For more details on universal design standards and cabinet heights, consult the NKBA guidelines.
The Hardware Game: Installing Cabinet Hinges and Drawer Slides

Image credit: www.amazon.com
A beautifully built box is useless if the doors flop open and the drawers stick. This is where investing in high-quality components, like Blumotion drawer slides and concealed European hinges, really makes a difference. They turn a good cabinet into a great, smooth-operating one.
Where should cabinet hinges and drawer slides be installed? The installation of hinges and slides is often governed by the hardware you choose, but there are some constants.
- Hinges: Concealed European hinges require a large, precise hole (a 35mm cup hole) drilled into the cabinet door. These hinges are adjustable, allowing you to fine-tune the door gaps (the reveal) after installation. For frameless cabinets, they mount directly to the inside wall of the box. For face frame construction, you need a specific type of hinge designed to bridge the frame edge.
- Drawer Slides: For most modern drawer systems, the slides attach to the interior sides of the cabinet box. The key is parallelism. If the slides aren’t perfectly parallel and level, the cabinet drawers sticking after installation is guaranteed.
For standard drawer slides, the slide should be mounted perfectly perpendicular to the face of the cabinet. Use a spacer block cut to the thickness needed to align the slide with the cabinet opening. For undermount slides like the popular Blumotion drawer slides, installation requires precise positioning of mounting clips on the drawer box itself, often needing specialized jigs for consistent placement.
Designing Difficult Corners: Blind Corner Cabinet Maximizing Storage
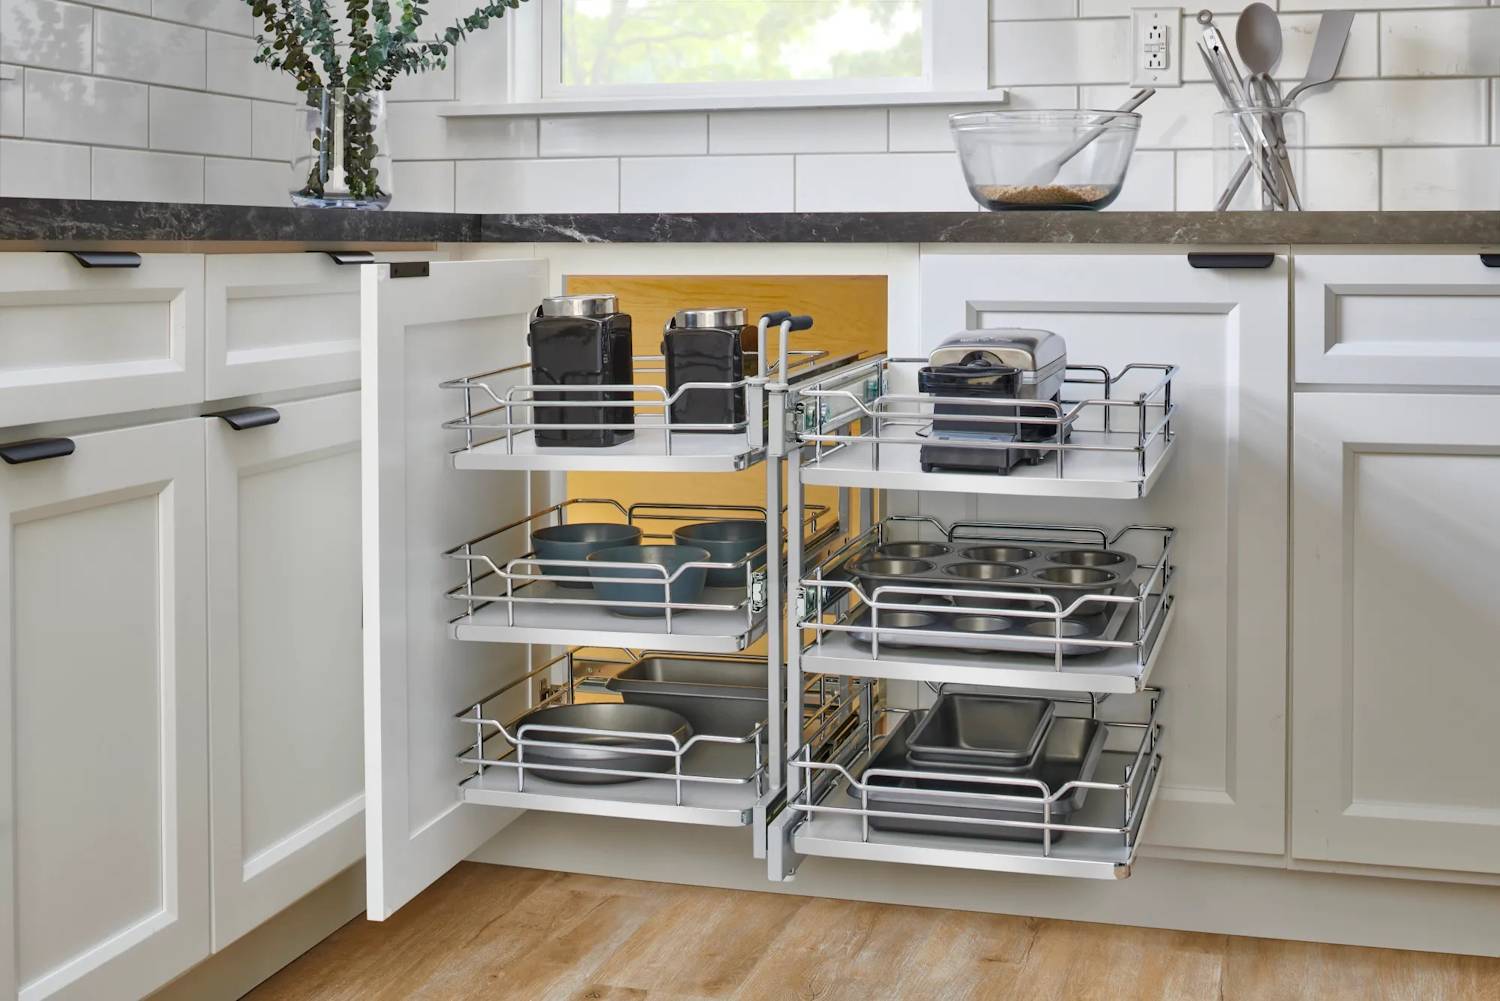
Image credit: www.gvdrenovationsinc.com
Ah, the corner cabinet. The black hole of the kitchen. Designing a blind corner cabinet maximizing storage is notoriously difficult because standard boxes waste so much accessible space. You have two main options when confronting this space:
First, the standard blind corner. This is a large cabinet box that stretches deep into the corner, usually with a door that opens up to an empty void. You maximize storage here by using pull-out kidney-shaped shelves (lazy Susans) or a system of telescoping shelves that swing out.
Second, the diagonal or L-shaped cabinet. While it uses up more lineal feet of wall space, the accessibility is much better. You can install standard shelves because the interior is fully visible when the door is open. If your goal is truly maximizing storage, look into specialized hardware designed for corner pullouts that bring the contents right out to you.
If you’re building frameless cabinets, remember that the thickness of the box material slightly reduces the usable space. Be sure to account for the width of two cabinet grade plywood walls (about 1.5 inches) where the boxes butt together in the corner.
Finishing Touches: Primer for Painting MDF Cabinet Doors and Lacquer
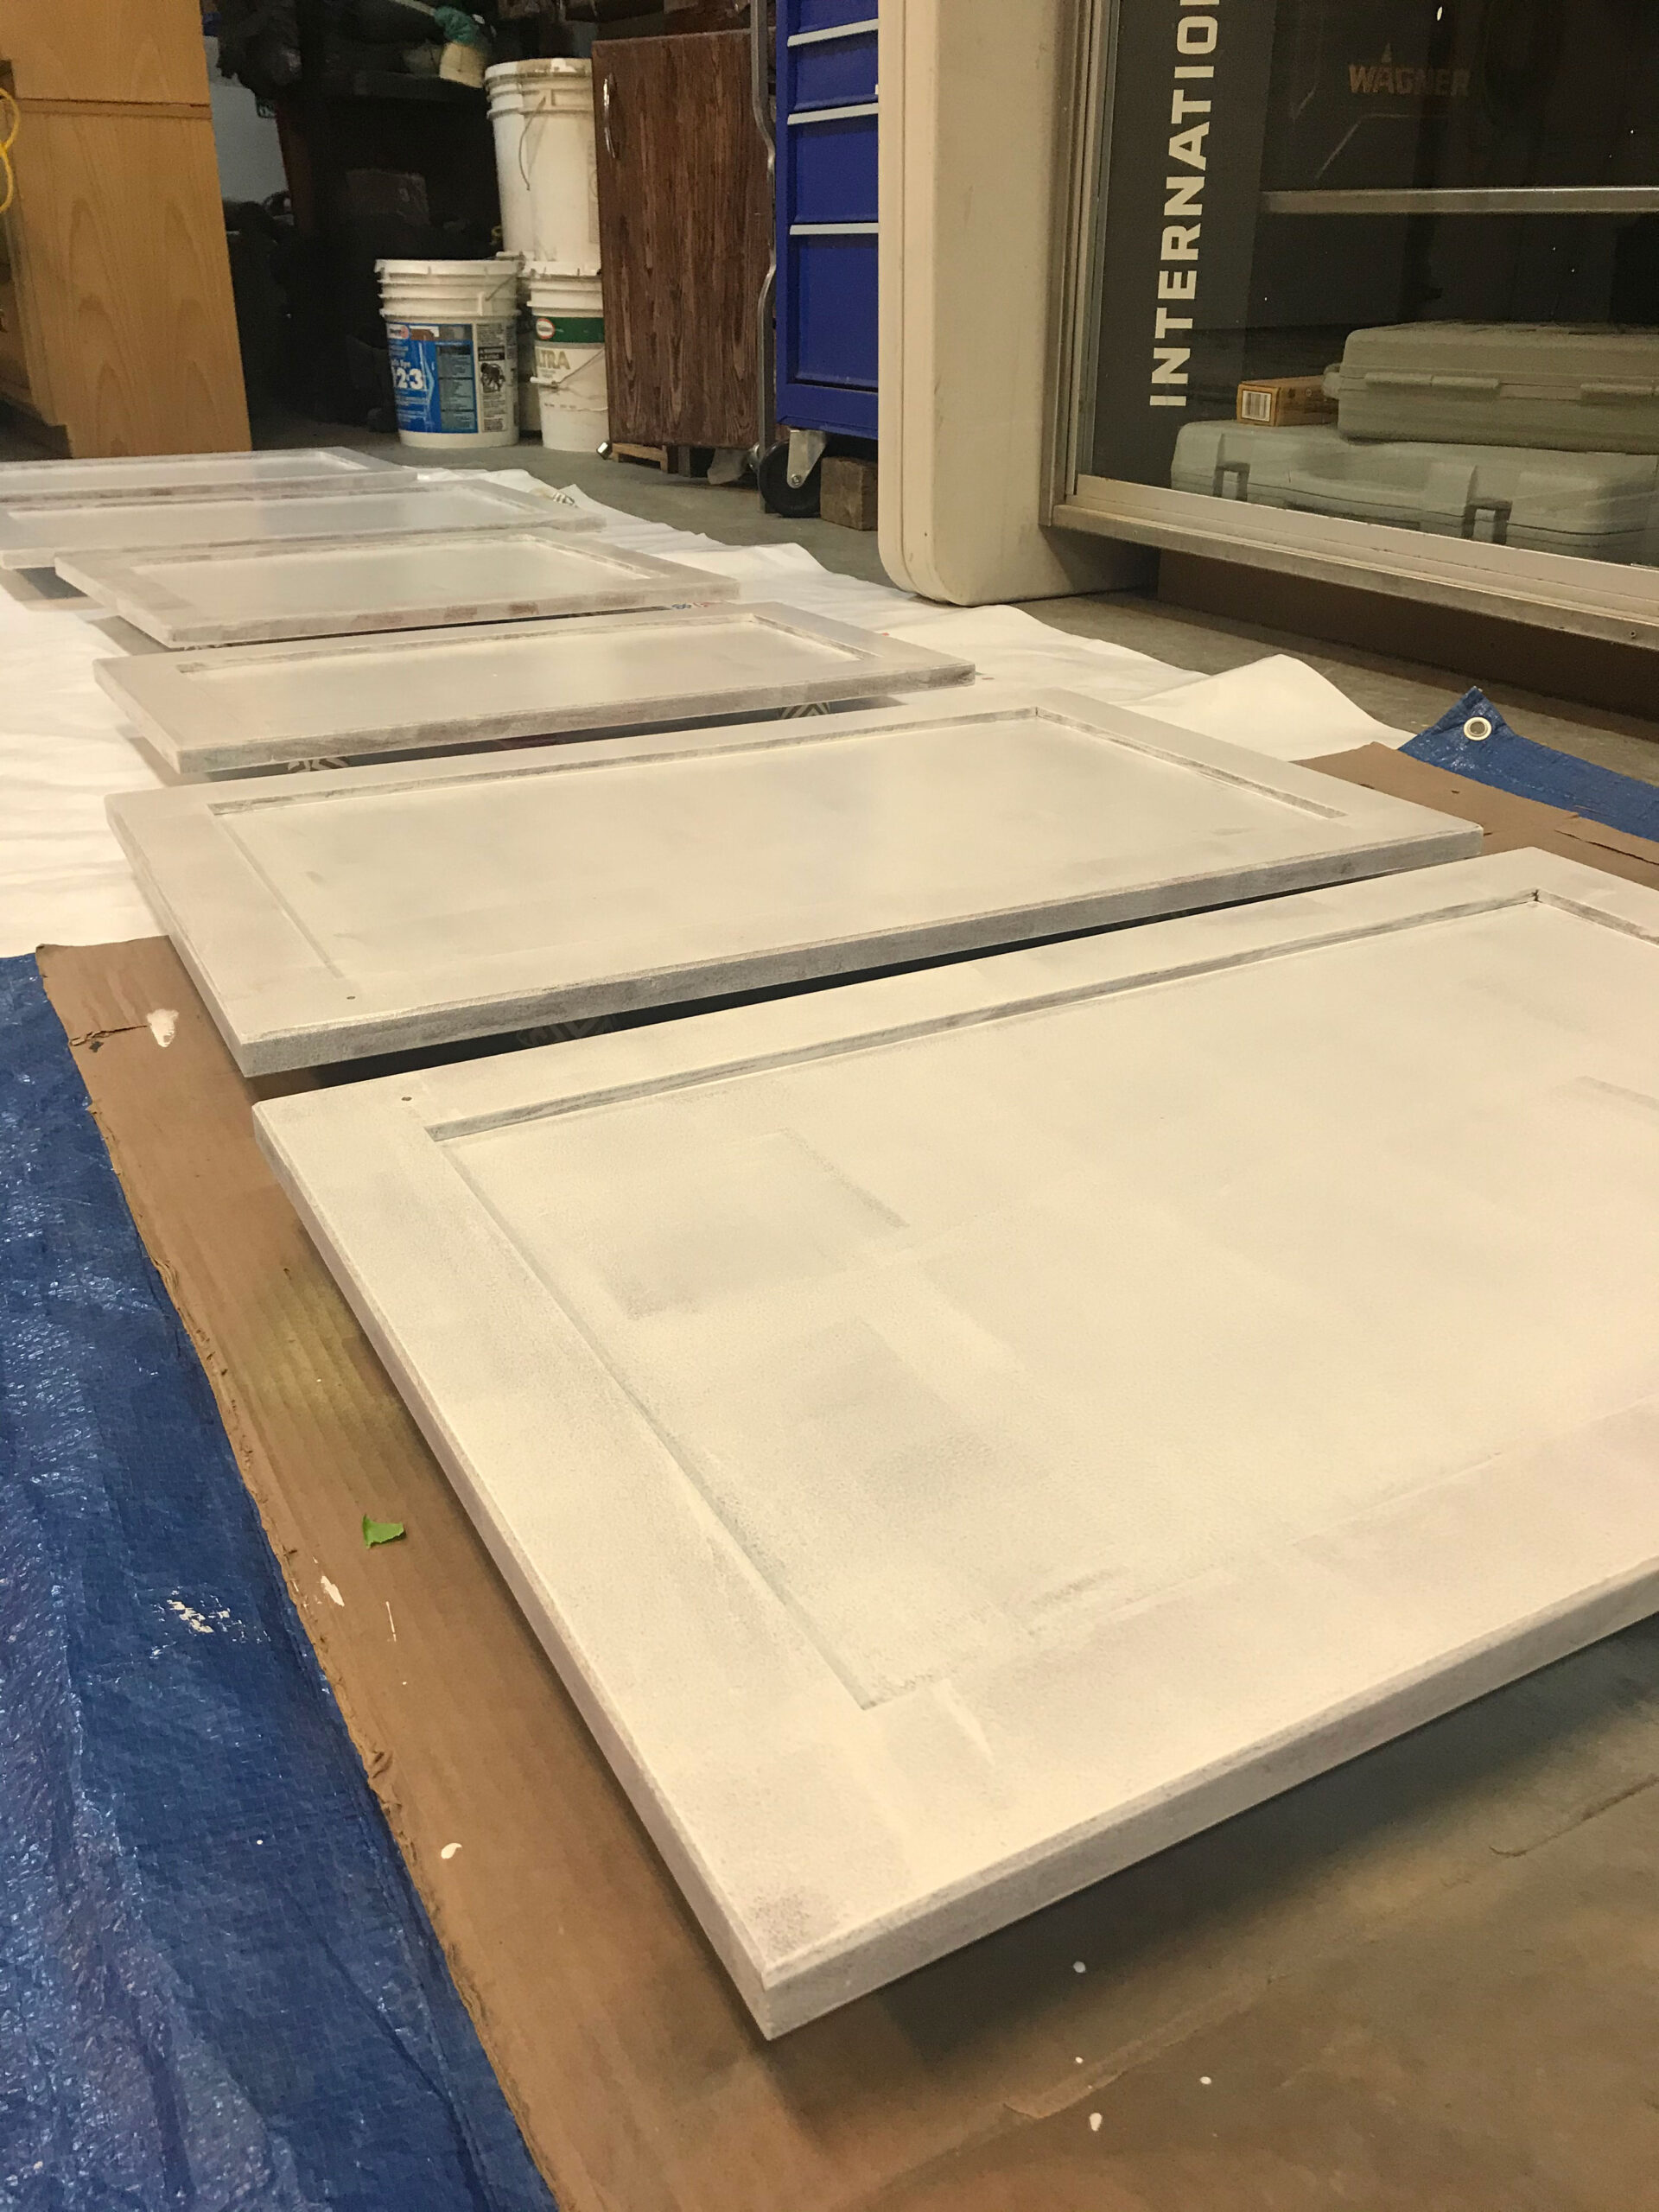
Image credit: erinzubotdesign.com
You’ve built the boxes, you’ve installed the shaker cabinet doors. Now comes the part that separates the professionals from the weekend warriors: the finish. Finishing is 90% preparation and 10% actual spraying.
If you’re using MDF for your doors, you absolutely must use the right products. What is the best primer for painting MDF cabinet doors? You need a high-solids primer designed to seal porous surfaces. MDF edges tend to soak up paint like a sponge, leading to a fuzzy, uneven finish. A shellac-based primer or a dedicated sanding primer works wonders here because it seals the edges and provides a thick coat you can sand back perfectly flat.
Look, I’ll be the first to admit—this is the part I still struggle with sometimes. Getting a flawless, factory-smooth finish using a spray gun requires excellent ventilation, precise material viscosity, and incredible patience. It’s easy to get runs or “orange peel” texture if your technique is off.
You must sand between every single coat.
Once primed and sanded glass-smooth, you can move onto the topcoat. Many professional cabinet makers use lacquer finishing because it dries fast, is durable, and allows for multiple coats in a short period. For a beginner woodworking tackling a full kitchen, a high-quality waterborne polyurethane or cabinet enamel offers a forgiving alternative that provides near-professional results without needing specialized spray booths and harsh solvents. This is especially true if you are applying high-pressure laminate or melamine edge banding to the cabinet boxes—you want a finish that complements the durable box materials.
Detailed guide on applying sanding sealer and lacquer finishing safely.
Frequently Asked Questions
Image credit: www.cabinetcorp.com
Can a beginner woodworking build full kitchen cabinets?
Yes, absolutely, but start small. Don’t try to build a massive kitchen with intricate joinery first. Begin by mastering one simple base cabinet or a small set of standard dimensions for upper kitchen cabinets. Focus on face frame construction using a pocket hole jig first, as it’s more forgiving than complex frameless joinery. Success comes from patience and not skipping the foundational steps like proper material sizing.
Which is better for cabinet boxes: dado stack or pocket hole jig?
They serve different purposes. The dado stack is ideal for joining the cabinet grade plywood panels of frameless boxes, providing superior glue surface area and strength. The pocket hole jig is generally best for joining the solid wood pieces of face frame construction or attaching the frames to the box, offering fast, hidden joinery.
Why are my cabinet drawers sticking after installation?
Cabinet drawers sticking after installation is almost always due to misalignment. This usually means the slides are not perfectly parallel to each other, the slides are not perfectly square to the cabinet face, or the drawer box itself is slightly out of square. Always use a level and a square when attaching the slides, and check the diagonals of the drawer box before assembly.
What is the difference between a shaker cabinet style and a flat panel door?
A shaker cabinet style door features a flat central panel framed by four pieces (stiles and rails), created using cope and stick joinery. A flat panel door (or slab door) is simply one solid, flat piece of material (often MDF or high-pressure laminate) without any frame or detail. Shaker is traditional; flat panel is modern.
So, we’ve covered the materials, the structural decisions, the dimensions, and the delicate art of finishing. Building your own kitchen cabinet woodworking takes time, maybe a few headaches, and certainly a lot of sawdust, but the satisfaction of seeing your design realized is unmatched.
What’s the first cabinet box you plan to tackle in your build, and what construction style are you leaning toward?


Leave a Reply