
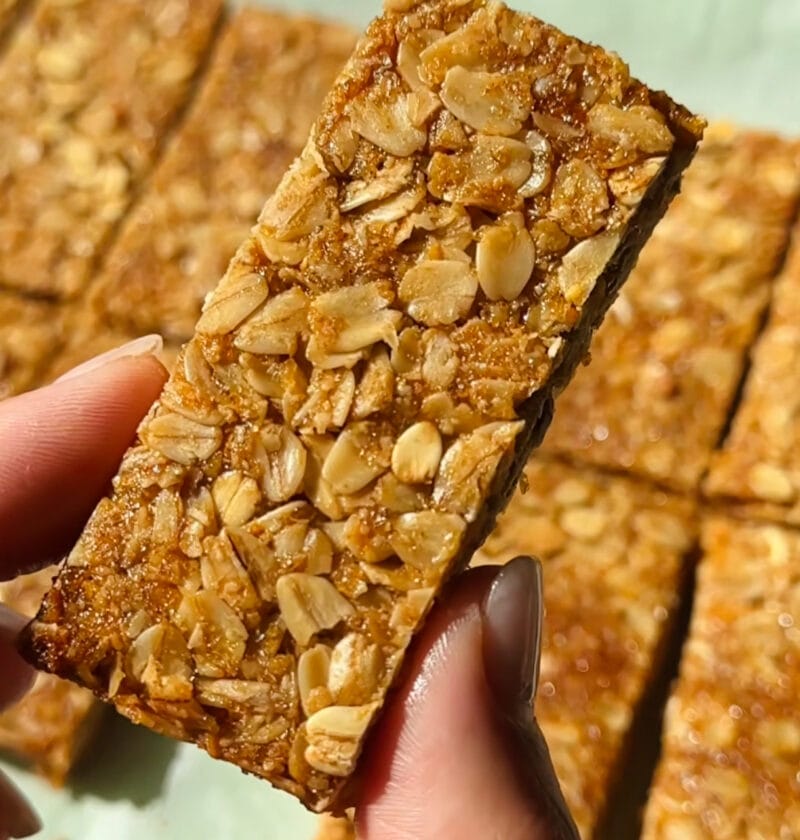
So what are the secret ingredients for a recipe to become passed down to your family for years to come? It’s usually something that brings comfort, tastes amazing, and simplifies life. I think these homemade granola bars do just that. They’re a great afternoon pick-me-up or a morning treat, with the satisfying crunch and sweet chew we all crave, and without any hidden ingredients. We’re talking a snack that’s simple to prepare, rich in good stuff, and is, quite simply, better than any prepared snack you’ll find. Be prepared to bake a round that will fly out of the oven quickly!
Homemade Granola Bars
These chewy, golden-baked bars combine wholesome oats, a sticky-sweet binder, and your favorite mix-ins for a truly satisfying bite.
Ingredients
-
-
- 2 cups (180g) rolled oats (old-fashioned)
-
- 1 cup (100g) mixed nuts, chopped (almonds, walnuts, pecans)
-
- ½ cup (75g) dried fruit, chopped (cranberries, raisins, apricots)
-
- ½ cup (120ml) natural peanut butter (or other nut butter)
-
- ½ cup (120ml) honey or maple syrup
-
- ¼ cup (60g) unsalted butter, melted
-
- 1 teaspoon vanilla extract
-
- ½ teaspoon salt
-
- ¼ cup mini chocolate chips (optional)
-
Necessary Utensils & Equipment
-
-
-
- 9×13 inch baking pan
-
- Parchment paper
-
- Measuring cups and spoons
-
- Rubber spatula or wooden spoon
-
- Sharp knife
-
-
Instructions
-
-
-
- Preheat your oven to 300°F (150°C). Line a 9×13 inch baking pan with parchment paper, leaving an overhang on the sides. This will help you lift the bars out later.
-
- In a large mixing bowl, combine the rolled oats, chopped nuts, dried fruit, and a pinch of salt. Give it a good stir to make sure everything is evenly distributed.
-
- In a small saucepan over low heat, gently warm the peanut butter, honey (or maple syrup), and melted butter. Stir continuously until the mixture is smooth and runny. Don’t let it boil; we’re just aiming for a consistent texture.
-
- Remove the wet mixture from the heat and stir in the vanilla extract. Pour this warm, sticky concoction over your dry ingredients in the large bowl.
-
- Using your spatula, mix everything together thoroughly until all the oats, nuts, and fruit are coated in the sticky binder. This might take a minute or two, but it’s important for good binding. If you’re using chocolate chips, fold them in now.
-
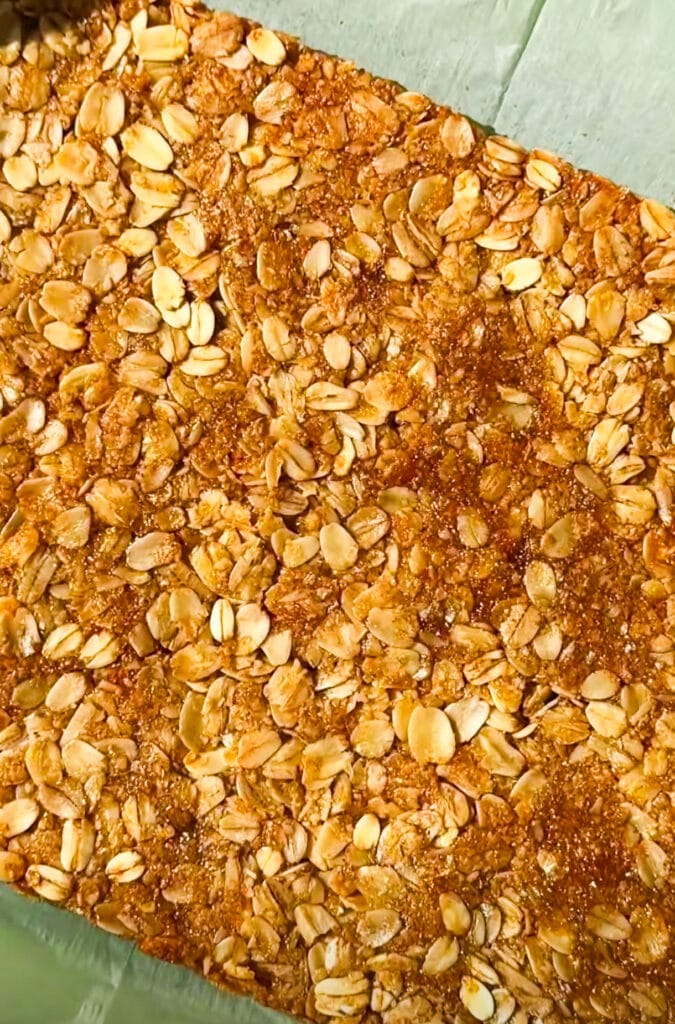
- Transfer the mixture to your prepared baking pan. Now, this is a key step for sturdy bars: press the mixture down firmly and evenly into the pan. Use the back of your spatula, or even another piece of parchment paper to really compact it. The harder you press, the less likely your bars are to crumble.
-
- Bake for 20-25 minutes, or until the edges are lightly golden brown and the top feels set. You’ll notice the warm, inviting aroma filling your kitchen – that’s a good sign!
-
- Once baked, remove the pan from the oven and let it cool completely on a wire rack. Seriously, don’t skip this cooling step; it’s when the bars set their shape. I’ve definitely made the mistake of cutting too early, and ended up with a delicious pile of granola instead of neat bars.
-
- Once cooled, use the parchment paper overhang to lift the entire slab out of the pan. Place it on a cutting board. Using a sharp knife, carefully cut the slab into 12 bars.
-
- Store your homemade granola bars in an airtight container at room temperature for up to a week, or in the refrigerator for up to two weeks.
-
-
Some Great Tips
Making granola bars at home is pretty straightforward, but a few simple tips can make all the difference in getting that perfect texture and flavor every time.
Getting the Perfect Texture
Have you ever experienced a granola bar dissolving in your hands? It’s frustrating! Correct binding and cooling of the bar is key to a sound bar. Be sure that the ingredients you are mixing are warm, not boiling. When you press the mixture into the pan – press it with some muscle! You need to stuff it in, like building a baby brick wall. Then, once baked, let it cool completely. This is not something that’s optional—it’s something that’s essential for bars that stick together.
Pro Tip: For extra binding power and a richer flavor, toast your oats and nuts lightly in a dry pan for 5-7 minutes before mixing. This deepens their taste and makes them less likely to absorb too much moisture from the binder.
Customizing Your Bars
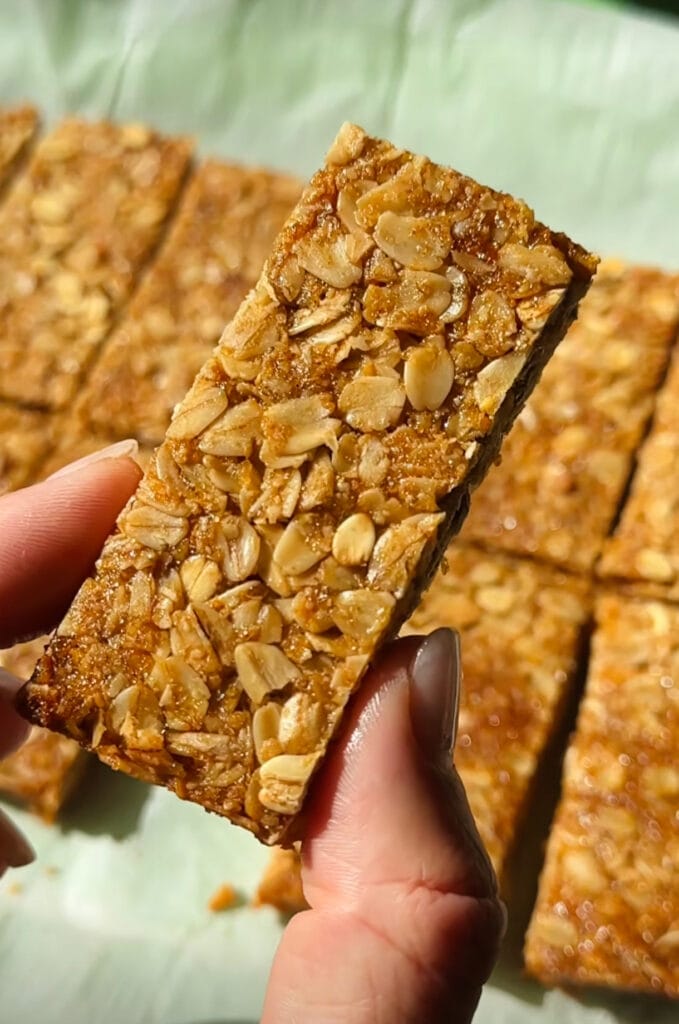
This recipe is a fantastic base, but don’t feel limited! Here are some fun ways you can make these granola bars truly your own:
- Nut & Seed Swaps: Instead of just mixed nuts, try sunflower seeds, pumpkin seeds, or even chia seeds for an extra boost. Feel free to use just one type of nut if that’s what you have.
- Fruit & Flavor Play: Swap out the dried cranberries and raisins for dried cherries, chopped dates, or even small pieces of dried mango. A little orange zest added with the vanilla can also brighten things up beautifully.
- Chocolate & Sweeteners: If you’re not a fan of mini chocolate chips, try dark chocolate chunks or a drizzle of melted white chocolate after the bars have cooled. For a less sweet bar, you can slightly reduce the honey/maple syrup, though remember it’s also a binder.
- Spice It Up: A pinch of cinnamon, nutmeg, or even a tiny bit of cardamom can add wonderful depth to your granola bars.
Storage and Freshness
Once your bars are perfectly cut, how do you keep them tasting great? I usually store mine in an airtight container at room temperature for up to a week. If I want them to last longer, or if I live in a humid climate, I’ll pop them in the refrigerator, where they’ll stay fresh for up to two weeks. They also freeze wonderfully for a quick grab-and-go option later. Just wrap individual bars in plastic wrap before freezing.
Frequently Asked Questions
Why are my homemade granola bars crumbling?
The most common reasons for crumbling are not pressing the mixture firmly enough into the pan before baking, or cutting the bars before they’ve cooled completely. The cooling process allows the sugars and fats to solidify, creating a firm structure. Ensure you really compact the mixture and exercise patience during cooling!
Can I make these granola bars gluten-free?
Absolutely! The primary ingredient, oats, is naturally gluten-free. However, cross-contamination can occur during processing. To ensure your bars are truly gluten-free, use certified gluten-free rolled oats. All other ingredients are typically naturally free of gluten.
What if I don’t have peanut butter?
No problem! You can use any other natural nut butter like almond butter or cashew butter. For a nut-free option, sunflower seed butter (SunButter) works just as well. The key is a creamy, sticky butter to help bind the ingredients.
How can I make these granola bars vegan?
To make this recipe vegan, simply swap out the butter for coconut oil (which is solid at room temperature and melts similarly) and use maple syrup instead of honey. Make sure your chocolate chips, if using, are also dairy-free.
Can I add protein powder to these bars?
You can, but be cautious. Adding too much dry protein powder can alter the texture and make the bars too dry or crumbly. If you want to add it, try replacing a small amount (1-2 tablespoons) of the oats with your protein powder and you might need a tiny bit more liquid binder, like an extra teaspoon of honey or a splash of milk, to maintain the right consistency.