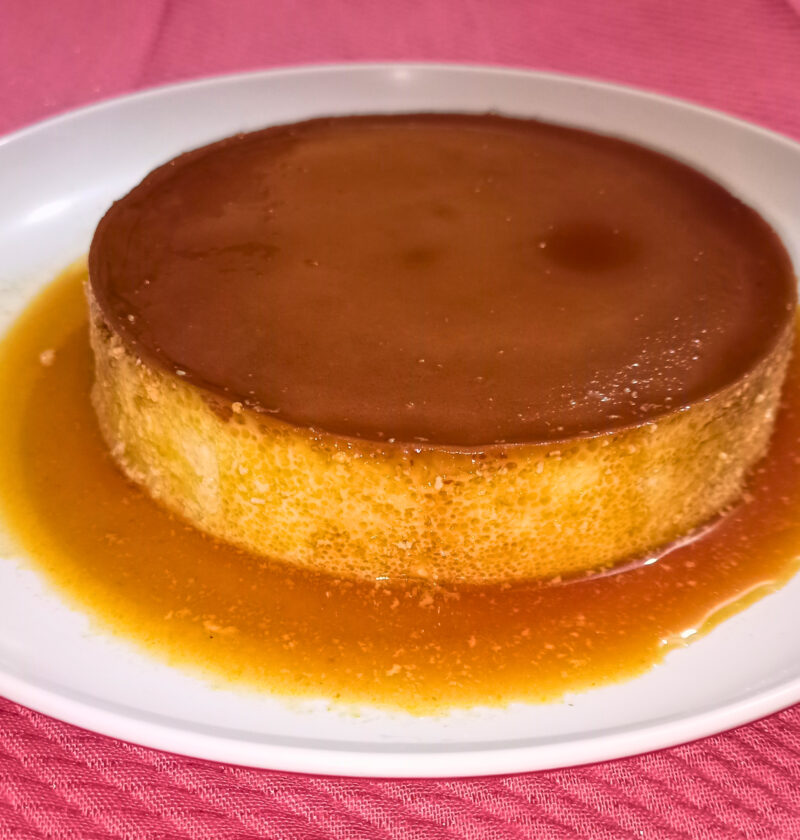
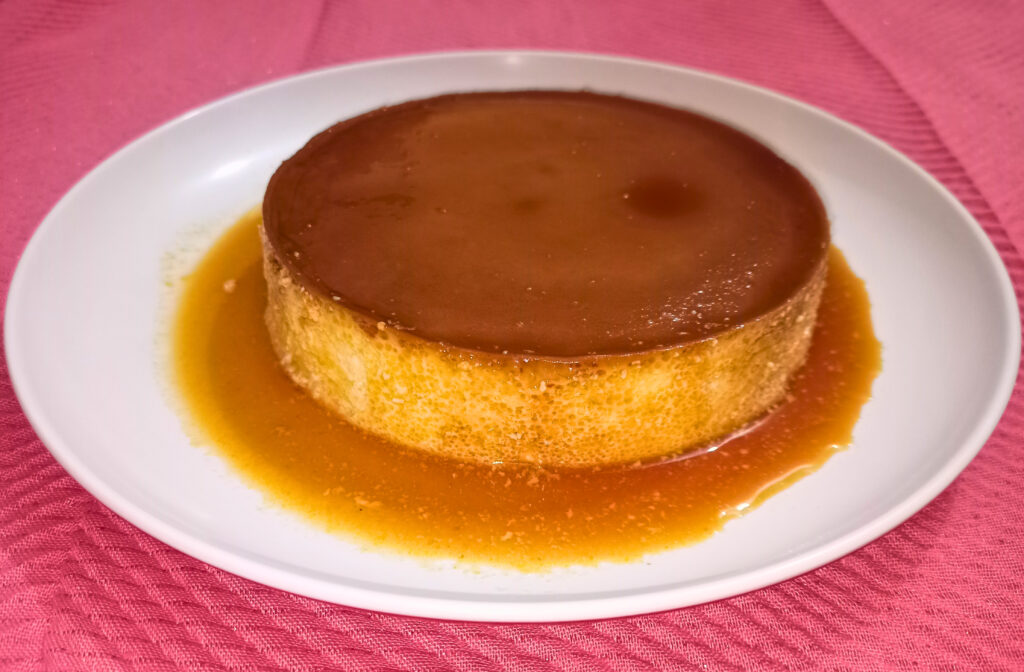
Well, isn’t there something about a really good caramel pudding? A creamy, smooth custard layer over a shimmery thick layer of deep, amber caramel. It is a dessert that looks fancy, tastes fancy and is actually very easy to make at home. It’s a treat you won’t want to miss.
This isn’t just any caramel pudding recipe. I’ve refined and tried this one to achieve that rich sweetness and lightness. We’re talking melt in your mouth deliciousness that will leave you wanting more. If you’re looking to make a classic dessert that will definitely please, then let’s get started! This is a must-make item that you will not be disappointed with.
Caramel Pudding
Ingredients
For the Caramel:
-
-
- 1 cup granulated sugar
-
- 1/4 cup water
-
For the Pudding:
-
-
- 2 cups whole milk
-
- 1 cup heavy cream
-
- 1/2 cup granulated sugar
-
- 4 large eggs
-
- 2 large egg yolks
-
- 1 teaspoon vanilla extract
-
- 1/4 teaspoon salt
-
Instructions
-
-
- Preheat your oven to 325°F (160°C). Grab six 6-ounce ramekins and set them aside.
-
- To make the caramel: In a heavy-bottomed saucepan, combine the sugar and water. Stir just until the sugar is moistened.
-
- Cook over medium heat without stirring until the sugar dissolves and the mixture starts to simmer. Then, increase the heat to medium-high.
-
- Continue to cook, swirling the pan occasionally (do not stir with a spoon!), until the caramel turns a deep amber color. This usually takes about 8-12 minutes. Watch it closely because it can burn quickly!
-
- Immediately pour the hot caramel into your prepared ramekins, dividing it evenly. Carefully swirl each ramekin to coat the bottom slightly. Set them aside to cool. The caramel will harden.
-
- For the pudding: In a medium saucepan, gently heat the whole milk and heavy cream over medium heat until small bubbles appear around the edges, but don’t let it boil. Remove from heat.
-
- In a large bowl, whisk together the 1/2 cup granulated sugar, whole eggs, egg yolks, and salt until light in color and well combined.
-
- Slowly drizzle about a quarter of the warm milk mixture into the egg mixture while continuously whisking. This is called tempering, and it prevents the eggs from scrambling.
-
- Gradually whisk in the remaining warm milk until everything is fully blended. Stir in the vanilla extract.
-
- Carefully pour the custard mixture through a fine-mesh sieve into another bowl or a large measuring cup with a spout. This helps remove any bits of cooked egg or impurities, ensuring an incredibly smooth pudding.
-
- Place the caramel-lined ramekins into a large roasting pan. Pour the strained custard mixture evenly into each ramekin.
-
- Create a water bath: Carefully pour hot water into the roasting pan until it reaches about halfway up the sides of the ramekins. This water bath (bain-marie) helps the pudding cook gently and evenly, preventing it from drying out or cracking.
-
- Carefully transfer the roasting pan to your preheated oven. Bake for 45-55 minutes, or until the edges of the puddings are set, but the centers still have a slight jiggle when gently shaken.
-
- Carefully remove the roasting pan from the oven and then lift the ramekins out of the water bath. Let them cool on a wire rack at room temperature for about 30 minutes.
-
- Once cooled, cover each ramekin with plastic wrap and refrigerate for at least 4 hours, or preferably overnight, to allow them to set completely and chill thoroughly.
-
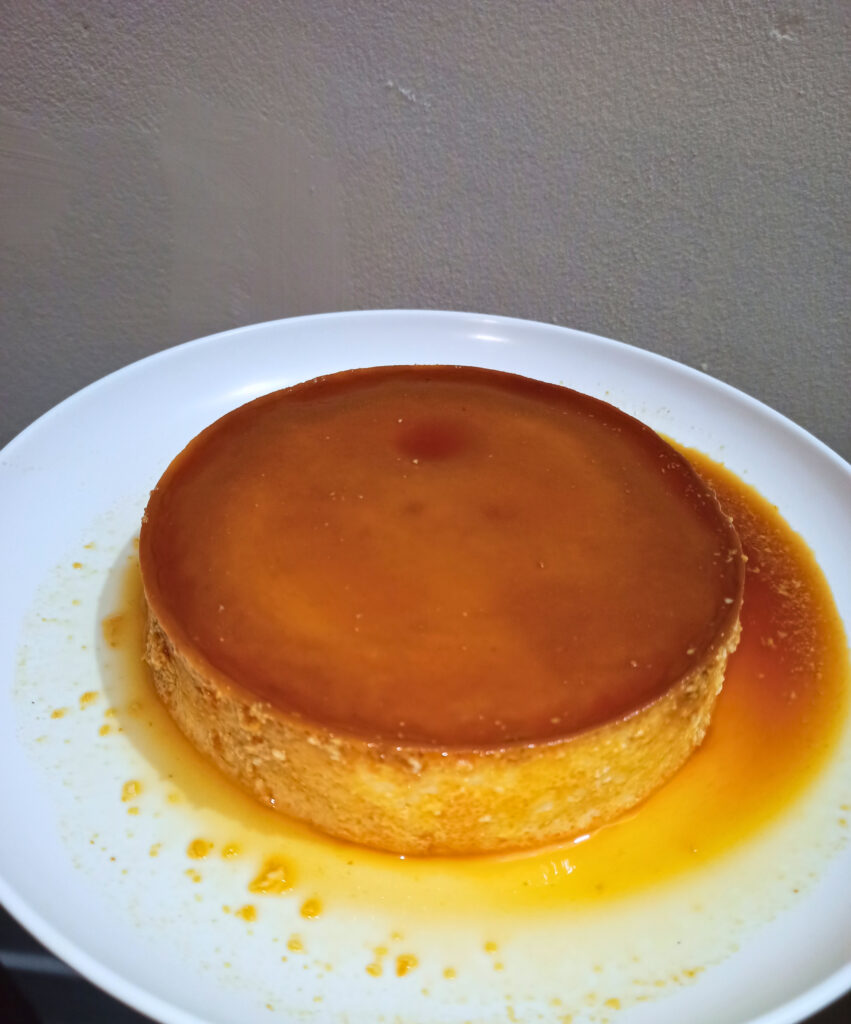
- To serve: Run a thin knife around the edge of each pudding to loosen it. Invert a serving plate over the ramekin and quickly flip it over. The caramel will now be on top, creating a beautiful glaze. Enjoy!
-
Tips for Success with Your Caramel Pudding
Making caramel pudding is truly rewarding, but a few pointers can take you from good to absolutely amazing. Let’s make sure your dessert turns out perfectly smooth and delicious every single time.
Making of the Perfect Caramel
The caramel may seem a little intimidating, but it’s not. The most important thing to remember here is to monitor it after it begins to turn color. Burned bitterness and perfect amber is only seconds apart. If it smokes or smells burnt, discard and make a new batch. Come on, it’s a lot better than a bitter pudding!
- Don’t Stir! Once the sugar and water are combined and heating, resist the urge to stir with a spoon. This can cause the sugar to crystallize. Swirl the pan gently if you need to even out the cooking.
- Use a Light-Colored Pan: This helps you see the color changes clearly. A dark pan can hide the true color of your caramel, making it harder to judge.
- Have Ramekins Ready: As soon as the caramel is done, you need to pour it immediately. It sets very quickly, so having your ramekins lined up and ready is a must.
Custard Perfection: Smooth and Silky
The pudding itself, the custard, needs to be velvety smooth. There are a couple of things you can do to confirm this.
Pro Tip: Always, always strain your custard mixture through a fine-mesh sieve before pouring it into the ramekins. This step is crucial for achieving that incredibly silky texture and catching any stray bits of egg or undissolved sugar.
I once made caramel pudding the first time without straining it, and thought it wouldn’t matter. Boy, was I wrong! I got little, unwanted bumps in my mouth in my otherwise yummy custard. It was good, but the texture was not right. I don’t skip this step, and it’s a smoothness that I can feel on my tongue – pure and unadulterated.
Baking with a Water Bath
When baking custards, a water bath, also called a bain-marie, will be your best friend. It delivers even and gentle heat, so the pudding doesn’t overcook, crack or get rubbery. You’ll want to use hot (not boiling) water in the pan.
- Placement: Place your ramekins in the roasting pan first, then add the hot water. Trying to move a pan full of hot water and ramekins is a recipe for spills.
- Don’t Overbake: A slightly wobbly center is what you’re looking for. It will continue to set as it cools and chills. Overbaking will give you a firm, dry, or even curdled texture.
Storage and Make-Ahead
Caramel pudding is a fantastic make-ahead dessert!
- Refrigeration: Once cooled, cover the individual ramekins with plastic wrap and chill them in the refrigerator for at least 4 hours. Chilling overnight is even better, as it allows the flavors to deepen and the pudding to fully set.
- How Long It Keeps: These puddings will keep beautifully in the fridge for up to 3-4 days. This makes them perfect for entertaining, as you can prepare them well in advance.
- Freezing? I wouldn’t recommend freezing caramel pudding. The texture changes too much upon thawing, becoming grainy and losing its delicate creaminess.
Flavor Variations
While classic caramel pudding is wonderful, you can always play around with flavors.
- Coffee Caramel: Add a teaspoon of instant espresso powder to the warm milk mixture for a delightful coffee caramel taste.
- Citrus Zest: A bit of orange or lemon zest infused into the milk can add a bright counterpoint to the sweetness.
- Spiced: A pinch of cinnamon or cardamom in the custard can introduce a subtle warmth, making it ideal for cooler months.
This dessert is truly a showstopper that tastes as good as it looks. The golden caramel dripping down the sides of the creamy pudding after you unmold it is just something special. You’ll love how easy it is to achieve such an elegant result.
Frequently Asked Questions
Can I make caramel pudding without a water bath?
You can make custard without a water bath, but I don’t recommend it for caramel pudding. The water bath cooks the pudding slowly and evenly, so that it will not crack, dry out or become rubbery. It’s an easy addition that adds a lot to the final flavor of your dessert.
What if my caramel hardens too quickly in the ramekins?
It’s completely normal for the caramel to harden as it cools! This is the kind of thing you want. It forms a solid bottom layer. The caramel will melt back to a liquid when the pudding is unmolded and allowed to warm up at room temperature or by the custard. If it is solid when you pour the custard over it, don’t worry.
My pudding cracked on top. What went wrong?
If you have a crack, it means that your pudding was baked at too high a temperature or for too long. This results in the edges setting and drying out before the centre is cooked, which causes stress to the surface. Check that your oven is at the correct temperature and keep in mind a little jiggling at the center is okay when you remove the dish. The water bath helps a lot in preventing this issue.
Can I use individual oven-safe bowls instead of ramekins?
Absolutely! Any individual oven-safe dish will work, as long as it has roughly the same capacity (around 6-8 ounces). Just be sure they can withstand the heat of the oven and the water bath. If your dishes are much larger or smaller, you might need to adjust the baking time accordingly.
How do I know when the caramel pudding is done baking?
The pudding is ready when it’s edges are set but there’s a slight, delicate jiggle in the center. If you insert a thin knife about an inch from the edge, it should come out clean. It may be a bit soft in the middle, but it will get a lot firmer once it cools down and goes to the fridge.